Nothing beats the creamy satisfaction of homemade vanilla frozen yogurt on a warm day. This delightfully tangy treat offers all the indulgence of ice cream with a lighter, more refreshing twist that’ll have you coming back for seconds.
We’ve perfected this simple recipe that transforms basic ingredients into restaurant-quality frozen yogurt right in your kitchen. The beauty lies in its versatility – you can control the sweetness level and add your favorite mix-ins while enjoying the probiotic benefits that regular ice cream can’t offer.
What makes our vanilla frozen yogurt special is the perfect balance between rich vanilla flavor and that signature yogurt tang. It’s incredibly easy to make and requires no fancy equipment – just a few pantry staples and your trusty freezer. Ready to create this crowd-pleasing dessert that’s both healthier and absolutely delicious?
Ingredients
Creating this creamy vanilla frozen yogurt requires just a handful of pantry staples that work together to deliver that perfect balance of sweet and tangy flavors. We’ve organized our ingredient list to make preparation smooth and efficient.
For the Vanilla Frozen Yogurt Base
- 2 cups plain Greek yogurt (full-fat or 2% for best texture)
- ¾ cup granulated sugar
- 1 cup heavy cream
- 2 teaspoons pure vanilla extract
- ¼ teaspoon salt
- 2 tablespoons honey (optional, for extra smoothness)
- 1 tablespoon fresh lemon juice
Optional Mix-ins and Toppings
- ½ cup mini chocolate chips
- ⅓ cup crushed vanilla wafers
- ¼ cup chopped fresh strawberries
- 2 tablespoons caramel sauce
- ¼ cup toasted nuts (almonds, pecans, or walnuts)
- Fresh berries for serving
- Whipped cream for topping
- Mint leaves for garnish
Equipment Needed
Creating perfect vanilla frozen yogurt at home requires the right tools to achieve that smooth and creamy texture we all crave. Let’s explore the essential equipment that will help us transform our simple ingredients into delicious frozen treats.
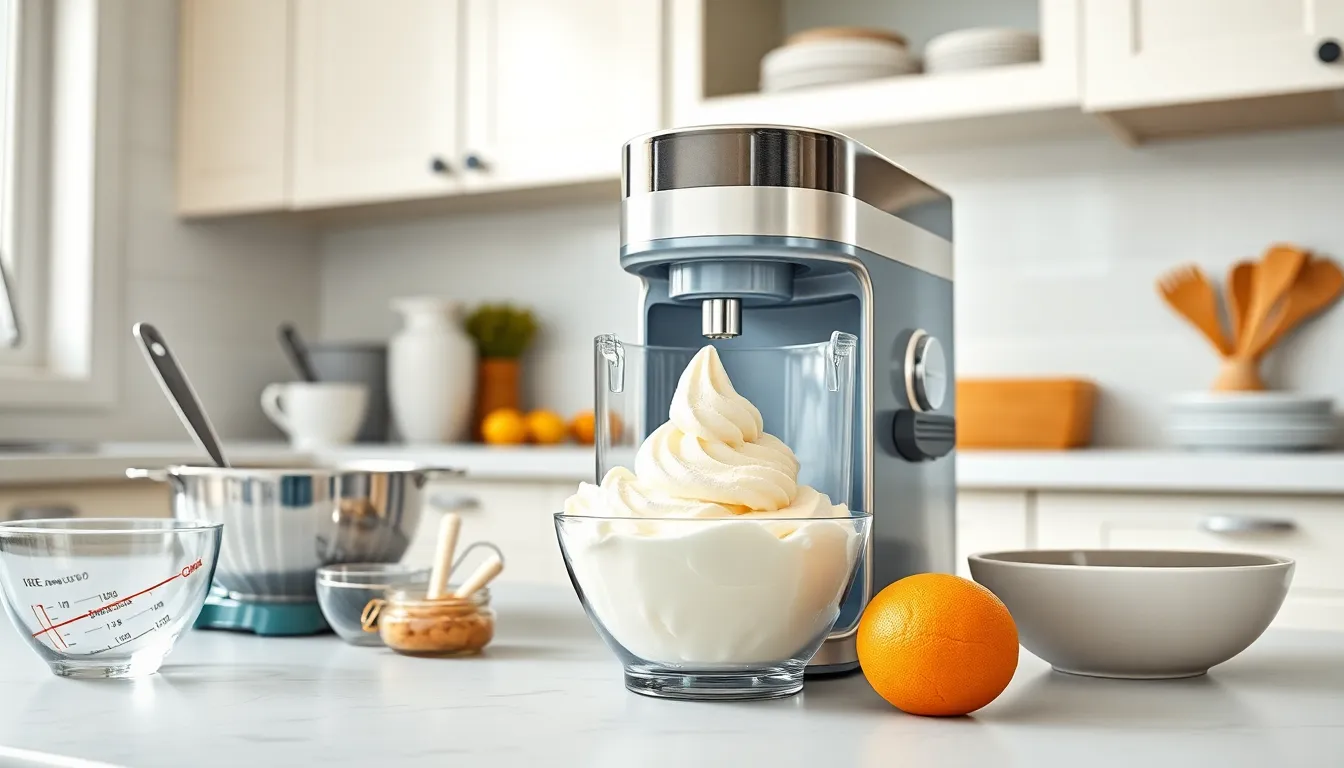
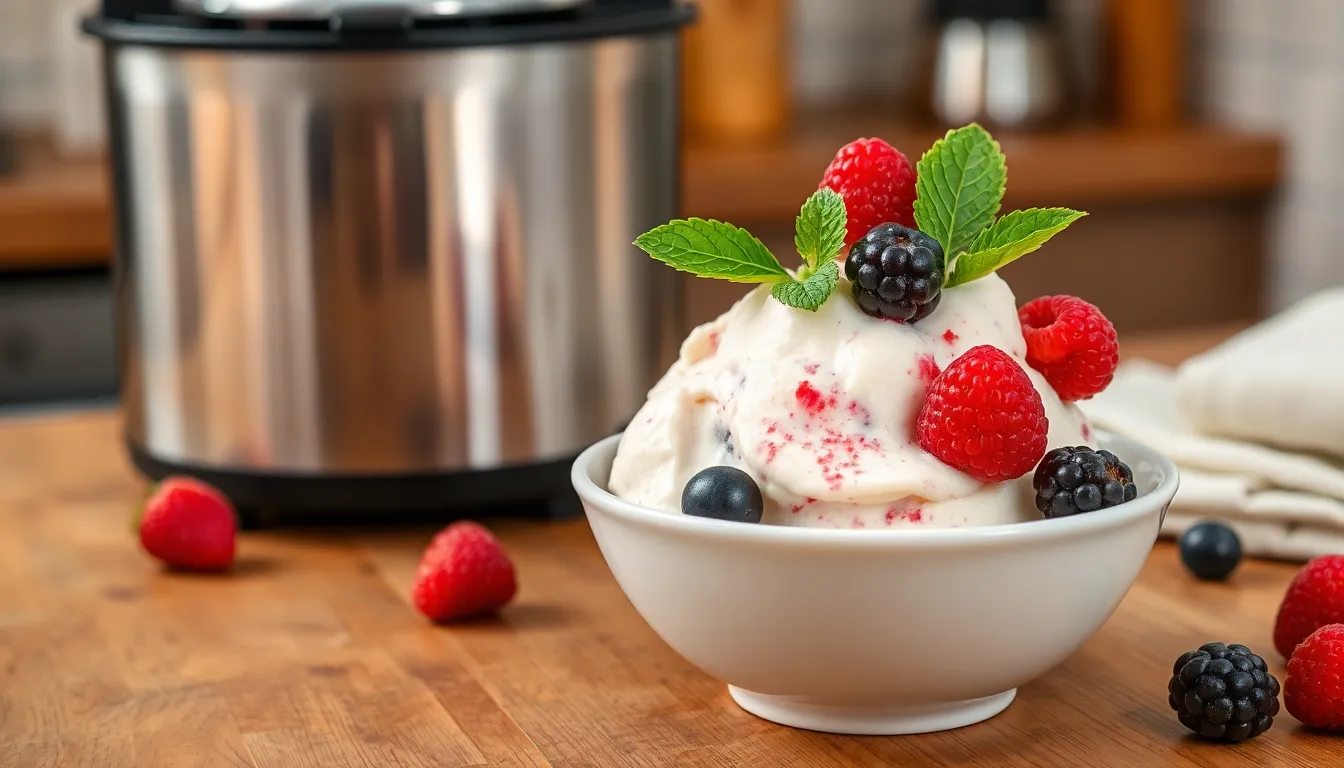
Ice Cream Maker or Frozen Yogurt Machine stands as our primary tool for this recipe. The Cuisinart Frozen Yogurt – Ice Cream & Sorbet Maker excels at producing frozen yogurt in under 20 minutes through its efficient churning mechanism. These specialized machines churn and freeze our yogurt mixture simultaneously to create that perfect smooth consistency we’re aiming for.
Blender or Mixer becomes essential for properly combining our ingredients before the freezing process begins. We need this tool to ensure our sugar dissolves completely and our vanilla extract distributes evenly throughout the Greek yogurt base.
Freezer serves as our backup option when an ice cream maker isn’t available. We can freeze our mixture in a metal bowl and blend it at regular intervals to achieve similar results. This manual method requires more attention but produces excellent frozen yogurt when executed properly.
Additional Equipment Options expand our possibilities for different production scales. Stoelting countertop machines offer single, twist, or double flavor capabilities for those interested in commercial or large scale production. The Donper D150 provides an excellent compact solution for home use when making smaller batches.
Basic Kitchen Tools complete our setup with measuring cups, mixing bowls, and serving utensils. These fundamental items ensure we can measure accurately and serve our frozen yogurt with professional presentation.
Instructions
Now we’ll transform our simple ingredients into creamy vanilla frozen yogurt using our step-by-step process. Each stage builds upon the previous one to create the perfect texture and flavor balance.
Prep the Yogurt Mixture
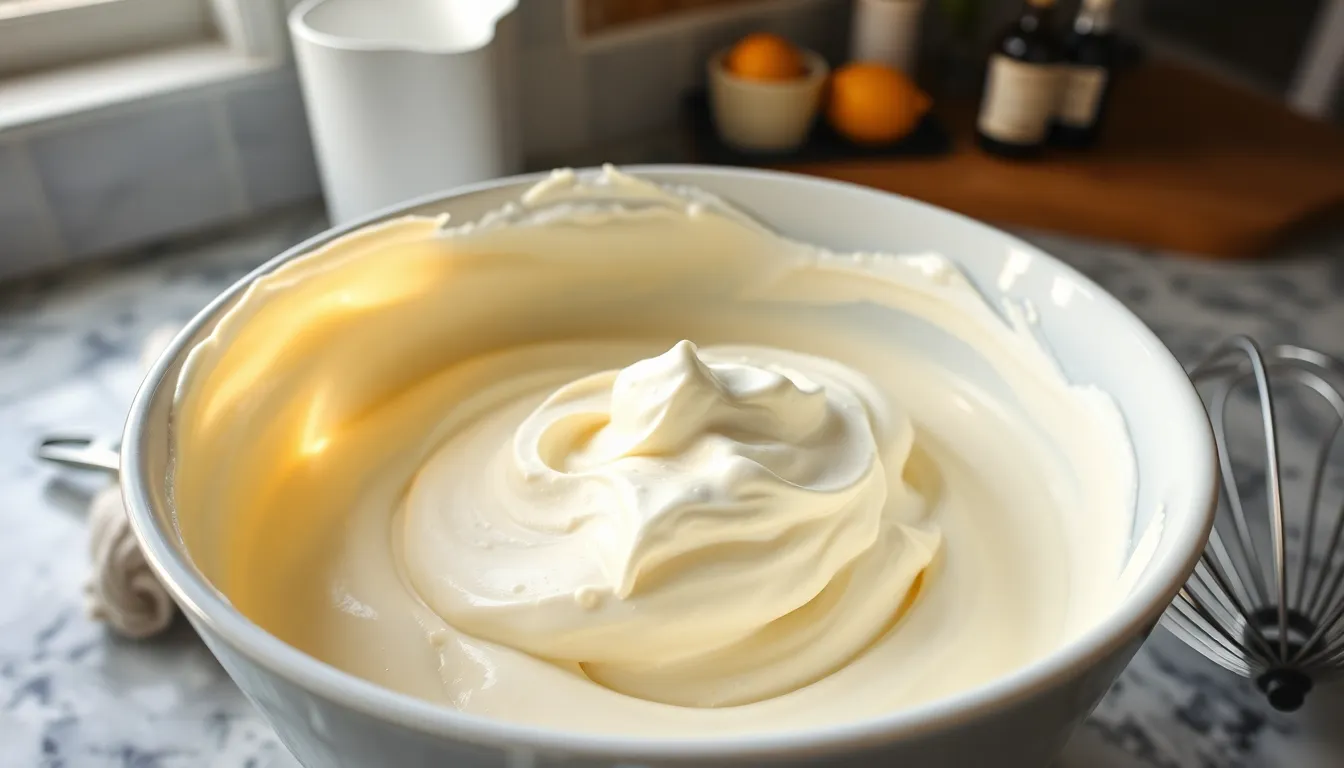
We begin by combining our core ingredients in a large mixing bowl. Add the 2 cups of plain Greek yogurt along with the ¾ cup granulated sugar and mix thoroughly until the sugar completely dissolves. Pour in the 1 cup of heavy cream and 2 teaspoons of pure vanilla extract. Continue mixing until our base becomes completely smooth and all ingredients are evenly distributed throughout the mixture.
Chill the Base
Transfer our prepared mixture to the refrigerator for at least 1 hour of chilling time. This essential step allows the flavors to meld together while bringing the temperature down to the optimal range for churning. We recommend covering the bowl with plastic wrap to prevent any refrigerator odors from affecting our vanilla base.
Churn the Frozen Yogurt
Remove our chilled mixture from the refrigerator and pour it directly into our ice cream maker. Set the machine to churn according to the manufacturer’s specifications for 25 to 30 minutes. During this process the mixture will thicken and develop that characteristic frozen yogurt texture we’re looking for. Watch for the consistency to become firm yet creamy.
Freeze Until Firm
For those without an ice cream maker we can achieve excellent results using the freezer method. Pour our chilled mixture into a shallow metal pan and place it in the freezer. Every 30 minutes for approximately 2 hours we’ll remove the pan and stir vigorously to break up ice crystals. This manual stirring process ensures our frozen yogurt maintains a smooth and creamy consistency throughout the freezing process.
Directions for Serving
Our freshly churned vanilla frozen yogurt delivers the perfect soft-serve consistency straight from the ice cream maker. We recommend serving it immediately for the best texture and flavor experience. The creamy mixture will be at its peak smoothness right after the 25-30 minute churning process.
Immediate Serving Options
Fresh from the churning bowl, our vanilla frozen yogurt maintains an ideal scoopable consistency that makes it perfect for immediate enjoyment. We can portion it directly into bowls or cones for a classic dessert presentation. The temperature at this stage creates the optimal balance between firmness and creaminess.
Storage and Texture Considerations
When we need to store our frozen yogurt briefly, we place it in an airtight container in the freezer. But, we must note that extended freezer storage will cause the yogurt to freeze into a harder consistency compared to traditional ice cream. This firmer texture occurs due to the lower fat content in our yogurt base.
Creative Topping Combinations
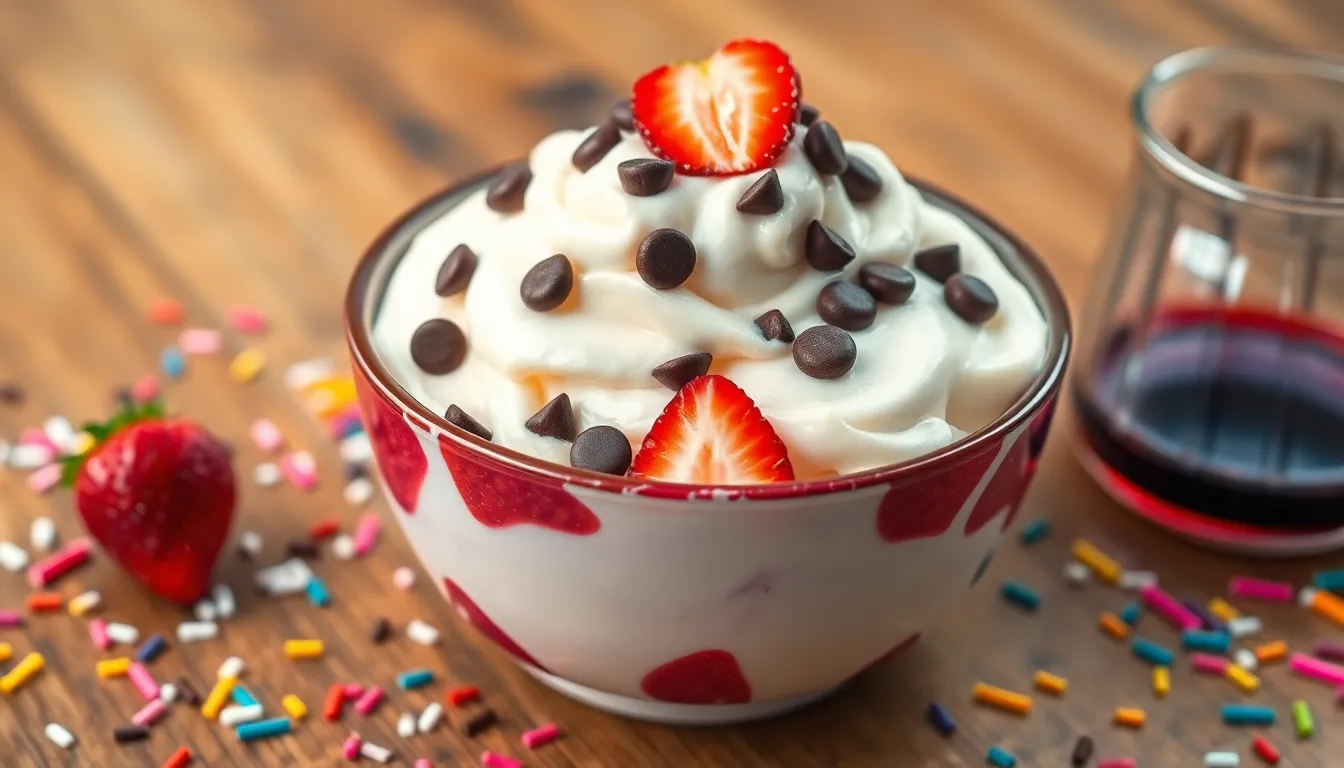
Our vanilla frozen yogurt serves as an excellent canvas for various toppings and mix-ins. Fresh fruits like sliced strawberries or blueberries complement the tangy yogurt base beautifully. We can also add chocolate chips, crushed cookies, or chopped nuts for textural contrast and enhanced flavor.
Alternative Serving Applications
Beyond traditional dessert bowls, we can use our vanilla frozen yogurt as a topping for pancakes and waffles during weekend breakfast preparations. The cool, creamy texture provides a delightful contrast to warm breakfast items. Sprinkles and caramel sauce make excellent finishing touches for special occasions.
Nutritional Serving Information
| Serving Size | Calories | Fat Percentage |
|---|---|---|
| 1/2 cup | 130 | 22% |
Each half-cup serving provides approximately 130 calories, with about 22% of those calories coming from fat content. This nutritional profile makes our vanilla frozen yogurt a lighter alternative to traditional ice cream while maintaining satisfying flavor and texture.
Storage Tips
Proper storage ensures our vanilla frozen yogurt maintains its creamy texture and delicious flavor for weeks to come. We recommend three effective methods that preserve quality while maximizing convenience.
Airtight Container Method
We store our finished frozen yogurt in tightly sealed containers to maintain freshness and prevent unwanted freezer flavors from affecting the taste. This method works best when we leave about half an inch of space at the top to accommodate natural expansion during freezing. Our frozen yogurt stays at peak quality for the first 3 days using this approach, though it remains safe to eat for up to 2 weeks in the freezer.
Ice Cube Tray Technique
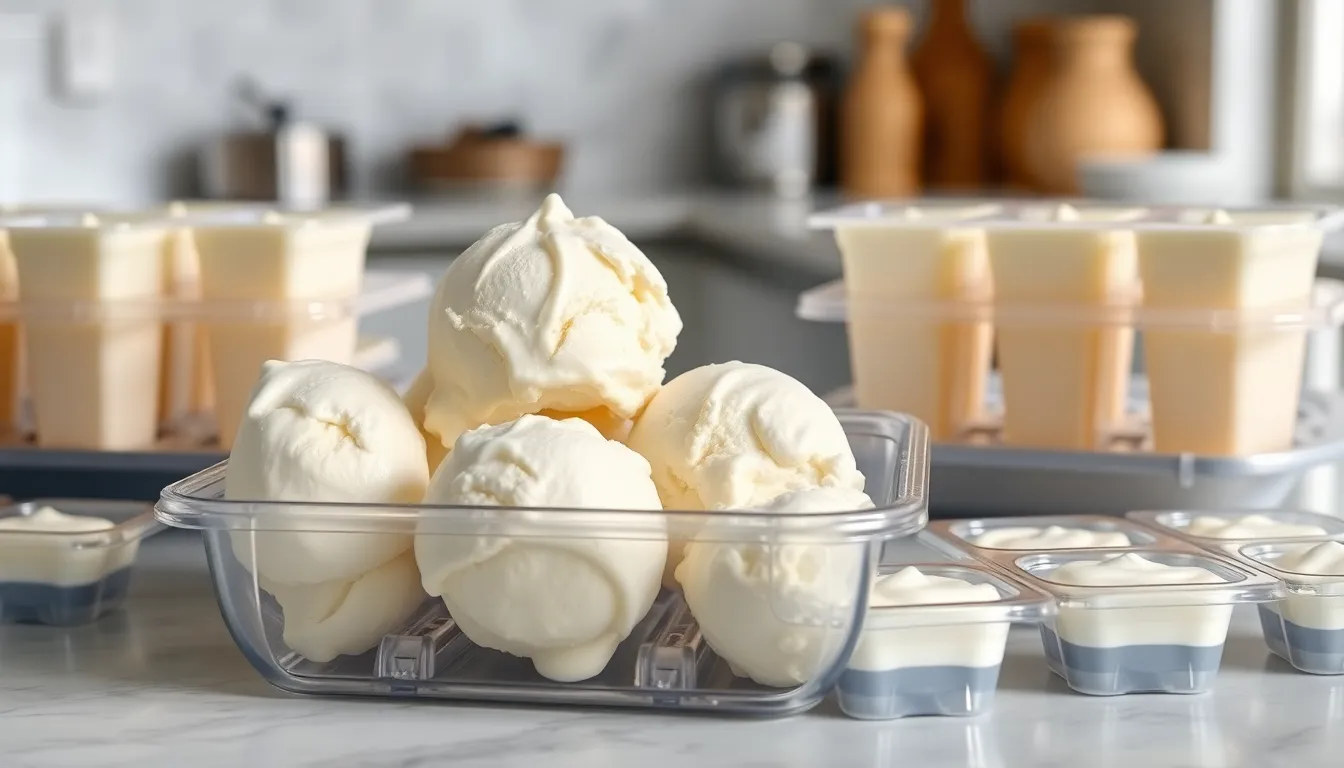
We love portioning our yogurt into ice cube trays before freezing for ultimate versatility. After spooning the mixture into each compartment, we freeze until completely solid, then transfer the cubes to freezer bags for long term storage. These convenient portions work perfectly in smoothies or as recipe ingredients and maintain quality for up to 2 months when properly stored.
| Storage Method | Duration | Best Use |
|---|---|---|
| Airtight Container | 3 days (optimal), 2 weeks (maximum) | Direct serving |
| Ice Cube Trays | Up to 2 months | Smoothies, recipes |
| Frozen Scoops | Up to 2 months | Baking portions |
Scoop and Freeze Method
We shape thick portions into individual scoops on parchment lined baking sheets for controlled serving sizes. Once frozen solid, we transfer these pre portioned scoops to freezer bags, making them ideal for baking projects or quick single servings. This technique particularly benefits those who use frozen yogurt regularly in recipes.
Texture Management
Our frozen yogurt becomes firmer after extended freezing due to its lower fat content compared to traditional ice cream. We recommend transferring freshly made yogurt to airtight containers and refreezing for about 2 hours when a firmer consistency is desired. Remember that naturally frozen yogurt will require a few minutes at room temperature before scooping easily.
Make-Ahead Instructions
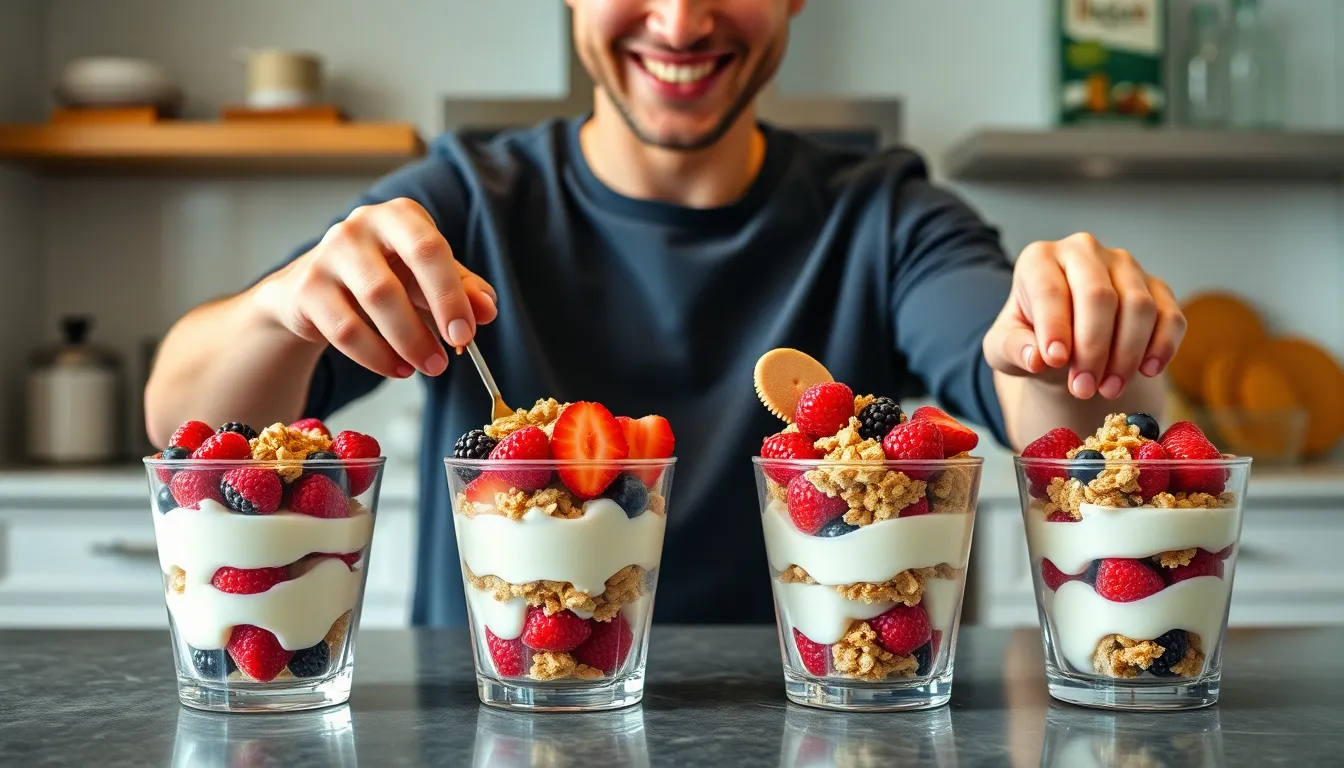
Planning ahead transforms vanilla frozen yogurt preparation into a stress-free process that delivers perfectly chilled dessert whenever we need it. We recommend preparing individual parfait containers by layering our freshly churned frozen yogurt with complementary ingredients like fresh berries, granola, or crushed vanilla wafers.
Assembly begins with selecting appropriate freezer-safe containers that hold single or family-sized portions. We start by adding a generous layer of vanilla frozen yogurt at the bottom, followed by our choice of fruits such as sliced strawberries or mixed berries. Granola provides delightful texture contrast when sprinkled between yogurt layers, while nuts add protein and satisfying crunch.
Repeating these layers creates visually appealing parfaits that maintain their structure during freezing. We seal each container tightly with airtight lids to prevent freezer burn and preserve the fresh vanilla flavor. Proper labeling with preparation dates helps us track freshness and ensures optimal quality.
Freezing time requires several hours or overnight storage to achieve the ideal consistency throughout all layers. The assembled parfaits develop enhanced flavor complexity as ingredients meld together during the freezing process. We find that allowing parfaits to sit at room temperature for 5 minutes before serving creates the perfect eating texture.
Batch preparation saves considerable time during busy periods or when entertaining guests. We can create multiple parfait variations using different fruit combinations or toppings to satisfy various preferences. This method works particularly well for meal prep situations where portion control matters.
Storage duration extends up to one week when containers remain properly sealed and stored at consistent freezer temperatures. The make-ahead approach eliminates last-minute dessert preparation while ensuring we always have a healthy frozen treat available for unexpected cravings or impromptu gatherings.
Variations and Flavor Ideas
Once you’ve mastered the basic vanilla frozen yogurt recipe, we encourage you to explore these creative variations that transform our simple base into exciting new flavors. Each variation maintains the creamy texture while introducing unique taste profiles that cater to different preferences and dietary needs.
Greek Yogurt Version
Greek yogurt creates an exceptionally thick and creamy frozen yogurt that rivals premium ice cream in texture. We combine 2 cups of Greek yogurt with ¾ cup of sugar, ensuring the sugar dissolves completely for optimal smoothness. Adding 2 teaspoons of vanilla extract provides the classic flavor base, while a tablespoon of honey enhances the natural sweetness and prevents excessive hardening during freezing.
The higher protein content in Greek yogurt requires slightly less churning time, typically 20 to 25 minutes in your ice cream maker. We recommend using full fat Greek yogurt for the richest results, though low fat versions work well for a lighter option. This variation produces a denser frozen yogurt that holds its shape beautifully when scooped and provides sustained satisfaction with each bite.
Dairy-Free Alternative
Creating dairy free vanilla frozen yogurt opens this treat to those with lactose intolerance or vegan dietary preferences. We substitute coconut yogurt or almond based yogurt for traditional dairy yogurt, maintaining the same 2 cup measurement for consistency. Coconut yogurt provides natural richness and sweetness, while almond yogurt offers a lighter, more neutral base.
These non dairy alternatives require additional stabilizers to achieve proper texture during freezing. We add 2 tablespoons of corn syrup or maple syrup to prevent ice crystal formation and maintain creaminess. The churning process remains identical, though dairy free versions may require an extra 5 minutes of churning to reach optimal consistency. Full fat coconut milk can be added in small amounts to enhance richness without compromising the dairy free status.
Fruit Swirl Options
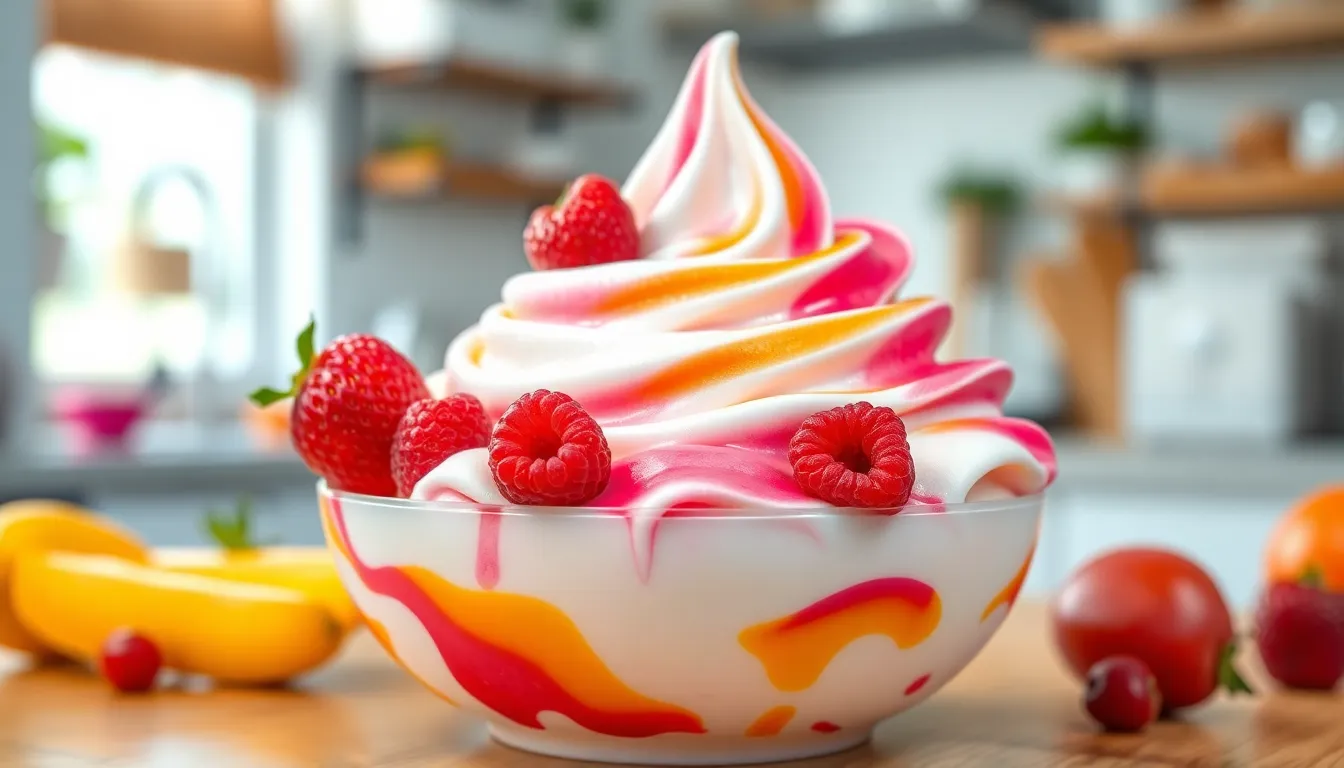
Fruit swirls transform plain vanilla frozen yogurt into vibrant, restaurant quality desserts with minimal additional effort. We prepare fruit purees separately and incorporate them during the final minutes of churning to create beautiful marbled patterns throughout the yogurt.
Strawberry Swirl: Fresh strawberry puree combines perfectly with our vanilla base, requiring 6 to 8 large strawberries blended until smooth. We add this puree during the last 3 minutes of churning for optimal distribution without over mixing.
Raspberry Swirl: Raspberry jam or fresh raspberry puree creates a tangy contrast to the sweet vanilla base. We use ¼ cup of jam or ½ cup of fresh raspberry puree, straining out seeds for smoother texture if desired.
Mango Swirl: Mango puree mixed with a tablespoon of honey produces a tropical twist that complements vanilla beautifully. We use one large ripe mango, pureed until completely smooth, and fold it in during the final churning stage for vibrant golden streaks throughout the frozen yogurt.
Troubleshooting Common Issues
Even the most experienced home cooks encounter challenges when making vanilla frozen yogurt. We understand how frustrating it can be when your dessert doesn’t turn out as expected. Let’s address the most common problems and provide practical answers to help you achieve perfect results every time.
Runny or Thin Frozen Yogurt
Insufficient incubation time or incorrect temperature during yogurt making typically causes this disappointing texture. We recommend ensuring your yogurt incubates between 105°F and 115°F for 6 to 8 hours. Your yogurt maker’s guidelines should specify the exact temperature and incubation time requirements for optimal results.
Greek yogurt provides a naturally thicker base than regular yogurt. Straining regular yogurt through cheesecloth for several hours before freezing removes excess whey and creates a denser final product.
Off or Unpleasant Flavor
Contamination or an old starter culture often produces bitter or sour flavors that overpower the vanilla. Fresh, active starter cultures create the clean, tangy taste we expect from quality frozen yogurt. Sanitizing all equipment before use prevents unwanted bacteria from affecting your batch.
High-quality vanilla extract makes a important difference in the final flavor profile. Pure vanilla extract delivers superior taste compared to imitation varieties.
Ice Crystals or Grainy Texture
Freezing too quickly or improper churning creates an unpleasant, crystalline texture instead of smooth creaminess. Slow freezing in a shallow pan allows ice crystals to form gradually and remain small. Ice cream makers provide consistent churning that breaks up ice crystals as they form.
Chilling your mixture thoroughly before churning helps achieve smoother results. The colder starting temperature reduces the time needed for freezing and creates finer ice crystals.
Failure to Set
Inactive starter cultures or incorrect incubation temperatures prevent proper yogurt formation. Reliable starter cultures like Dannon or Yoplait provide consistent results when stored properly. Temperature accuracy is crucial during the incubation process.
Digital thermometers eliminate guesswork when monitoring incubation temperatures. Yogurt makers with built-in temperature controls maintain consistent heat throughout the process.
Mold or Yeast Growth
Unsanitized equipment or extended storage beyond recommended timeframes leads to unwanted microbial growth. Properly cleaned and sanitized equipment prevents contamination from the start. We recommend storing homemade frozen yogurt no longer than 21 days for food safety.
| Storage Method | Maximum Duration | Temperature |
|---|---|---|
| Airtight container | 2 weeks | 0°F or below |
| Individual portions | 21 days | 0°F or below |
| Parfait containers | 1 week | 0°F or below |
Visible mold or off odors indicate spoilage and require immediate disposal. Trust your senses when evaluating stored frozen yogurt.
Additional Troubleshooting Tips
Different milk types affect both consistency and flavor in your final product. Whole milk creates richer texture while lower fat options produce lighter results. Experimenting with various milk types helps you discover your preferred consistency.
Room temperature ingredients blend more easily than cold ones. Allowing ingredients to reach room temperature before mixing ensures better incorporation and smoother texture.
Overmixing can break down the yogurt’s structure and create a thin consistency. Gentle folding motions preserve the yogurt’s natural thickness while incorporating other ingredients effectively.
Conclusion
We’ve shown you that creating restaurant-quality vanilla frozen yogurt at home doesn’t require special skills or expensive equipment. With just a few simple ingredients and basic kitchen tools you can create a dessert that’s both healthier and more delicious than store-bought alternatives.
The beauty of this recipe lies in its flexibility. Whether you’re craving classic vanilla or want to experiment with fruit swirls and creative toppings the possibilities are endless. You control every ingredient which means you can adjust sweetness levels and avoid unnecessary additives.
Now it’s time to head to your kitchen and start churning. Your taste buds will thank you for choosing this creamy tangy treat that perfectly balances indulgence with better nutrition. Happy freezing!
Frequently Asked Questions
What ingredients do I need for homemade vanilla frozen yogurt?
You’ll need 2 cups of plain Greek yogurt, ¾ cup granulated sugar, 1 cup heavy cream, and 2 teaspoons pure vanilla extract. Optional mix-ins include mini chocolate chips, crushed vanilla wafers, fresh strawberries, caramel sauce, and nuts to customize your frozen yogurt to your taste preferences.
Do I need special equipment to make frozen yogurt at home?
While an ice cream maker or frozen yogurt machine (like Cuisinart models) produces the best results, it’s not essential. You can use the freezer method with a metal bowl, stirring vigorously every 30 minutes for about 2 hours. You’ll also need basic tools like mixing bowls and measuring cups.
How long does it take to make vanilla frozen yogurt?
The process takes about 2-3 hours total. First, mix ingredients and chill the base for at least 1 hour. Then churn in an ice cream maker for 25-30 minutes, or use the freezer method with stirring every 30 minutes for 2 hours until you achieve the desired creamy consistency.
How should I store homemade frozen yogurt?
Store in airtight containers in the freezer for up to 2 weeks, though it’s best enjoyed within the first few days. You can also use ice cube trays for individual portions or the scoop-and-freeze method for controlled serving sizes. Extended freezing may result in a firmer texture due to lower fat content.
Can I make dairy-free or healthier versions of this recipe?
Yes! You can substitute coconut or almond yogurt for a dairy-free version. For a Greek yogurt variation, use thicker Greek yogurt for extra creaminess. You can also add fruit swirls like strawberry, raspberry, or mango to create vibrant flavors while maintaining the creamy texture.
What should I do if my frozen yogurt turns out too runny or has ice crystals?
For runny yogurt, ensure proper chilling time and use full-fat ingredients. Ice crystals form when the mixture freezes too quickly or isn’t stirred enough. Use the proper churning technique, maintain consistent temperatures, and ensure ingredients are at room temperature before mixing for best results.
How many calories are in homemade vanilla frozen yogurt?
A half-cup serving contains approximately 130 calories, with about 22% of calories coming from fat. This makes it a lighter alternative to traditional ice cream while still delivering satisfying flavor and creamy texture, plus you get the added benefit of probiotics from the yogurt.
Can I prepare individual servings ahead of time?
Absolutely! Create make-ahead parfait containers by layering frozen yogurt with fresh berries, granola, or crushed vanilla wafers in freezer-safe containers. Seal tightly, label with dates, and freeze for several hours or overnight. These parfaits can be stored for up to a week.


