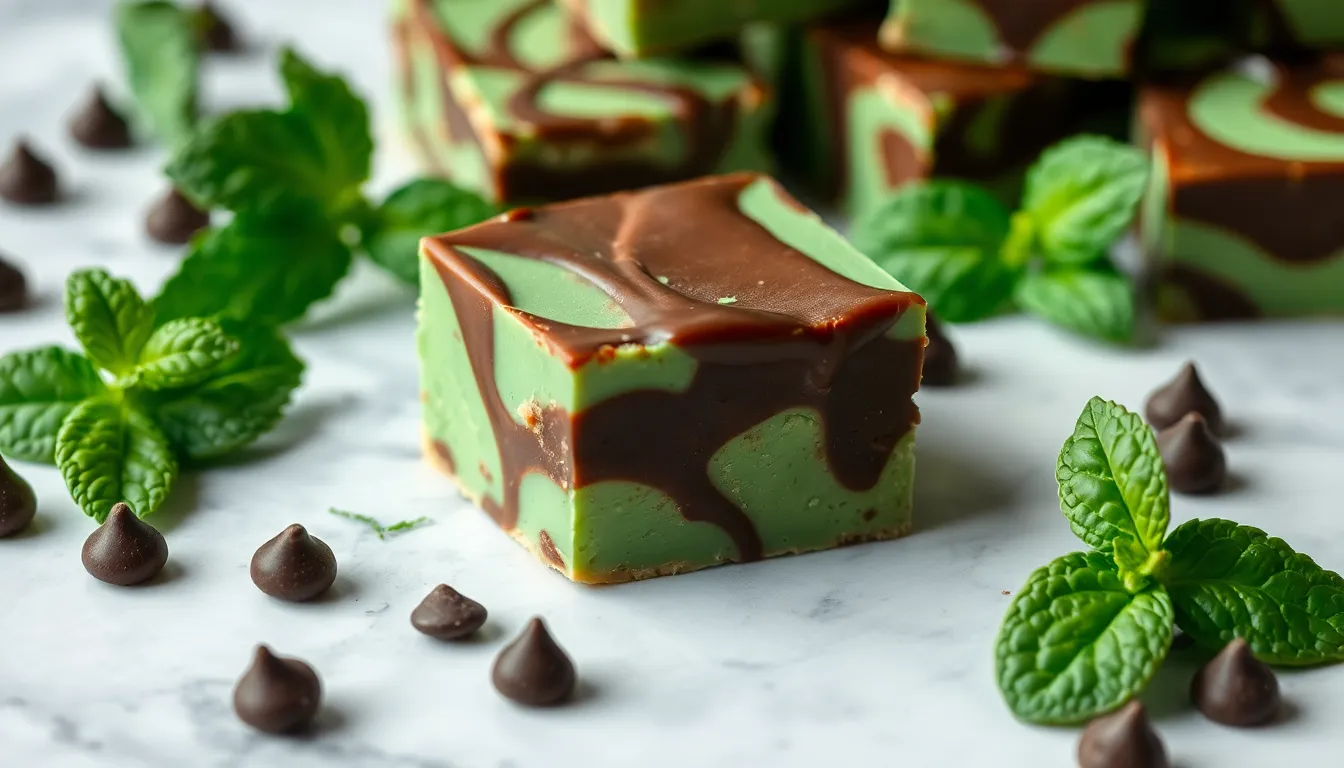
Nothing beats the irresistible combination of rich chocolate and refreshing mint, and our mint chocolate fudge delivers this perfect pairing in every bite. This decadent treat transforms simple ingredients into a luxurious confection that’ll have your taste buds dancing with joy.
We’ve perfected this recipe to create silky-smooth fudge with just the right amount of minty freshness. The cool mint beautifully balances the deep chocolate flavor, creating a sophisticated dessert that’s surprisingly easy to make at home. Whether you’re planning for the holidays or simply craving something special, this fudge hits the spot every time.
What makes our version special is the foolproof technique that guarantees creamy results without any grainy texture. You’ll love how quickly it comes together, and your friends and family will be begging for the recipe after just one taste.
Ingredients
We’ve carefully selected premium ingredients that create the perfect balance of rich chocolate and refreshing mint. Each component plays a crucial role in achieving that signature creamy texture and bold flavor combination.
For the Chocolate Base
- 3 cups high-quality dark chocolate chips (60-70% cocoa)
- 1 can (14 oz) sweetened condensed milk
- 4 tablespoons unsalted butter
- 1 teaspoon pure vanilla extract
- 1/4 teaspoon salt
For the Mint Layer
- 2 cups white chocolate chips
- 1/2 can (7 oz) sweetened condensed milk
- 2 tablespoons unsalted butter
- 1 teaspoon peppermint extract
- 3-4 drops green food coloring (optional)
- 1/4 teaspoon salt
For the Topping
- 1/2 cup crushed chocolate mint cookies
- 1/4 cup mini chocolate chips
- 2 tablespoons chopped fresh mint leaves
- 1 tablespoon powdered sugar for dusting
Equipment Needed
Creating our mint chocolate fudge requires exact equipment to ensure perfect results every time. We’ve found that having the right tools makes the difference between smooth professional-looking fudge and disappointing grainy results.
Essential Equipment
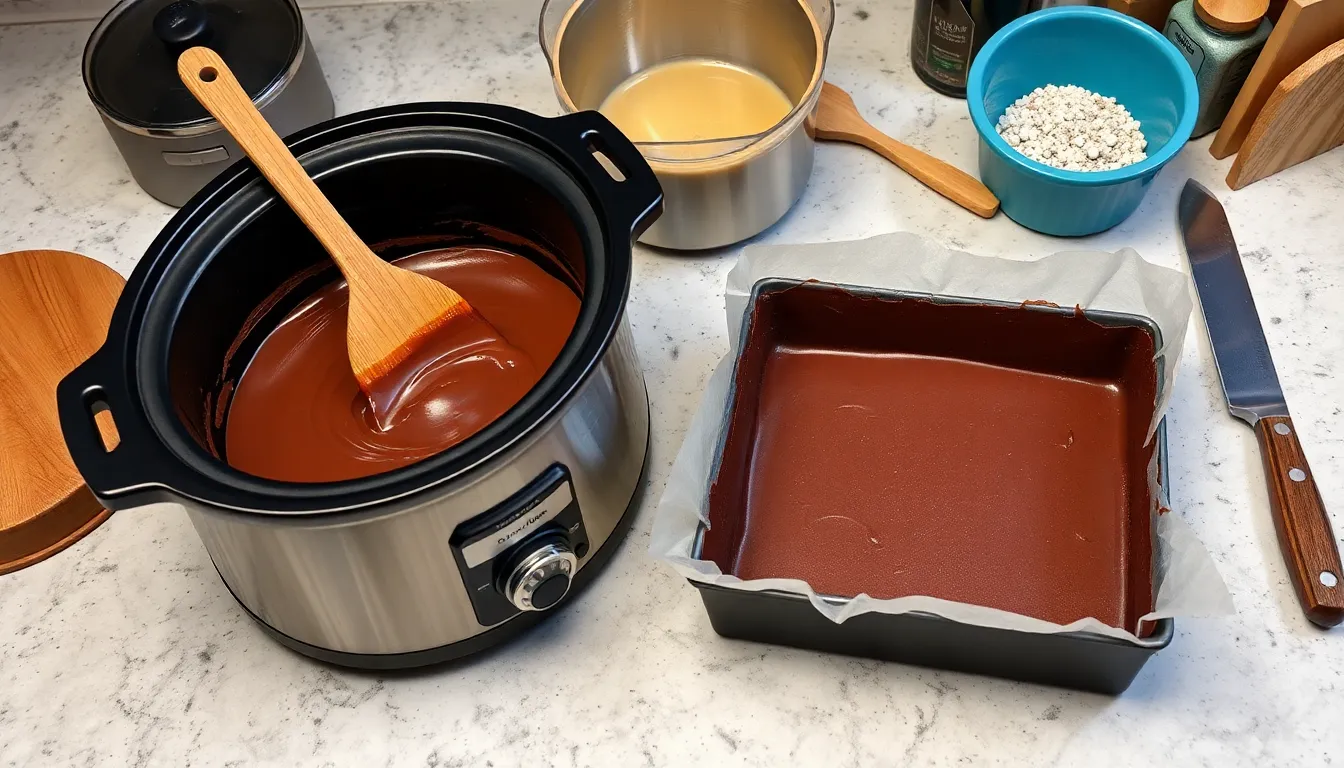
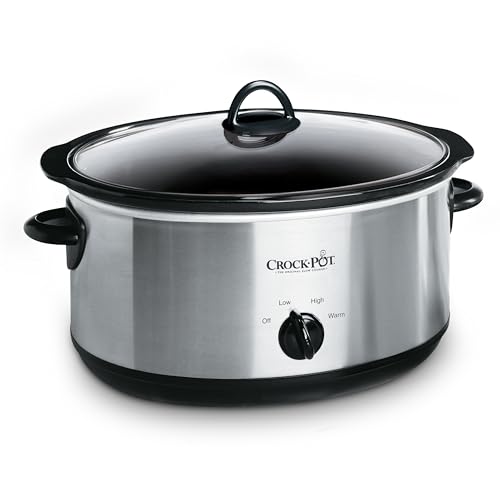
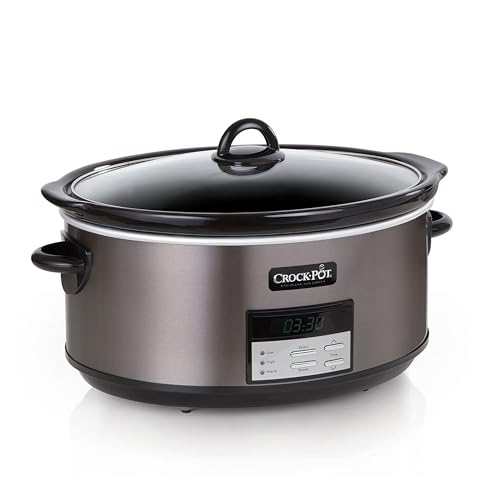
Slow Cooker serves as our primary tool for this recipe. The gentle even heat prevents scorching while melting our chocolate and condensed milk mixture to silky perfection.
Wooden Spoon becomes indispensable for stirring our fudge mixture. Wood doesn’t conduct heat like metal utensils and won’t scratch our slow cooker’s surface.
Spatula helps us scrape every bit of our precious fudge mixture from the slow cooker sides. We recommend silicone spatulas for their flexibility and heat resistance.
Square Baking Tin provides the perfect shape for our fudge layers. An 8×8 inch pan works ideally for standard batch sizes.
Baking Paper Sheets line our tin for effortless removal once our fudge sets. We always leave extra paper hanging over the edges to create easy lift handles.
Finishing Tools
Good Quality Knives cut our set fudge into clean precise squares. Sharp blades prevent cracking and create professional-looking pieces.
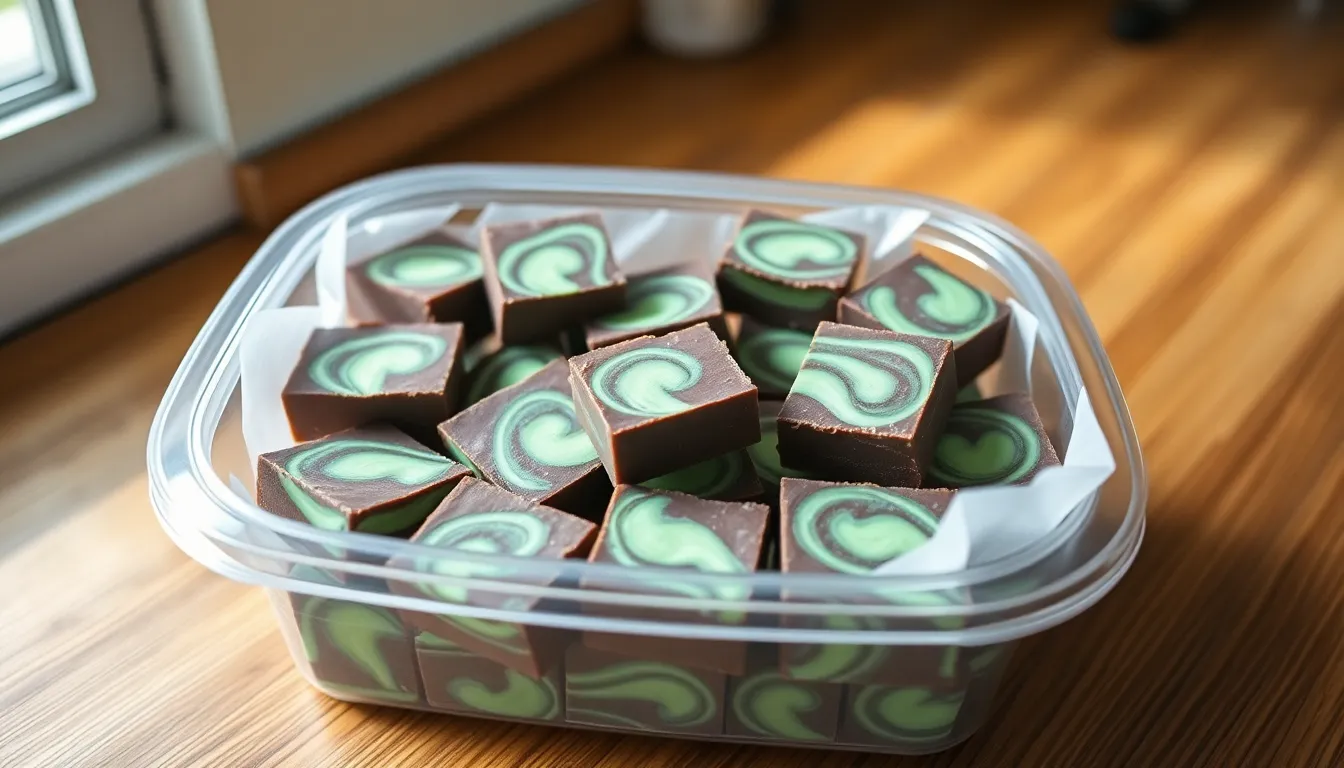
Airtight Containers preserve our fudge’s freshness for weeks. We store cut pieces between parchment layers to prevent sticking.
Food Gift Bags transform our homemade fudge into thoughtful presents. Clear bags showcase the beautiful mint and chocolate layers while keeping pieces fresh.
Professional Options
Fudge Mixer or Double Boiler Setup offers alternatives for larger quantities or more controlled temperature management. These specialized tools work well for experienced candy makers but aren’t necessary for our home recipe success.
Our equipment list focuses on accessibility while ensuring professional results. Each tool serves a exact purpose in creating the perfect texture and appearance our mint chocolate fudge deserves.
Instructions
Follow these simple steps to create perfectly layered mint chocolate fudge with a professional marbled appearance. We’ll guide you through each stage to ensure smooth textures and balanced flavors.
Prep the Pan
Line an 8×8 inch pan with foil or parchment paper, making sure it overhangs the edges for easy removal later. Lightly spray the foil with cooking spray to prevent sticking and ensure clean removal once set.
Make the Chocolate Base
Melt 1.5 cups of milk chocolate chips separately in the microwave using 30-second intervals, stirring between each heating. Add half of the 14 oz can of sweetened condensed milk to the melted chocolate. Stir the mixture until completely smooth and well combined. Set aside while preparing the mint layer.
Prepare the Mint Layer
Melt 1.5 cups of white chocolate chips using the same microwave method as the milk chocolate. Add the remaining half of the sweetened condensed milk and stir until smooth. Mix in 1 teaspoon of peppermint extract and a few drops of green food coloring until you achieve your desired mint color and flavor intensity.
Assemble the Fudge
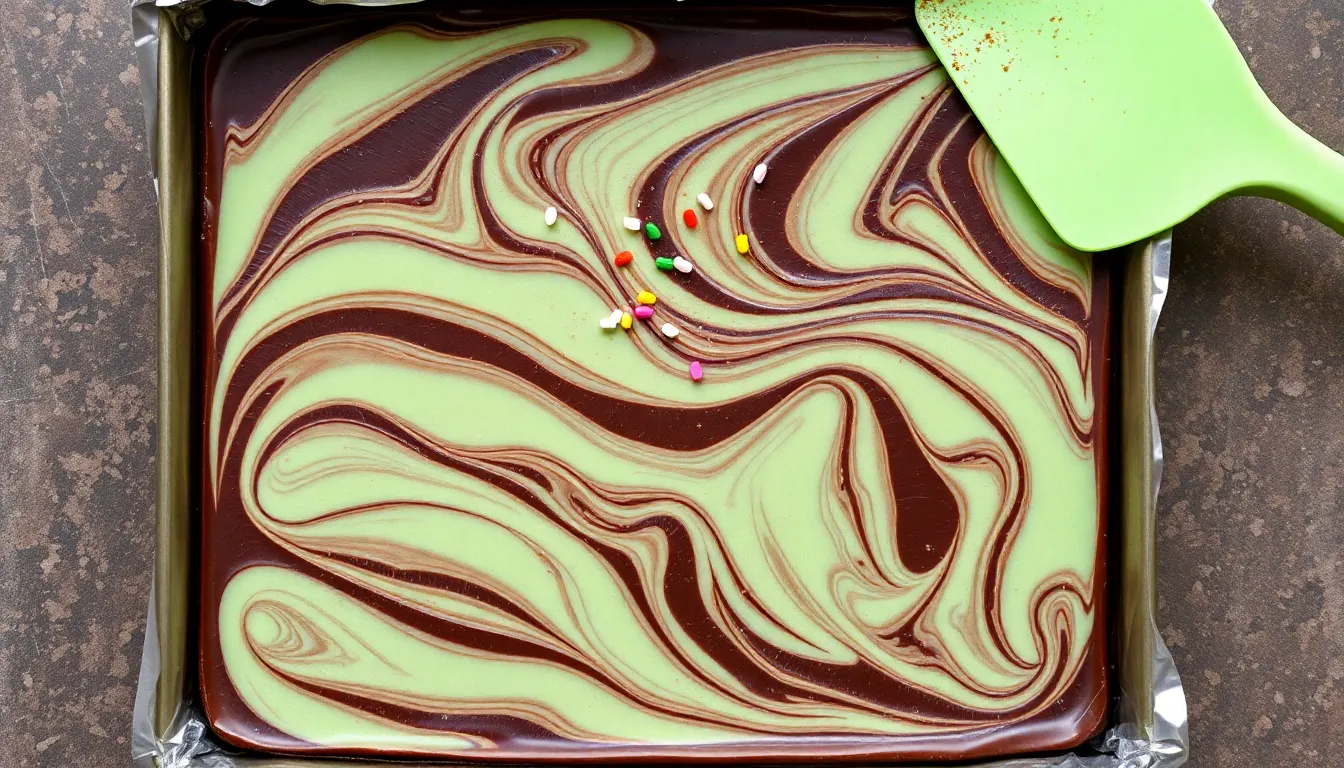
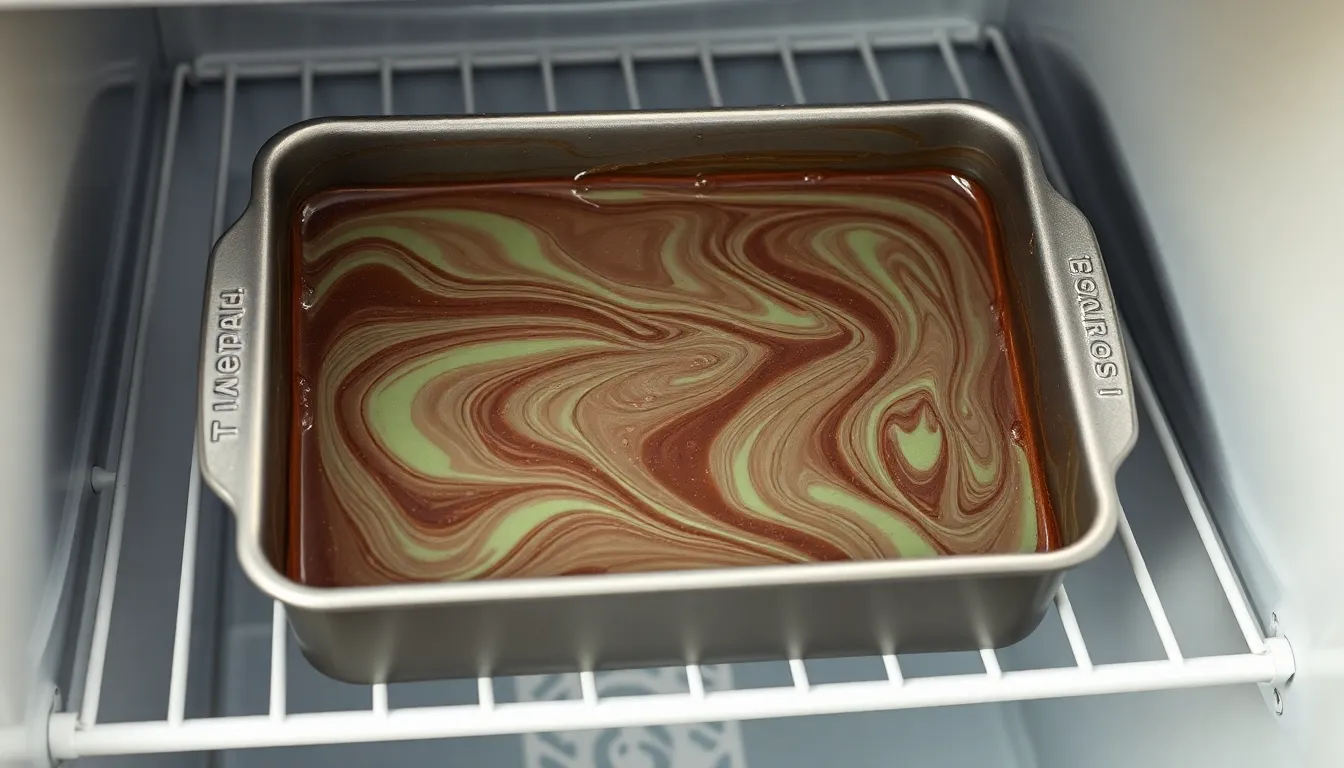
Drop alternating spoonfuls of both chocolate mixtures into the prepared pan in a random pattern across the surface. Gently shake the pan to level the mixture and create an even layer. Run a butter knife through the fudge in swirling motions to create the signature marbled effect without overmixing.
Add the Final Touch
Refrigerate the assembled fudge overnight to allow it to set completely. Remove the fudge from the pan using the overhanging foil or parchment paper as handles. Trim off any rough edges with a sharp knife, then cut the fudge into your desired piece sizes for serving.
Directions for Setting
After we’ve assembled our beautiful marbled mint chocolate fudge, the setting process becomes crucial for achieving that perfect firm texture we desire. We need to understand that proper setting ensures our fudge will hold its shape when cut and provide the ideal bite consistency.
Temperature Control for Optimal Setting
We must maintain consistent refrigeration throughout the setting process. Our fudge requires a steady temperature between 35°F and 40°F to set properly without becoming too hard or remaining too soft.
| Setting Stage | Temperature | Duration |
|---|---|---|
| Initial Chill | 35-40°F | 2-3 hours |
| Complete Set | 35-40°F | 6-8 hours |
| Overnight Set | 35-40°F | 8-12 hours |
Positioning and Air Circulation
We place our prepared fudge pan on the middle shelf of the refrigerator where air circulation remains optimal. Avoid placing the pan directly against the back wall where temperatures fluctuate more dramatically. We ensure nothing covers the pan during the initial setting phase as this allows moisture to escape properly.
Checking for Proper Firmness
We test our fudge’s readiness by gently pressing the center with our fingertip after the minimum setting time has elapsed. The surface should feel firm and spring back slightly without leaving an indentation. If our finger leaves a mark, we continue chilling for another hour before testing again.
Signs of Complete Setting
Our fudge has set completely when the edges pull away slightly from the pan sides and the entire surface feels uniformly firm. We notice the fudge develops a slight matte finish rather than the glossy appearance it had when first poured. The layers should feel solid throughout without any soft spots remaining.
Final Setting Verification
Before removing our fudge from the refrigerator for cutting, we lift one corner of the parchment paper to ensure the bottom has set as firmly as the top. Properly set fudge will maintain its shape when lifted and won’t bend or crack under its own weight.
Storage Tips
Once our delicious mint chocolate fudge has set completely we need to store it properly to maintain its perfect texture and flavor. Proper storage techniques ensure our hard work pays off with every bite remaining as fresh as the day we made it.
Room Temperature Storage works well for short term enjoyment. We can keep our fudge at room temperature for up to 2 weeks when stored in a cool dry environment. An airtight container prevents the fudge from drying out and maintains its creamy consistency.
Refrigeration extends our storage time significantly. Our mint chocolate fudge stays fresh in the refrigerator for 2 to 3 weeks when properly contained. We recommend using an airtight container to prevent absorption of refrigerator odors. Wrapping individual pieces in cling film or wax paper provides extra moisture protection.
| Storage Method | Duration | Temperature | Container Requirements |
|---|---|---|---|
| Room Temperature | 1-2 weeks | Cool, dry environment | Airtight container |
| Refrigeration | 2-3 weeks | 35°F to 40°F | Airtight container + wrapping |
| Freezing | Up to 3 months | 0°F or below | Plastic wrap + freezer bag |
Freezing offers our longest storage option for batch preparation. We can freeze mint chocolate fudge for up to 3 months without compromising quality. Wrapping pieces tightly in plastic wrap or aluminum foil prevents freezer burn. Placing wrapped fudge in freezer safe bags adds an extra protective barrier.
Essential Storage Practices help maintain our fudge quality regardless of method chosen. We always use clean utensils when handling pieces to prevent contamination. Checking for signs of spoilage like odd smells mold or texture changes protects our health before consumption.
Refrigerated fudge becomes firmer than room temperature storage. We can let refrigerated pieces sit out briefly if we prefer softer texture before serving. This brief warming period restores the ideal creamy consistency we worked to achieve.
Make-Ahead Instructions
Planning ahead transforms our mint chocolate fudge from a last-minute dessert into a stress-free entertaining solution. We recommend preparing this indulgent treat up to two weeks before serving to maximize convenience without compromising quality.
Our fudge develops its best flavor profile when stored properly in an airtight container within the refrigerator. The optimal storage temperature maintains the perfect texture while allowing the mint and chocolate flavors to meld beautifully over time.
| Storage Method | Duration | Temperature | Container Requirements |
|---|---|---|---|
| Refrigerator | Up to 2 weeks | 35°F to 40°F | Airtight container |
| Freezer | Up to 3 months | 0°F or below | Freezer-safe wrap + airtight container |
We suggest cutting the fudge into serving pieces before long-term storage to prevent handling the entire batch repeatedly. Individual pieces store more efficiently and thaw faster when needed.
Freezing extends our make-ahead timeline significantly without affecting the fudge’s creamy texture. We wrap each piece individually in plastic wrap before placing them in freezer-safe containers to prevent freezer burn and maintain optimal quality.
When ready to serve frozen fudge, we remove the desired pieces and allow them to thaw at room temperature for 15-20 minutes. This brief warming period restores the ideal creamy consistency that makes our mint chocolate fudge irresistible.
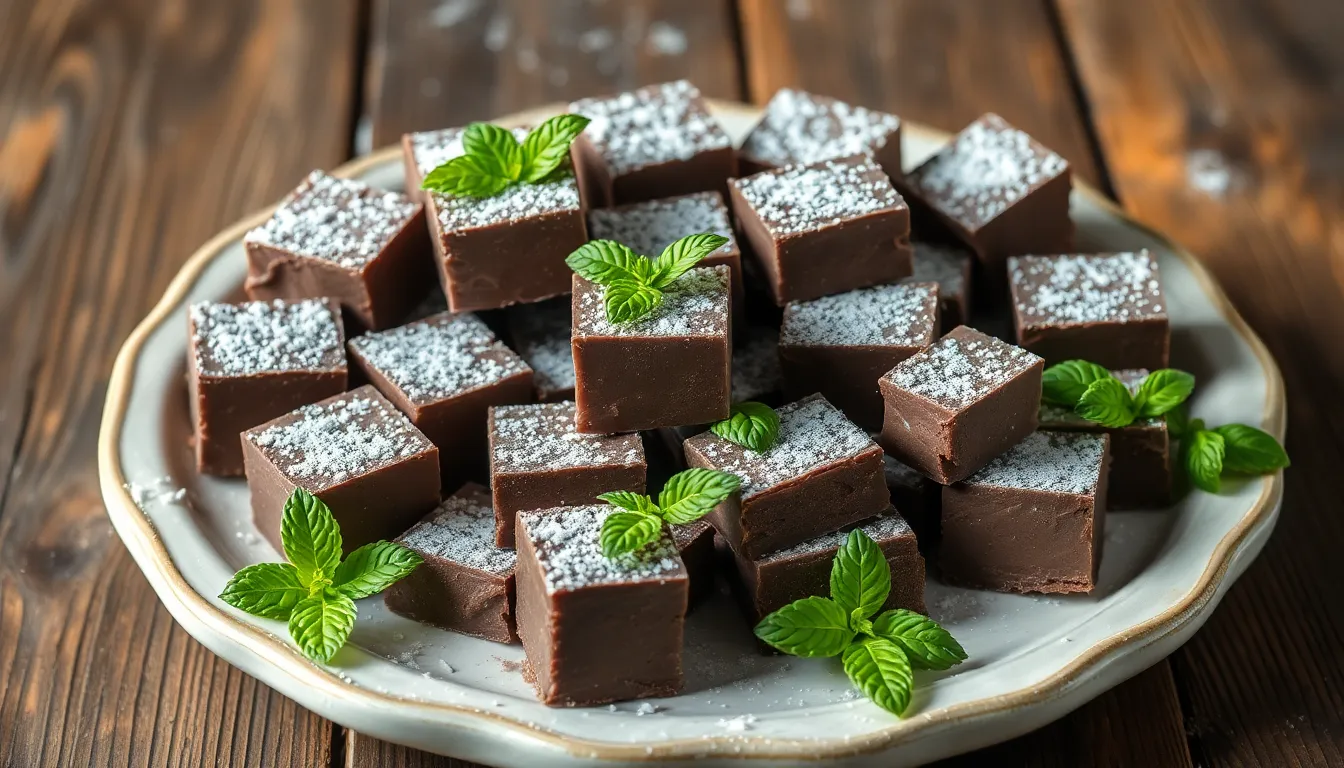
Fresh mint leaves and powdered sugar dusting can be added just before serving to enhance presentation when preparing the fudge days in advance. We keep these finishing touches separate to maintain their vibrant appearance and fresh taste.
Serving Suggestions
Once our mint chocolate fudge has achieved its perfect texture and flavor, we can present it in many delightful ways that showcase its luxurious combination of rich chocolate and refreshing mint. The versatility of this confection makes it suitable for various occasions and serving styles.
Stand-Alone Presentation
We recommend cutting our fudge into bite-sized squares for the most traditional serving approach. This method allows guests to fully appreciate the marbled texture and balanced flavors without any distractions. Arrange the pieces on a decorative platter or serving tray to create an elegant display that highlights the beautiful contrast between the chocolate and mint layers.
Beverage Pairings
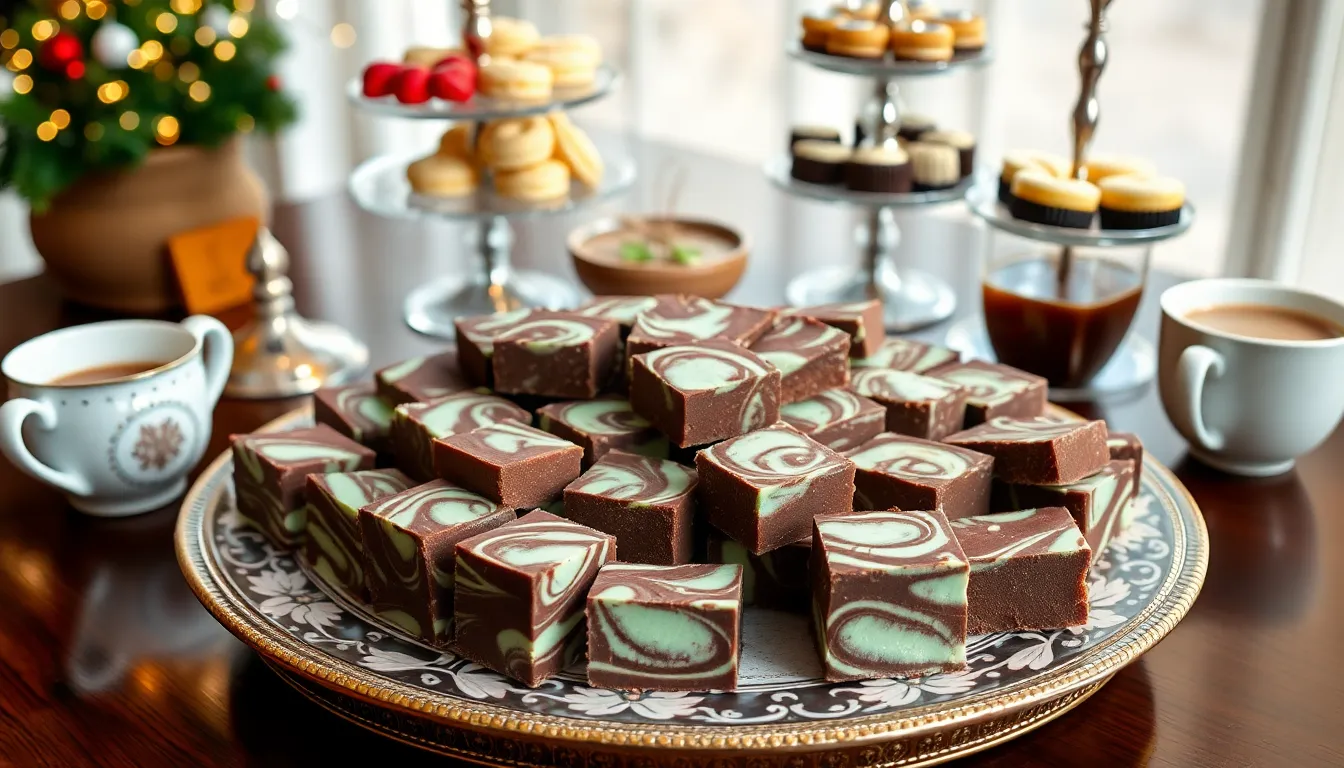
Our mint chocolate fudge pairs exceptionally well with hot beverages that complement its rich flavors. Serve alongside freshly brewed coffee for a sophisticated afternoon treat, or offer with hot tea to balance the sweetness with subtle tannins. Hot chocolate creates an indulgent double chocolate experience that intensifies the dessert’s luxurious character.
Special Occasion Display
Holiday gatherings and dessert buffets provide perfect opportunities to showcase our fudge as part of a larger spread. Position the cut squares on tiered serving stands alongside other confections to create visual interest and variety. For gift-giving occasions, package individual pieces in decorative boxes or bags tied with festive ribbons to create memorable presents that friends and family will treasure.
Creative Serving Ideas
Transform our fudge into an interactive dessert experience by crumbling pieces over vanilla or mint ice cream. This combination adds delightful texture contrast while intensifying the mint chocolate flavors. We can also dice the fudge into smaller pieces to use as toppings for cheesecakes, brownies, or other desserts that benefit from additional richness and flavor complexity.
| Serving Method | Best Occasions | Recommended Portion |
|---|---|---|
| Bite-sized squares | Casual gatherings | 1-2 pieces per person |
| Gift packaging | Holidays, special events | 4-6 pieces per package |
| Ice cream topping | Dinner parties | 2-3 tablespoons crumbled |
| Dessert buffet | Large celebrations | 16-36 pieces total |
The key to successful presentation lies in maintaining the fudge’s ideal temperature and texture while serving, ensuring each guest experiences the perfect balance of flavors we worked so carefully to achieve.
Troubleshooting Tips
Even experienced bakers encounter challenges when making mint chocolate fudge. We’ve compiled the most effective answers to common problems that can affect your fudge’s texture and taste.
Fudge Did Not Set Properly
When your fudge remains sticky or soft after the overnight refrigeration period, temperature control was likely the culprit. We recommend checking that your mixture reached the proper temperature range of 234°F to 239°F during the initial cooking process. To salvage unset fudge, return it to a saucepan with 1 to 1.5 cups of water and heat until completely dissolved. Reheat the mixture to the correct temperature range, allow it to cool properly, and beat as originally directed.
Grainy or Crystallized Texture
Sugar crystallization creates an unpleasant grainy texture that ruins the smooth consistency we expect from quality fudge. We prevent this issue by avoiding any stirring once the mixture begins boiling. Using a wet pastry brush to wash down sugar crystals that form on the pan sides during heating eliminates potential crystallization points.
Oily or Overly Hard Consistency
Overcooking or improper cooling and beating techniques result in fudge that becomes either oily or unpleasantly hard. We address this problem using the same reheating method described above, ensuring we monitor temperatures carefully during the second attempt.
Bitter or Burnt Flavor
Uneven heating causes sugar to burn and creates an acrid taste that overwhelms the delicate mint and chocolate flavors. We prevent this issue by using heavy bottomed pots that distribute heat evenly throughout the cooking process.
Sticky or Gloopy Results
Excessive liquid relative to sugar content or insufficient cooking temperatures produce fudge with a sticky, gloopy consistency. We correct this problem by reheating the mixture and ensuring our ingredient proportions match the recipe specifications exactly.
| Problem | Temperature Range | Solution Method |
|---|---|---|
| Unset fudge | 234°F – 239°F | Reheat with water, recook to proper temperature |
| Grainy texture | N/A | Avoid stirring during boiling, brush pan sides |
| Hard/oily consistency | 234°F – 239°F | Reheat with water, monitor temperature carefully |
| Burnt flavor | N/A | Use heavy bottomed pot for even heating |
| Sticky texture | 234°F – 239°F | Check ingredient ratios, ensure proper temperature |
Conclusion
Creating this mint chocolate fudge transforms your kitchen into a confectionery paradise. We’ve equipped you with everything needed – from premium ingredients to professional techniques that guarantee success every time.
The beauty of this recipe lies in its versatility and forgiving nature. Whether you’re planning ahead for special occasions or treating yourself to an impromptu dessert we’ve shown you how to achieve that perfect balance of rich chocolate and refreshing mint.
Your friends and family will be amazed by the professional quality you can achieve at home. With proper storage techniques and our troubleshooting guide you’ll never have to worry about texture issues or flavor mishaps again.
Now it’s time to put these techniques into practice and create your own batch of this irresistible mint chocolate fudge.
Frequently Asked Questions
How long does mint chocolate fudge need to set?
Mint chocolate fudge requires overnight refrigeration (8-12 hours) to set completely. The initial chill takes 2-3 hours, but for the perfect firm texture, allow the full overnight setting period. Keep it at 35°F to 40°F for optimal results. You’ll know it’s ready when the edges pull away from the pan and the surface has a matte finish.
What ingredients do I need for mint chocolate fudge?
For the chocolate base: high-quality dark chocolate chips, sweetened condensed milk, unsalted butter, vanilla extract, and salt. For the mint layer: white chocolate chips, sweetened condensed milk, butter, peppermint extract, optional green food coloring, and salt. Toppings include crushed chocolate mint cookies, mini chocolate chips, fresh mint leaves, and powdered sugar.
How should I store mint chocolate fudge?
Store at room temperature for up to 2 weeks in an airtight container in a cool, dry place. Refrigeration extends freshness to 2-3 weeks, while freezing preserves it for up to 3 months. Use clean utensils to prevent contamination and wrap properly to prevent freezer burn when freezing.
What equipment do I need to make mint chocolate fudge?
Essential equipment includes an 8×8 inch square baking tin, baking paper or foil, a slow cooker or double boiler for gentle melting, wooden spoon for stirring, silicone spatula for scraping, and sharp knives for cutting. While professional equipment like fudge mixers can help, basic kitchen tools are sufficient for excellent home results.
Can I make mint chocolate fudge ahead of time?
Yes, mint chocolate fudge can be prepared up to two weeks in advance. The flavor actually improves when stored in an airtight container in the refrigerator. Cut into individual pieces for convenient storage and thawing. Add fresh garnishes like mint leaves and powdered sugar just before serving for the best presentation.
Why is my fudge grainy or not setting properly?
Grainy texture usually results from overheating the chocolate or improper mixing. Cook at low temperatures and stir gently. If fudge won’t set, it may need more time in the refrigerator or the temperature wasn’t controlled properly during cooking. Oily consistency indicates overheating, while hard fudge suggests overcooking.
How do I cut and serve mint chocolate fudge?
Use a sharp knife warmed in hot water and wiped clean between cuts for neat squares. Cut into bite-sized pieces for traditional serving. Pair with hot beverages like coffee or tea, display on tiered stands for special occasions, or use as a topping for ice cream and other desserts.
What’s the best way to create the marbled effect?
After preparing both chocolate and mint layers, drop alternating spoonfuls of each mixture into your prepared pan. Use a butter knife to gently swirl through the mixtures, creating a marbled pattern. Don’t overmix – a few gentle swirls will create the perfect visual contrast between the chocolate and mint layers.


