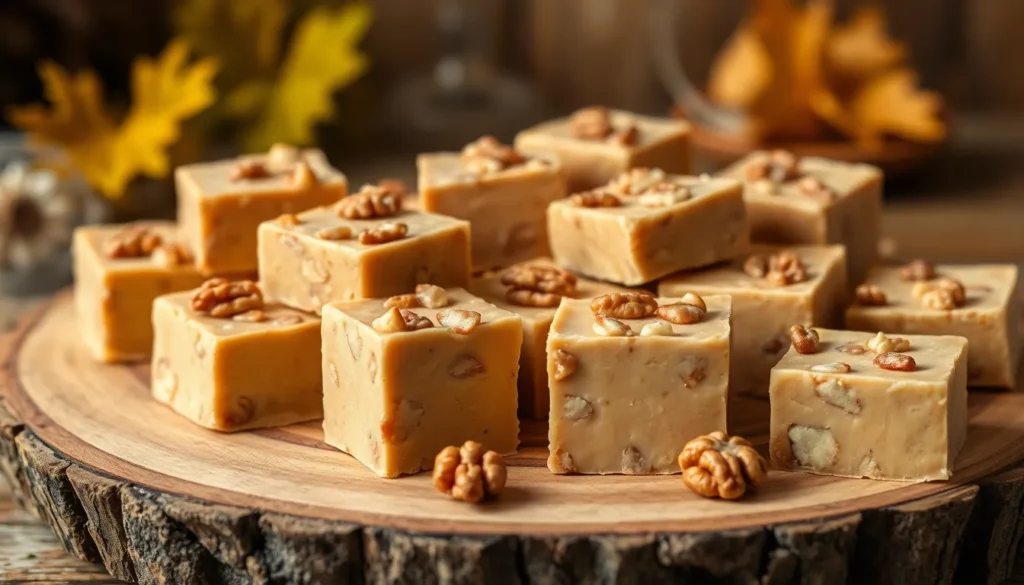
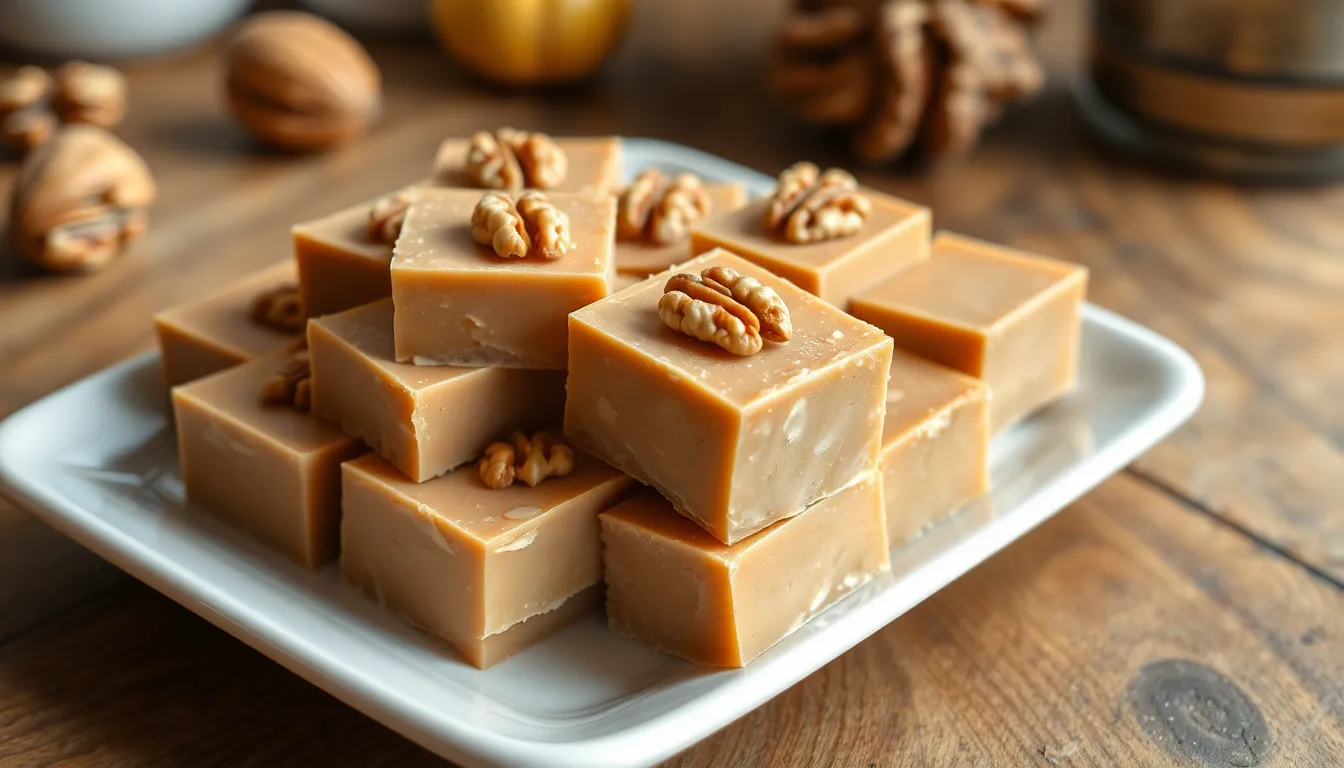
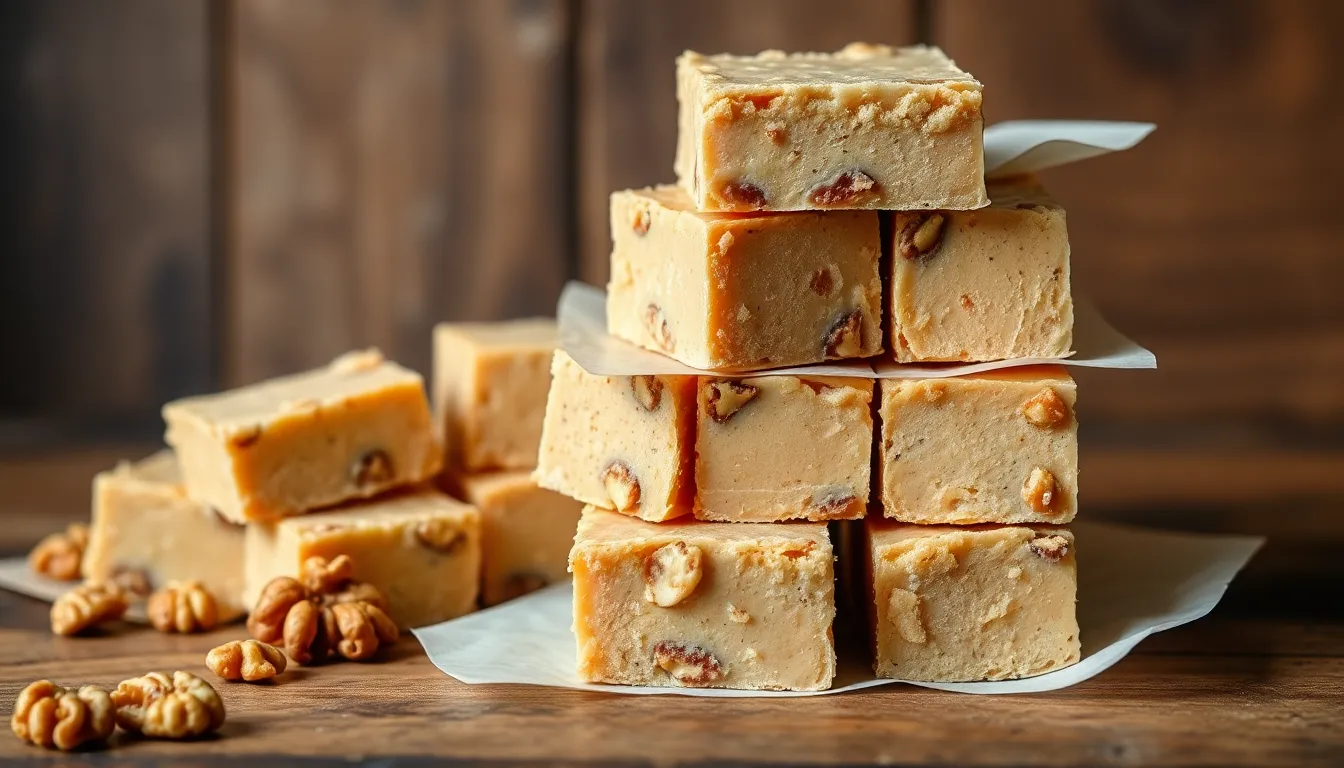
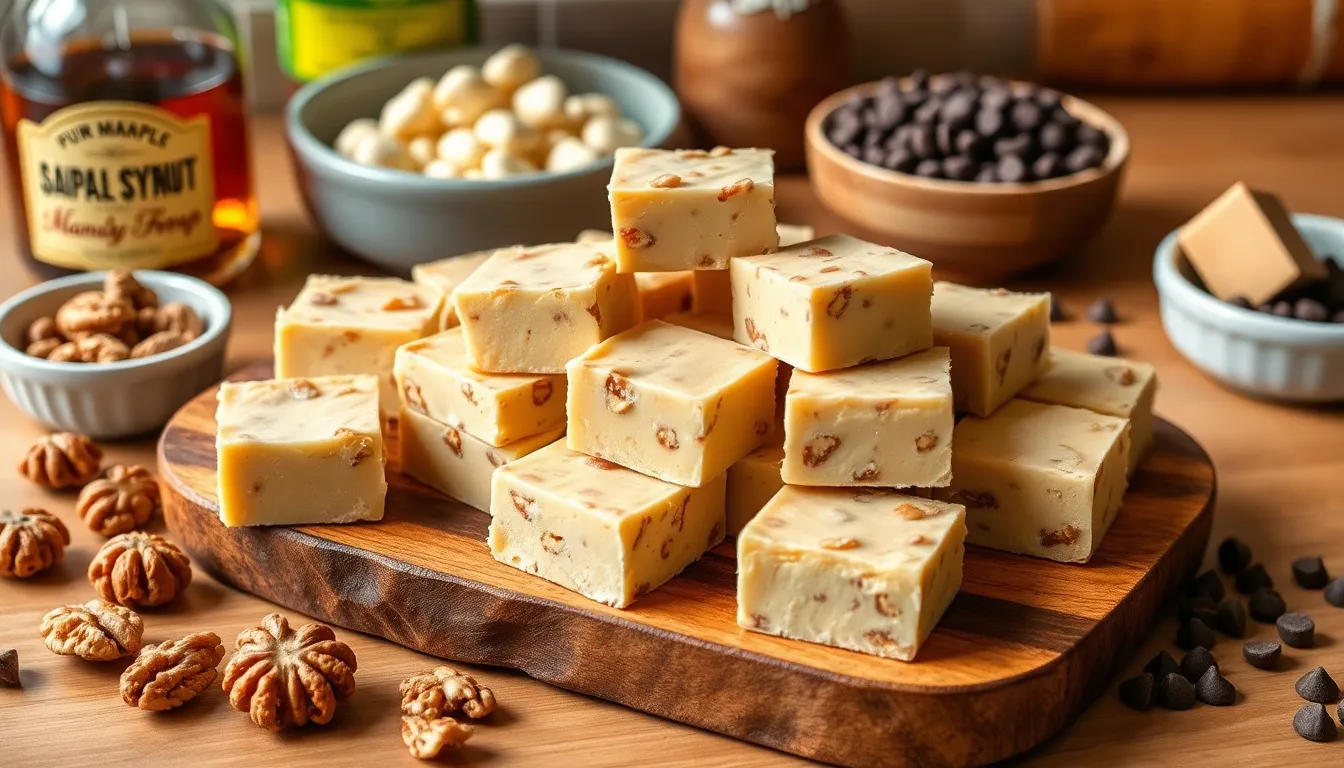
Nothing beats the perfect combination of rich maple syrup and crunchy walnuts wrapped in silky smooth fudge. This maple walnut fudge captures all the cozy flavors of fall in one irresistible bite that’ll have your taste buds dancing with joy.
We’ve perfected this foolproof recipe that transforms simple ingredients into professional-quality fudge in just minutes. The secret lies in balancing the deep amber sweetness of pure maple syrup with toasted walnuts that add the perfect textural contrast. Each square melts beautifully on your tongue while delivering that nostalgic maple flavor we all crave.
Whether you’re planning holiday gifts or simply treating yourself to something special, this maple walnut fudge delivers bakery-worthy results every single time. We’ll show you exactly how to achieve that ideal creamy consistency and prevent common fudge failures that leave many home cooks frustrated.
Ingredients
We’ve carefully selected each ingredient to deliver the perfect balance of maple sweetness and walnut crunch. Our ingredient list ensures you’ll achieve that signature creamy texture with rich fall flavors.
For the Fudge Base
- 3 cups granulated sugar
- 3/4 cup heavy cream
- 1/2 cup unsalted butter
- 1/4 teaspoon salt
- 1 jar (7 ounces) marshmallow creme
- 1 teaspoon vanilla extract
For the Maple Flavor
- 1/2 cup pure maple syrup (Grade A Dark Robust preferred)
- 1 teaspoon maple extract
- 2 tablespoons maple sugar (optional for enhanced flavor)
For the Walnut Mix-ins
- 1 1/2 cups walnut halves, roughly chopped
- 1 tablespoon butter for toasting
- Pinch of sea salt for sprinkling
Equipment Needed
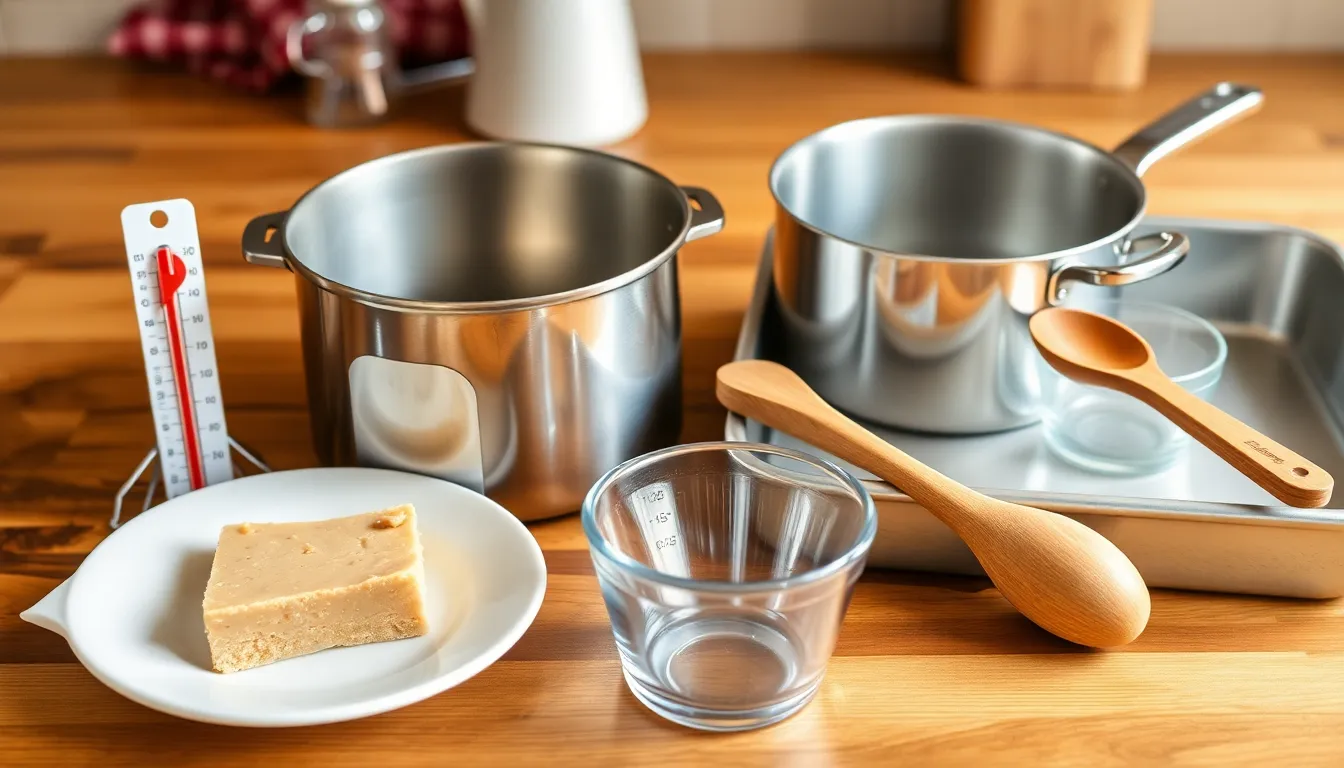
Creating perfect maple walnut fudge requires the right tools to ensure our mixture reaches proper temperature and consistency. We recommend gathering these essential pieces of equipment before starting our fudge making process.
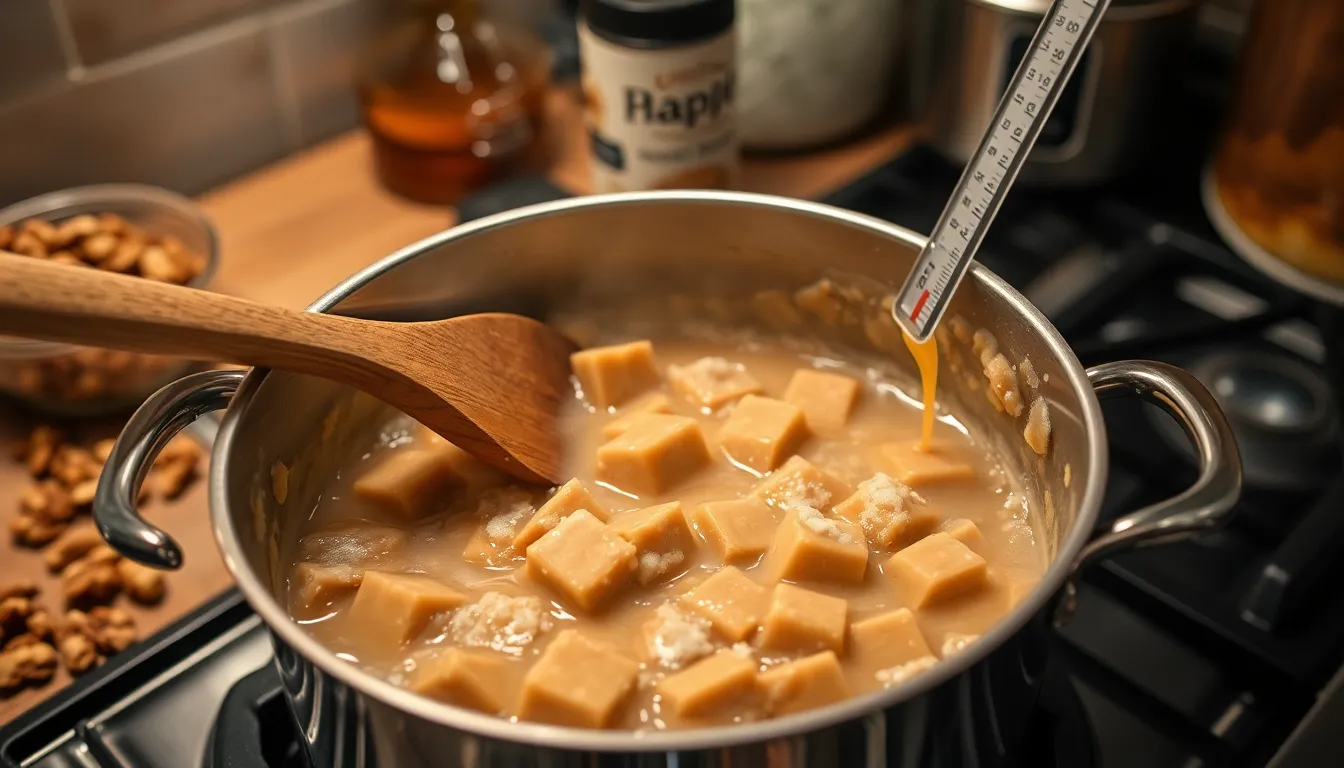
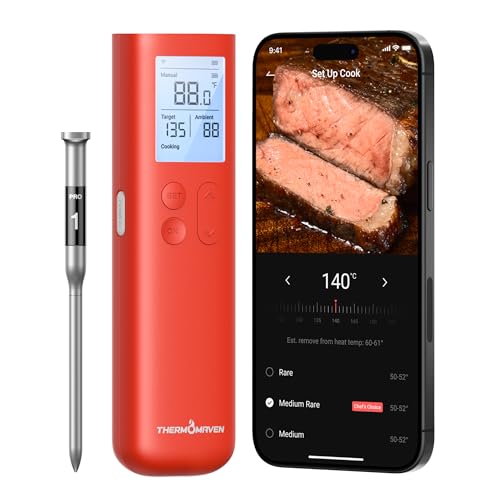
Candy thermometer serves as our most critical tool for achieving professional results. This device helps us monitor the exact temperature needed to reach the soft ball stage and prevents overcooking our delicate maple mixture.
Heavy bottomed saucepan provides even heat distribution throughout our cooking process. We prefer using a 3 quart capacity pan that allows plenty of room for our mixture to bubble safely without overflowing.
Wooden spoon or heat resistant silicone spatula becomes our mixing companion during the cooking stages. These materials won’t conduct heat like metal utensils and allow us to stir continuously without burning our hands.
8×8 inch baking pan creates the perfect size for our fudge squares. We line this pan with parchment paper for easy removal once our fudge sets completely.
Measuring cups and spoons ensure accuracy in our ingredient ratios. Precise measurements make the difference between creamy fudge and grainy disappointment.
Small bowl holds our toasted walnuts ready for folding into the mixture at just the right moment. Having ingredients prepped and measured beforehand prevents scrambling during critical cooking moments.
Parchment paper creates a non stick surface for easy fudge removal and cutting. We extend the paper over the pan edges to form convenient lifting handles.
| Equipment Type | Purpose | Size/Capacity |
|---|---|---|
| Candy thermometer | Temperature monitoring | 32°F to 400°F range |
| Heavy bottomed saucepan | Even heat distribution | 3 quart capacity |
| Baking pan | Fudge setting | 8×8 inch |
| Measuring tools | Ingredient accuracy | Various sizes |
Instructions
Now we transform our carefully prepared ingredients into silky smooth maple walnut fudge. Follow these precise steps to achieve professional results every time.
Prep the Pan and Walnuts
Line an 8×8-inch baking dish with parchment paper, leaving overhang on two sides for easy removal. Toast the walnut halves in a dry skillet over medium heat for 3-4 minutes until fragrant and lightly golden. Set the toasted walnuts aside in a small bowl to cool completely while we prepare the fudge base.
Make the Fudge Base
Combine granulated sugar, heavy cream, and unsalted butter in our heavy-bottomed saucepan. Bring the mixture to a rolling boil over medium-high heat, stirring constantly with a wooden spoon. Attach the candy thermometer to the side of the pan and continue cooking without stirring until the mixture reaches 236°F (soft ball stage). Remove the pan from heat immediately and stir in the marshmallow creme until completely smooth. Beat in the vanilla extract and pure maple syrup until the mixture is glossy and well combined.
Add Maple Flavoring
Stir in the maple extract, starting with 1 teaspoon and tasting the mixture. Add up to 2.5 teaspoons total depending on your desired maple intensity. The extract enhances the natural maple syrup flavor and creates that distinctive maple fudge taste we’re aiming for.
Fold in the Walnuts
Gently fold the cooled toasted walnuts into the fudge mixture using a silicone spatula. Distribute the walnuts evenly throughout the fudge without overmixing, which could cause the fudge to lose its smooth texture. Reserve a few walnut pieces to press decoratively on top if desired.
Set the Fudge
Pour the fudge mixture into the prepared pan and spread it evenly with an offset spatula. Press any reserved walnut pieces gently into the surface. Refrigerate the fudge for at least 2 hours until completely set and firm to the touch. Lift the fudge from the pan using the parchment paper overhang and cut into 1-inch squares with a sharp knife.
Directions for Cutting and Serving
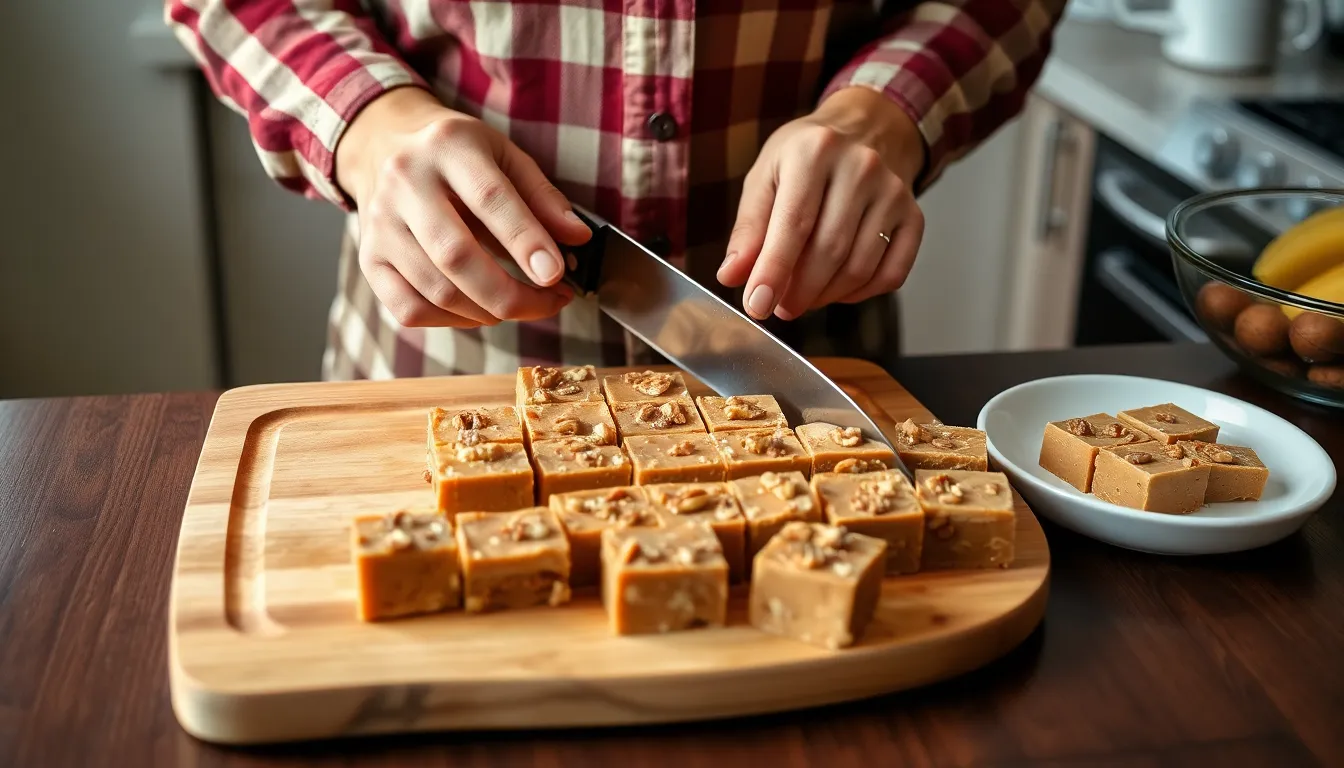
Once our maple walnut fudge has set completely in the refrigerator we can begin the cutting process. We’ll start by lifting the entire fudge block from the pan using the parchment paper edges as handles. This technique prevents the fudge from breaking and ensures clean edges remain intact.
Place the fudge block on a clean cutting board and allow it to come to room temperature for about 5 minutes. We recommend using a sharp chef’s knife for the cleanest cuts possible. Wipe the blade clean between each cut to prevent the creamy texture from sticking and creating jagged edges.
Begin cutting the fudge into 1-inch squares by making parallel lines across the width first. Apply gentle downward pressure in a single smooth motion rather than sawing back and forth. Create evenly spaced cuts approximately 1 inch apart to yield uniform pieces.
Rotate the cutting board 90 degrees and repeat the process to create perfect squares. We find that cutting in a grid pattern produces approximately 64 individual pieces from a standard 8×8 inch pan.
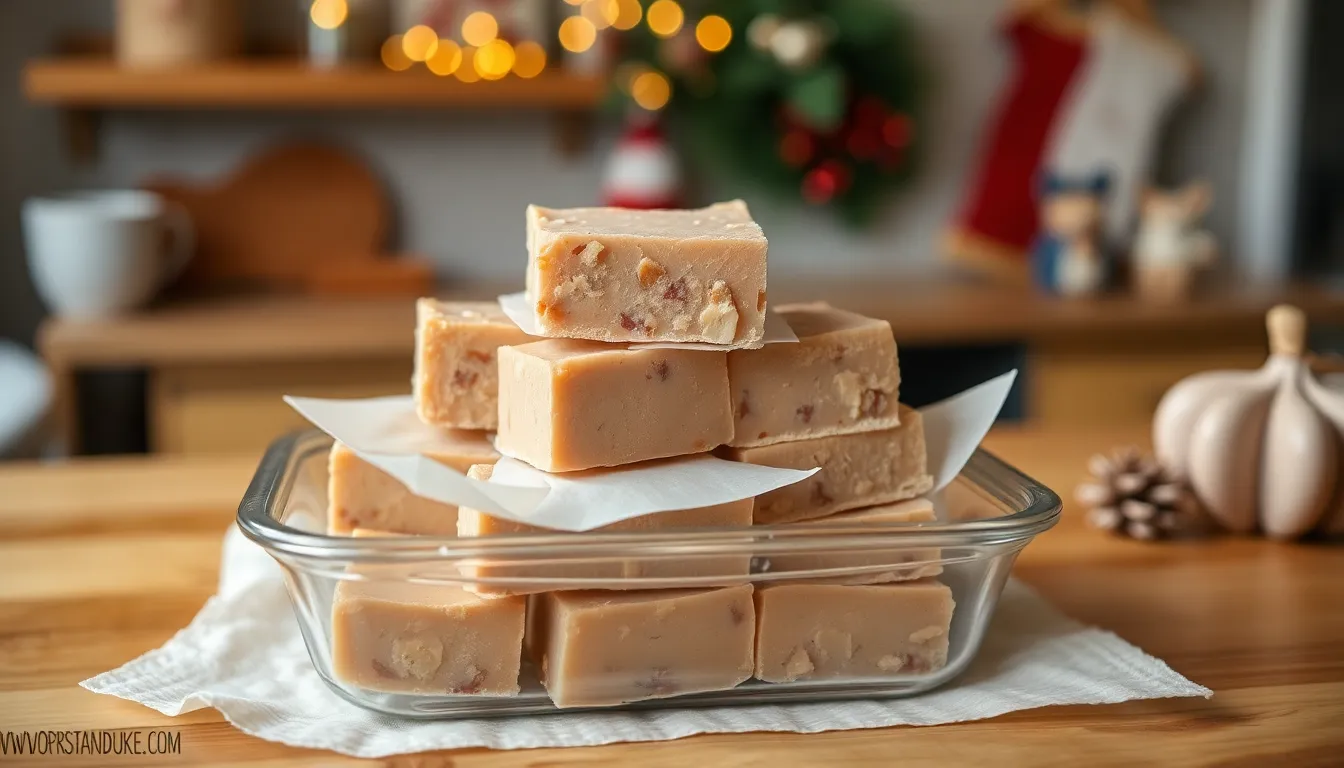
Arrange the cut pieces on a serving platter with small spaces between each square. This presentation allows guests to easily select individual portions without disturbing neighboring pieces. Store any remaining fudge in an airtight container in the refrigerator for up to one week.
Serve the fudge chilled for the best texture and flavor experience. The firm consistency at refrigerator temperature showcases the perfect balance between the creamy maple base and the crunchy walnut pieces. Room temperature serving is acceptable but may result in softer pieces that are more difficult to handle.
Storage Tips
We recommend storing your maple walnut fudge in a cool, dark place with low humidity to maintain its perfect texture and rich flavor. Keep the fudge away from strong odors and pets, as it can easily absorb unwanted flavors that will compromise the delicate maple taste we worked so hard to achieve.
Room Temperature Storage
Our maple walnut fudge typically lasts 3 to 4 weeks when stored properly at room temperature. We suggest placing the cut squares in an airtight container with parchment paper between layers to prevent sticking. This method works best in moderate climates where temperatures remain consistent.
Refrigeration Method
Refrigeration becomes essential in warm climates to prevent our fudge from becoming too soft or melting completely. We find that refrigerated storage can extend the shelf life significantly by preventing bacterial growth and mold formation. But, refrigeration may cause the fudge to dry out or become too hard if not properly wrapped.
We recommend wrapping the fudge tightly in plastic wrap or aluminum foil before placing it in an airtight container. Properly stored refrigerated fudge can last up to one month while maintaining its creamy texture and maple flavor.
Freezer Storage
For longer storage, we can freeze our maple walnut fudge using a exact wrapping technique. First, wrap individual pieces or the entire block in wax paper or parchment paper, then add plastic wrap or aluminum foil over that layer. Finally, place the wrapped fudge in an airtight container or freezer bag.
| Storage Method | Duration | Temperature |
|---|---|---|
| Room Temperature | 3-4 weeks | Cool, dark place |
| Refrigerated | Up to 1 month | 35-40°F |
| Frozen | Up to 1 year (optimal: 6 months) | 0°F |
Frozen maple walnut fudge typically remains fresh for up to one year, but we recommend consuming it within six months for optimal taste and texture. When ready to enjoy, simply thaw the fudge at room temperature for about 30 minutes before serving.
Troubleshooting Common Issues
Even experienced bakers encounter challenges when making fudge. We’ve compiled answers to the most common problems you might face with your maple walnut fudge.
Fudge Too Soft
Temperature Control: We recommend checking that your fudge mixture reaches the proper temperature range. The mixture should reach 235°F to 240°F (118°C to 115°C) for optimal consistency.
| Temperature Issue | Solution |
|---|---|
| Below 235°F | Return to heat and cook longer |
| Above 240°F | Risk of hard texture |
| No thermometer used | Always use candy thermometer |
Environmental Factors: Humidity plays a important role in fudge texture. We suggest making fudge on dry days when humidity levels are low to prevent excess moisture from affecting the final product.
Cooling Process: Stirring occasionally while the mixture cools helps prevent premature sugar crystallization. We find this technique maintains the smooth texture you’re aiming for.
Fudge Too Hard
Overcooking Prevention: Monitor your cooking temperature carefully to avoid exceeding the recommended range. We notice that temperatures above 240°F often result in hard and grainy textures.
Natural Cooling: Allow your fudge to cool slowly at room temperature rather than rushing the process. Rapid cooling methods can cause the fudge to become overly firm and difficult to cut.
Temperature Accuracy: Using a reliable candy thermometer ensures you achieve the exact temperature needed. We always recommend calibrating your thermometer before each use.
Uneven Texture
Proper Mixing Technique: Fold the toasted walnuts into the mixture evenly to distribute them throughout. We recommend gentle folding motions to avoid creating clumps or gaps.
Pan Preparation: Ensure your 8×8 inch pan is properly greased and lined with parchment paper. This preparation method allows for smooth removal and promotes even cooling across the entire surface.
Storage Answers: Store your finished fudge in an airtight container to maintain consistent texture. For longer storage periods, we suggest wrapping pieces tightly in plastic wrap and aluminum foil before freezing.
Make-Ahead Instructions
We love how this maple walnut fudge recipe allows for excellent advance preparation. Planning ahead transforms this treat into the perfect solution for busy holiday schedules or last-minute entertaining needs.
Refrigerator Storage
Our fudge stores beautifully in the refrigerator for extended periods. We recommend placing the cut squares in an airtight container with parchment paper separating each layer. This method prevents the pieces from sticking together while maintaining their perfect texture. Properly stored fudge maintains its quality for up to two weeks in the refrigerator.
Freezing for Long-Term Storage
Freezing offers the ultimate make-ahead convenience for our maple walnut fudge. We wrap individual squares in plastic wrap before placing them in freezer-safe containers or bags. This double protection prevents freezer burn and preserves the rich maple flavor. Frozen fudge retains its exceptional taste and texture for up to three months.
Thawing Instructions
We achieve the best results by thawing frozen fudge gradually in the refrigerator. Transfer the desired amount from the freezer to the refrigerator and allow it to thaw overnight. This slow thawing process maintains the fudge’s creamy consistency and prevents condensation from affecting the texture. Room temperature thawing works for immediate serving but may cause slight texture changes.
Batch Preparation Tips
We often make multiple batches during peak seasons to ensure adequate supply. Different flavored batches store well together when properly separated and labeled. Mark containers with preparation dates to track freshness and use the oldest batches first. This systematic approach guarantees consistently delicious fudge throughout the storage period.
Variations and Substitutions
We love how versatile maple walnut fudge can be with simple ingredient swaps and creative additions. Our basic recipe serves as the perfect foundation for countless delicious variations that cater to different tastes and dietary needs.
Nut Alternatives
Pecans make an excellent substitute for walnuts and provide a buttery sweetness that complements the maple flavor beautifully. We find that almonds offer a more delicate crunch and subtle flavor that allows the maple to shine through. Both alternatives should be toasted using the same method as walnuts to maximize their flavor potential.
Flavor Enhancements
Pure maple syrup can replace maple extract when you want a more intense maple taste throughout your fudge. We recommend combining it with heavy whipping cream and sugar to create an even richer base. Vanilla extract serves as a wonderful substitute for maple extract if you prefer a more traditional fudge flavor profile.
Adding chocolate creates a delightful twist on our classic recipe. We suggest folding in a handful of chocolate chips along with the walnuts for extra richness. Dark chocolate chips work particularly well as they balance the sweetness while adding depth to the overall flavor.
Texture Modifications
Marshmallow creme incorporation results in an ultra-creamy texture that melts beautifully in your mouth. This addition works especially well when using evaporated milk and light brown sugar in place of our standard cream and granulated sugar combination.
Preparation Method Options
| Method | Equipment | Time Required |
|---|---|---|
| Stovetop | Heavy saucepan + candy thermometer | 15-20 minutes |
| Microwave | Microwave-safe bowl | 8-12 minutes |
The microwave method offers convenience for busy schedules while the traditional stovetop approach gives you more control over temperature and consistency. We recommend the stovetop method for beginners as it allows better monitoring of the cooking process.
Setting and Storage Adaptations
Chilling time remains consistent across all variations at approximately one hour in the refrigerator. But, fudge made with marshmallow creme may require an additional 30 minutes to achieve the proper firmness for clean cutting.
These substitutions and variations allow you to customize our maple walnut fudge recipe to match your preferences while maintaining the perfect balance of flavors and textures that make this treat so irresistible.
Conclusion
We’ve shared everything you need to create exceptional maple walnut fudge that’ll impress everyone who tries it. This versatile recipe works perfectly for holiday gifts special occasions or simply treating yourself to something delicious.
The combination of rich maple flavor and crunchy walnuts creates an irresistible treat that’s surprisingly easy to master. With our detailed instructions troubleshooting tips and storage guidance you’ll achieve professional-quality results every time.
Whether you stick to our classic recipe or experiment with the variations we’ve suggested this maple walnut fudge will quickly become a favorite in your dessert repertoire. Happy fudge-making!
Frequently Asked Questions
What temperature should the fudge mixture reach?
The fudge mixture should reach the soft ball stage, which is between 235°F to 240°F. Use a candy thermometer to monitor the temperature accurately. This temperature range ensures the fudge will set properly and achieve the perfect creamy consistency without being too soft or too hard.
How long does maple walnut fudge last?
At room temperature in an airtight container, the fudge lasts 3-4 weeks in cool, dark places. When refrigerated, it stays fresh for up to one month. For longer storage, freeze the fudge for up to one year, though optimal taste is best within six months.
Can I substitute the walnuts with other nuts?
Yes, you can substitute walnuts with pecans, almonds, or other nuts of your choice. Toast the substitute nuts for 5-8 minutes to enhance their flavor before adding them to the fudge. The amount remains the same as specified in the original recipe.
Why is my fudge too soft or too hard?
Soft fudge usually means the mixture didn’t reach the proper temperature (235°F-240°F). Hard fudge occurs when the mixture was overcooked beyond 240°F. Humidity and cooling too quickly can also affect texture. Always use a candy thermometer and allow gradual cooling for best results.
Can I make this fudge ahead of time?
Yes, this fudge is perfect for make-ahead preparation. Store in the refrigerator for up to two weeks in an airtight container with parchment paper between layers. For longer storage, wrap individual squares in plastic wrap and freeze for up to three months.
What equipment do I need to make maple walnut fudge?
Essential equipment includes a candy thermometer, heavy-bottomed saucepan, wooden spoon or heat-resistant silicone spatula, 8×8 inch baking pan, parchment paper, accurate measuring cups and spoons, and a small bowl for toasted walnuts. These tools ensure proper temperature control and consistency.
How should I cut and serve the fudge?
Allow the fudge to come to room temperature for easier cutting. Lift the fudge block using parchment paper edges, then use a sharp chef’s knife to cut into 1-inch squares in a grid pattern. This yields approximately 64 pieces. Serve chilled for best texture.
Can I use a microwave instead of stovetop?
Yes, you can make this fudge using a microwave method. However, the stovetop method provides better temperature control. If using a microwave, heat in short intervals and stir frequently to prevent overheating. The chilling time and final texture remain the same regardless of cooking method.


