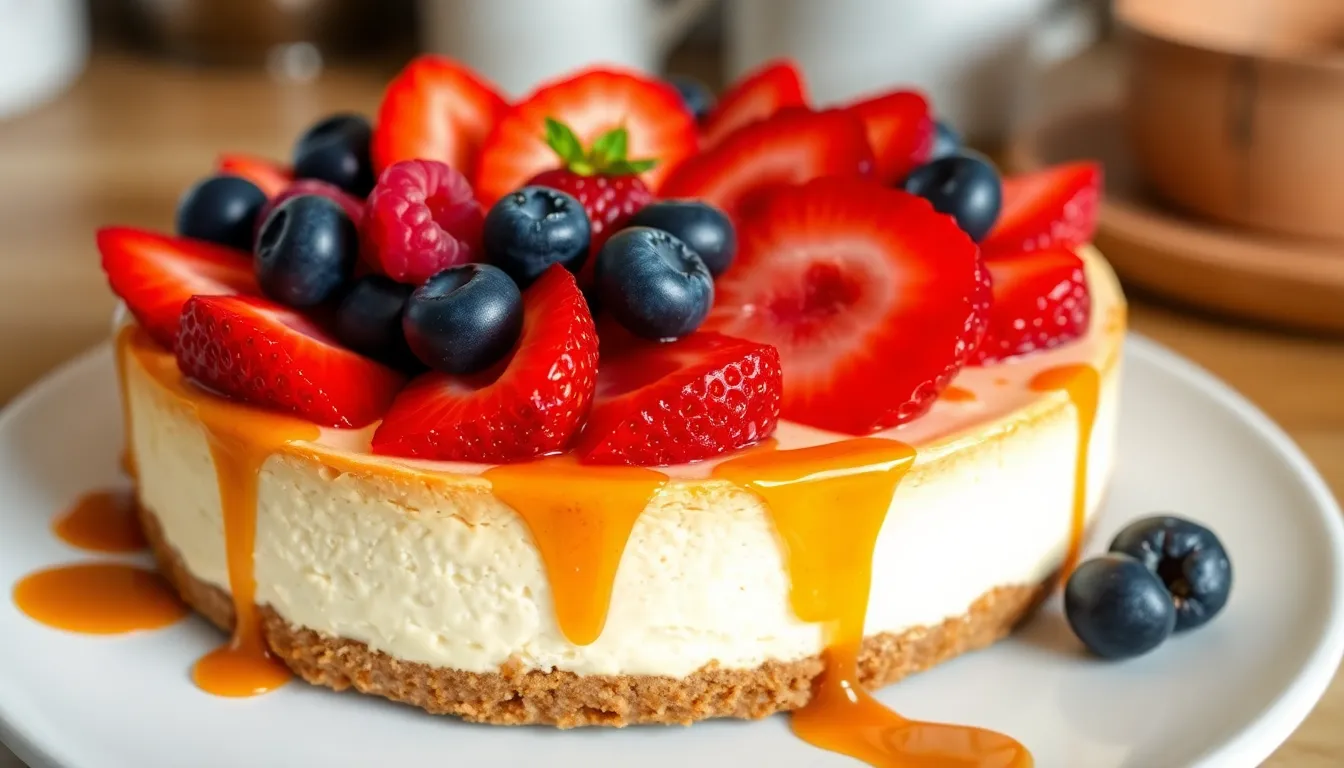
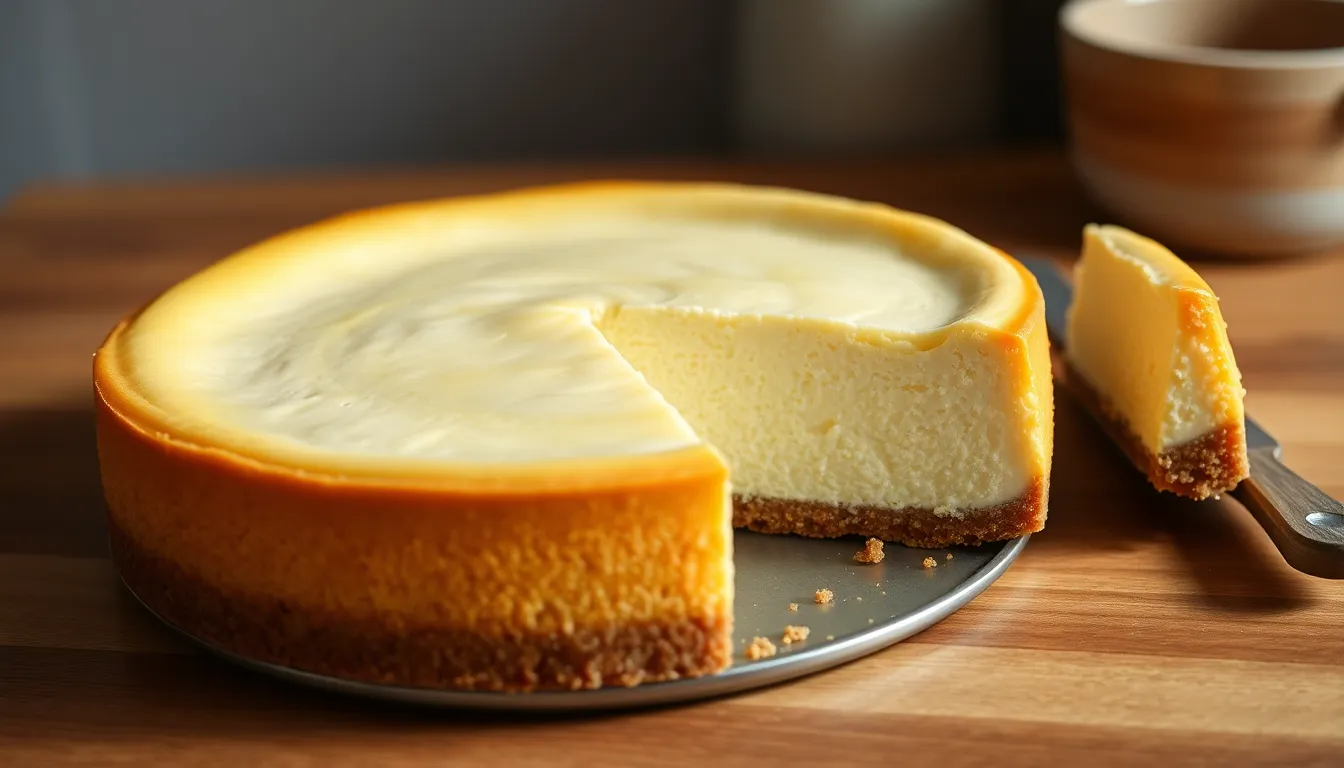
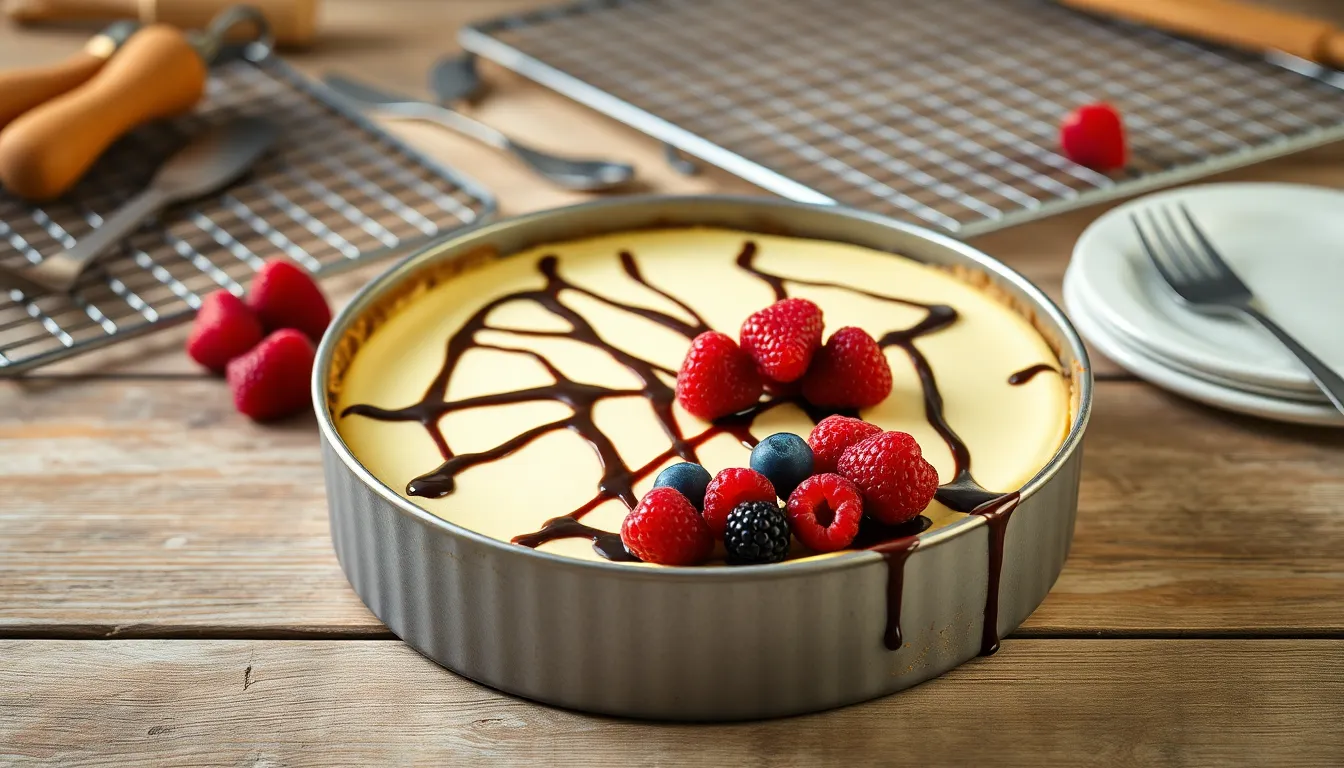
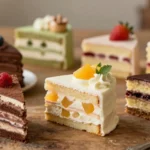
We’ve all been there – craving that perfect slice of creamy, velvety cheesecake but dreading the hefty price tag at restaurants or bakeries. What if we told you that creating bakery-quality cheesecake at home isn’t just possible but surprisingly simple? With the right techniques and our foolproof recipes, you’ll master this beloved dessert that’s been winning hearts since ancient Rome.
The secret to exceptional homemade cheesecake lies in understanding a few key principles: room temperature ingredients, gentle mixing, and proper baking techniques. Whether you’re drawn to classic New York-style, decadent chocolate, or fresh berry variations, we’ve gathered the most reliable recipes that guarantee silky smooth results every time.
From no-bake options perfect for summer entertaining to traditional baked versions that’ll impress any crowd, these homemade cheesecake recipes will transform your kitchen into a dessert destination. Let’s jump into creating cheesecakes that rival the finest establishments – all from the comfort of your own home.
Essential Equipment for Homemade Cheesecake
Creating professional-quality cheesecake at home requires exact tools that make the difference between success and disappointment. We’ve tested countless recipes and consistently found that having the right equipment eliminates most common cheesecake failures.
Springform Pan
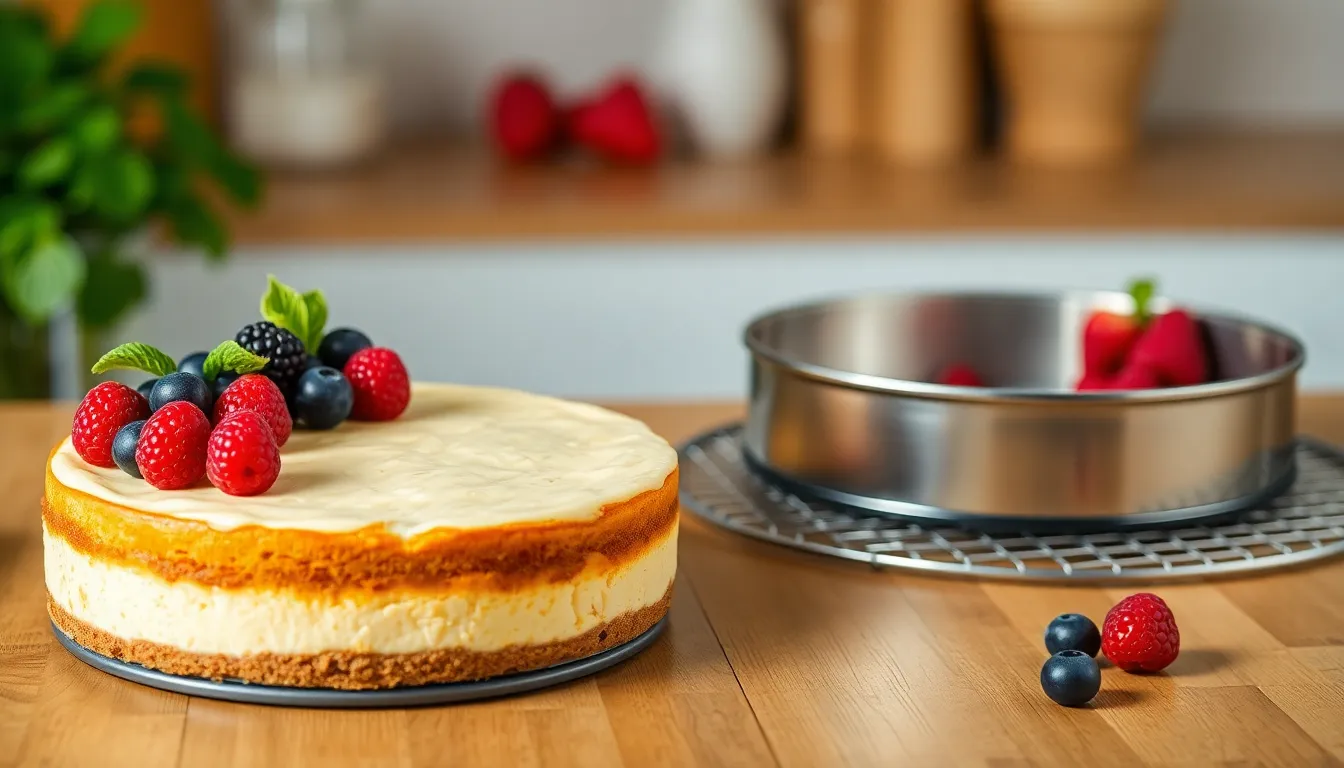
A 9-inch springform pan stands as the most crucial piece of equipment for cheesecake making. The removable sides allow us to release delicate cheesecakes without damaging their smooth surfaces or cracking the filling. We recommend choosing a pan with a tight-fitting bottom and sturdy clamps that won’t leak during water bath baking.
Stand Mixer or Hand Mixer
Cream cheese requires thorough mixing to achieve that signature smooth texture we all crave. A stand mixer with paddle attachment works best for incorporating ingredients without overbeating. Hand mixers serve as excellent alternatives when used on medium speed with frequent scraping of bowl sides.
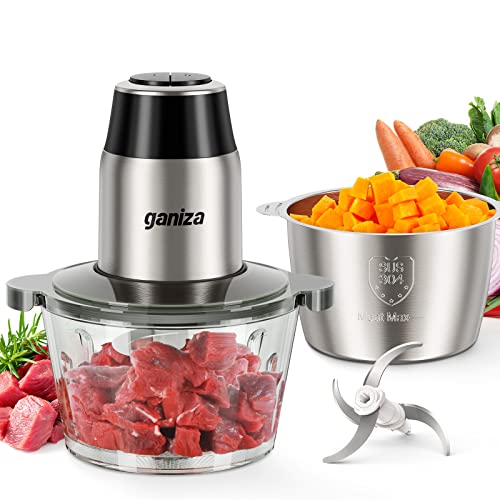
Food Processor
Breaking down cream cheese becomes effortless with a food processor. This tool creates the smoothest possible base by eliminating lumps that hand mixing often leaves behind. We process room temperature cream cheese for 30 seconds before adding other ingredients.
Large Roasting Pan
Water bath baking prevents the dreaded cracks that plague homemade cheesecakes. A roasting pan large enough to hold your springform pan with 2 inches of clearance on all sides ensures even heat distribution. The water should reach halfway up the sides of your cheesecake pan.
Digital Kitchen Scale
Precision matters tremendously in cheesecake making where ingredient ratios determine texture and flavor. We weigh cream cheese, sugar, and eggs for consistent results every time. Volume measurements can vary significantly depending on how ingredients are packed or measured.
Rubber Spatula Set
Scraping bowl sides thoroughly prevents lumps and ensures complete ingredient incorporation. We use different sized spatulas throughout the process: large ones for initial mixing and smaller ones for detailed scraping around mixer attachments.
Aluminum Foil
Heavy-duty aluminum foil creates a waterproof seal around springform pans during water bath baking. We wrap the bottom and sides of pans with two layers of foil to prevent water seepage that would create soggy crusts.
Wire Cooling Rack
Proper cooling prevents condensation from forming on cheesecake surfaces. Elevating the pan on a wire rack allows air circulation underneath and promotes even cooling. We cool cheesecakes at room temperature for one hour before refrigerating.
Basic Ingredients for Classic Cheesecake
Creating the perfect homemade cheesecake starts with quality ingredients measured precisely. We’ll break down each component to ensure your cheesecake achieves that signature creamy texture and rich flavor that rivals any bakery creation.
Crust Ingredients
The foundation of any exceptional cheesecake begins with a properly balanced crust that provides textural contrast to the smooth filling.
| Ingredient | Quantity | Notes |
|---|---|---|
| Graham Cracker Crumbs | 1 ½ to 2 cups | Finely ground for best texture |
| Granulated Sugar | 2 to 3 tablespoons | Adds sweetness and binding |
| Unsalted Butter | 5 tablespoons | Melted for easy mixing |
| Salt | ⅛ teaspoon | Enhances overall flavor |
| Ground Cinnamon | ¼ teaspoon | Optional warming spice |
We recommend using full sheets of graham crackers processed in a food processor rather than pre-bought crumbs for superior texture. The butter should be melted and slightly cooled before mixing to prevent the crumbs from becoming too wet. Adding a pinch of salt balances the sweetness while the optional cinnamon creates depth of flavor.
Filling Ingredients
Our filling ingredients create the signature dense yet creamy texture that defines classic cheesecake.
| Ingredient | Quantity | Purpose |
|---|---|---|
| Cream Cheese | 24 to 32 ounces | Primary base ingredient |
| Granulated Sugar | 1 to 1.5 cups | Sweetness and structure |
| Sour Cream or Heavy Cream | ½ to 1 cup | Adds tanginess and smoothness |
| Vanilla Extract | 1 to 2 teaspoons | Essential flavor component |
| Large Eggs | 3 to 6 eggs | Binding and richness |
| All-Purpose Flour | 3 tablespoons | Optional stabilizer |
| Lemon Zest | 1 teaspoon | Optional brightness |
| Lemon Juice | 2 teaspoons | Optional acidity balance |
Room temperature cream cheese is absolutely critical for achieving a smooth filling without lumps. We use full-fat cream cheese exclusively as low-fat versions contain more water and produce inferior texture. The eggs should also be at room temperature to incorporate evenly without overmixing.
Topping Options
These finishing touches transform a simple cheesecake into an impressive dessert presentation.
Fresh Fruit Toppings
- Sliced strawberries arranged in overlapping circles
- Fresh blueberries scattered across the surface
- Raspberries placed strategically for color contrast
Sauce Options
- Berry sauce made from fresh or frozen berries
- Chocolate ganache for rich indulgence
- Caramel sauce drizzled in decorative patterns
Creamy Additions
- Freshly whipped cream piped around the edges
- Dollops of additional sour cream for tangy contrast
We find that berry sauces complement the rich filling most effectively while chocolate ganache appeals to those preferring decadent flavors over fruit. Fresh fruit toppings should be added just before serving to maintain their vibrant appearance and prevent juice from affecting the cheesecake surface.
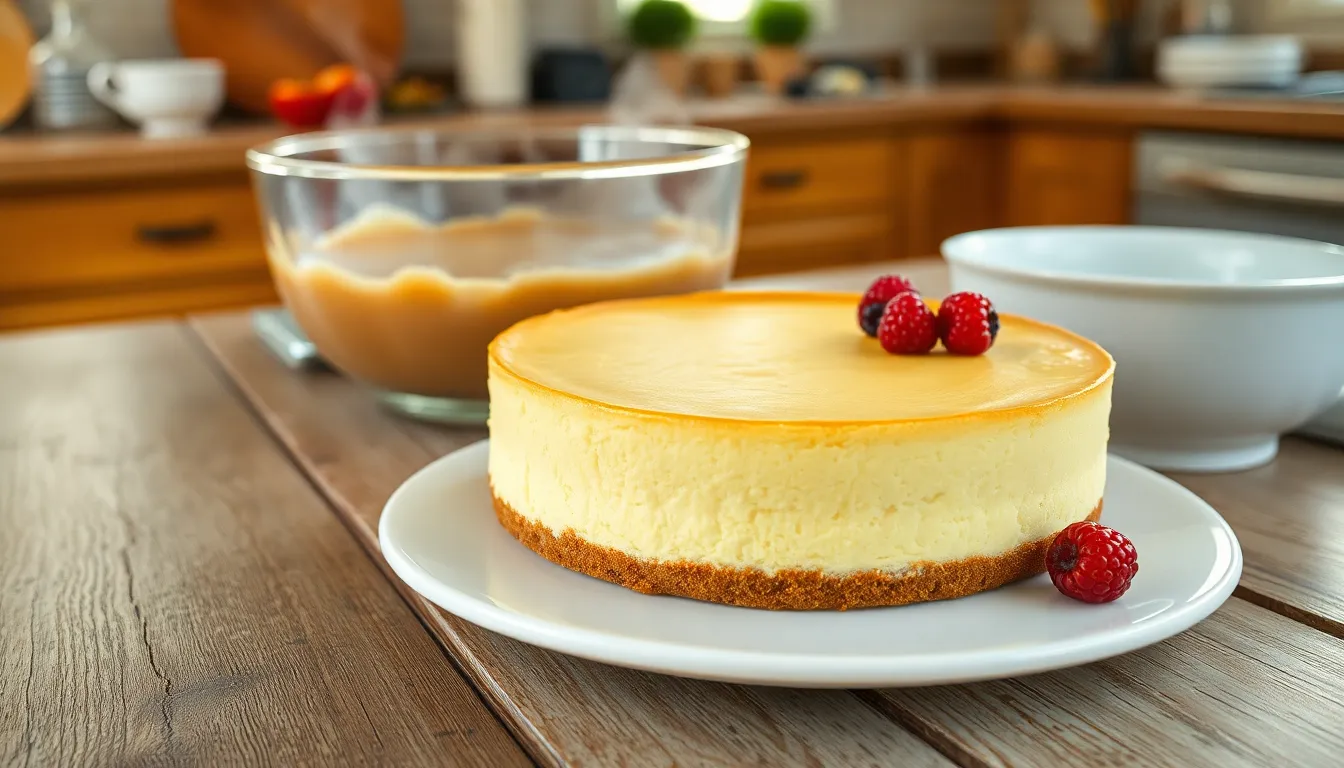
Classic New York Style Cheesecake Recipe
This iconic dessert represents the gold standard of cheesecake making with its dense creamy texture and rich tangy flavor. We’ll guide you through each step to create this bakery-quality masterpiece in your own kitchen.
Prep the Crust
The foundation of our New York style cheesecake begins with a perfectly balanced graham cracker crust. We combine these essential ingredients to create the ideal base:
- 1½ cups graham cracker crumbs
- 5 tablespoons unsalted butter, melted
- 2 tablespoons sugar
- ⅛ teaspoon salt
Mix the graham cracker crumbs with melted butter until the mixture resembles wet sand. Add sugar and salt to enhance the flavor profile and provide structure. Press this mixture firmly into the bottom of your 9 or 10 inch springform pan using the bottom of a measuring cup for even distribution.
Bake the crust at 350°F for exactly 10 minutes until it sets and develops a light golden color. This prebaking step prevents a soggy bottom and creates the perfect textural contrast to our creamy filling.
Make the Filling
Our filling requires precise technique and quality ingredients to achieve that signature New York density. Room temperature cream cheese ensures smooth mixing without lumps:
- 32 oz cream cheese (four 8-oz blocks), at room temperature
- 2 cups sugar
- 3 tablespoons all-purpose flour
- 4 teaspoons vanilla extract
- 1 teaspoon packed lemon zest
- 2 teaspoons fresh lemon juice
- ¼ teaspoon salt
- 6 large eggs
- ½ cup sour cream
Beat the cream cheese using a stand mixer until completely smooth and creamy. Gradually add sugar while continuing to beat until the mixture lightens in color. Incorporate flour to provide stability and prevent cracking during baking.
Add vanilla extract for depth of flavor along with fresh lemon zest and juice for that characteristic New York tang. Mix in salt to balance the sweetness. Add eggs one at a time and beat only until each egg disappears into the batter to avoid overmixing. Fold in sour cream gently to maintain the filling’s luxurious texture.
Bake and Cool
The water bath method ensures even cooking and prevents the dreaded cracks that can ruin your cheesecake’s appearance. Pour the prepared filling over your prebaked crust and smooth the top with an offset spatula.
Place your springform pan inside a larger roasting pan and fill the outer pan with boiling water until it reaches halfway up the sides of the springform pan. This gentle steam creates the perfect baking environment.
| Temperature | Time | Visual Cues |
|---|---|---|
| 325°F | 55-65 minutes | Edges set, center slightly jiggly |
| Oven off, door ajar | 1 hour | Gradual cooling prevents cracking |
| Room temperature | 2-3 hours | Complete cooling before refrigeration |
Bake at 325°F for 55 to 65 minutes until the edges appear set but the center maintains a slight jiggle when gently shaken. Turn off the oven and prop the door open slightly to allow gradual cooling for one full hour.
Remove the cheesecake from the water bath carefully and place on a wire rack to cool completely at room temperature. This gradual cooling process prevents thermal shock and minimizes surface cracks that can occur with rapid temperature changes.
No-Bake Cheesecake Recipe
When summer heat makes baking impractical or you want to simplify the cheesecake process, our no-bake version delivers the same creamy indulgence without turning on the oven. This foolproof method creates a luscious dessert that sets beautifully in the refrigerator.
Prepare the Base
We start with a simple graham cracker crust that requires no baking time. Combine 1 ½ cups graham cracker crumbs with ⅓ cup brown sugar and ⅓ cup melted butter in a mixing bowl. The brown sugar adds deeper flavor compared to granulated sugar while the melted butter binds everything together.
Mix these ingredients thoroughly until the mixture resembles wet sand and holds together when pressed. Press the mixture firmly into the bottom of a 9-inch springform pan using the back of a measuring cup or your fingers. Create an even layer that extends slightly up the sides for a professional appearance. Refrigerate the crust while you prepare the filling to help it set properly.
Create the No-Bake Filling
Room temperature 16 oz cream cheese (2 packages of brick-style) forms the foundation of our silky filling. Beat the cream cheese with an electric mixer until completely smooth and free of lumps. Add 1 cup powdered sugar gradually while continuing to beat until the mixture becomes light and fluffy.
Incorporate 1 teaspoon vanilla extract and 2 teaspoons fresh lemon juice to brighten the flavor profile. The lemon juice prevents the filling from becoming overly sweet while adding a subtle tang. Blend in ⅓ cup sour cream for additional richness and tang.
Heavy cream provides the structure that allows this cheesecake to set without gelatin. Whip 1 ½ cups heavy cream in a separate bowl until stiff peaks form. This step requires patience but creates the necessary volume and stability. Gently fold the whipped cream into the cream cheese mixture using a rubber spatula. Use broad sweeping motions to maintain the airiness while ensuring complete incorporation.
Chill and Set
Pour the completed filling over the prepared crust and smooth the top with an offset spatula. The filling should completely cover the crust with a level surface. Cover the springform pan tightly with plastic wrap to prevent the cheesecake from absorbing refrigerator odors.
Refrigerate the assembled cheesecake for 4 to 6 hours minimum or overnight for best results. The extended chilling time allows the filling to firm up properly and the flavors to meld together. Test for doneness by gently touching the center with your finger. The surface should feel set rather than jiggly.
| Chilling Timeline | Texture Result |
|---|---|
| 4 hours minimum | Soft set, sliceable |
| 6 hours | Firm set, clean slices |
| Overnight | Optimal texture |
Remove the cheesecake from the refrigerator 15 minutes before serving to make slicing easier. Run a thin knife around the edges before releasing the springform pan sides. Top with cherry pie filling, fresh berries, or chocolate sauce just before serving to maintain the best presentation.
Chocolate Cheesecake Variation
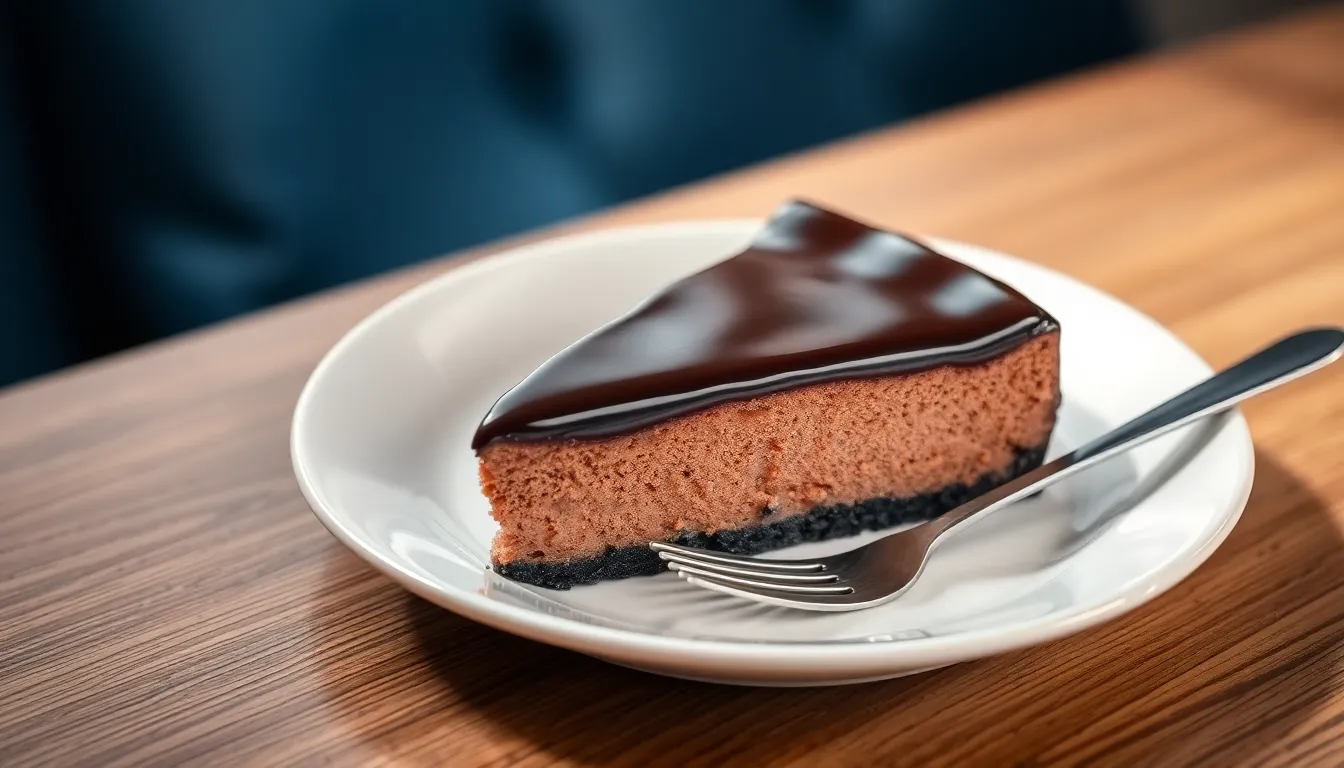
Transform your classic cheesecake into a decadent chocolate masterpiece with our rich and indulgent variation. This recipe delivers deep chocolate flavor through every layer from crust to topping.
Chocolate Crust Preparation
Creating a chocolate foundation elevates your cheesecake to new heights of indulgence. We start with chocolate sandwich cookies for our base instead of traditional graham crackers.
Ingredients:
- 24 chocolate sandwich cookies (like Oreos)
- 5 tablespoons unsalted butter, melted
Instructions:
Blend the cookies in a food processor until they form fine crumbs. Mix the ground cookies thoroughly with melted butter until the mixture holds together when pressed. Press this chocolate mixture firmly into the bottom of your springform pan, creating an even layer. Bake the crust at 350°F (175°C) for 10 minutes to set properly before adding the filling.
Rich Chocolate Filling
Double chocolate creates the ultimate luxurious texture and flavor profile for this variation. We combine both bittersweet and semisweet chocolate for complex depth.
Ingredients:
- 1 cup bittersweet chocolate
- 3/4 cup semisweet chocolate
- 24 ounces cream cheese, softened
- 1 cup granulated sugar
- 4 large eggs
- 1/4 cup sour cream
- 1 tablespoon vanilla extract
Instructions:
Melt both chocolates together in a double boiler or microwave in 30-second intervals, stirring between each interval. Beat the cream cheese until smooth and creamy in a separate large bowl. Add sugar gradually and mix until well combined. Incorporate eggs one at a time, beating gently after each addition. Blend in sour cream and vanilla extract until just combined. Fold the melted chocolate mixture into the cream cheese base, mixing until completely smooth and no streaks remain.
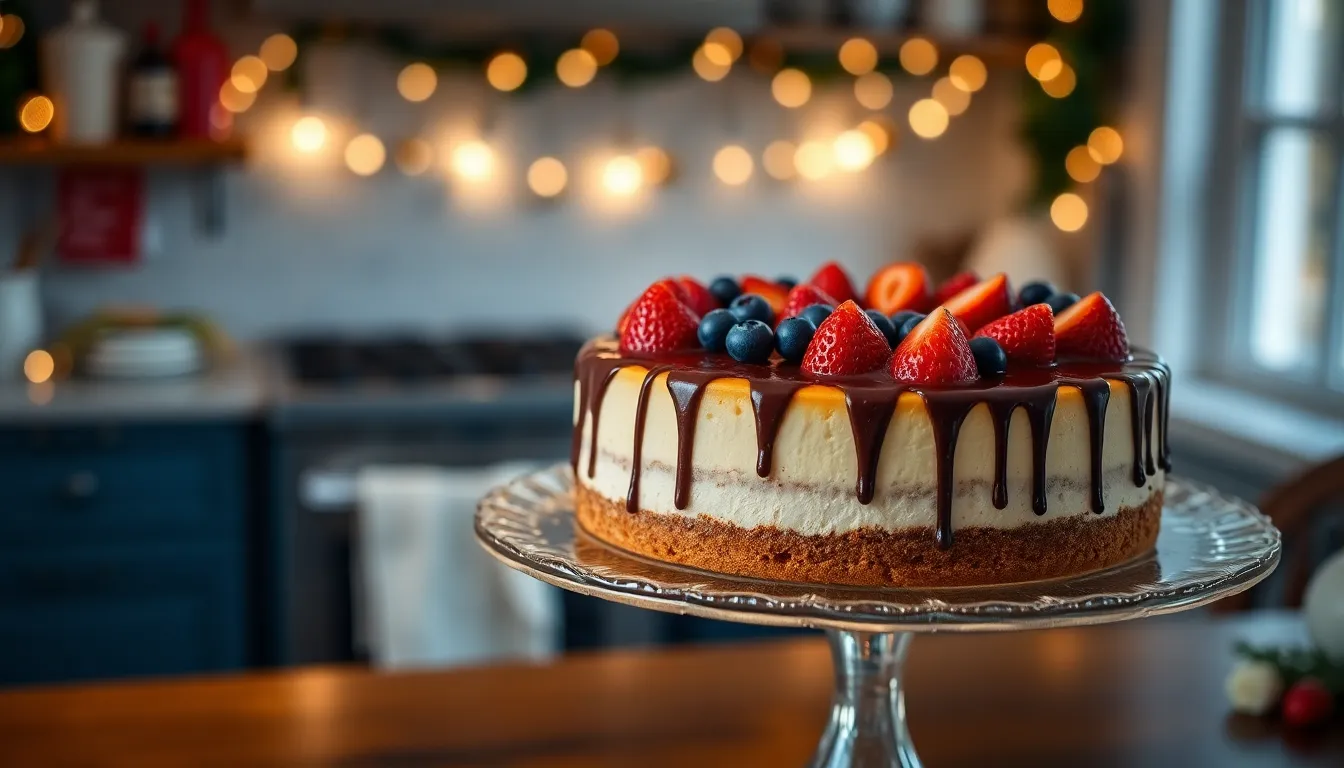
Chocolate Ganache Topping
Finish your chocolate cheesecake with a glossy ganache that adds professional polish and extra richness. This simple two-ingredient topping transforms the appearance dramatically.
Ingredients:
- 1/3 cup semisweet chocolate chips
- 1/3 cup heavy cream
Instructions:
Melt the chocolate chips in a double boiler or microwave until smooth. Warm the heavy cream slightly and gradually stir it into the melted chocolate until the mixture becomes glossy and smooth. Allow the ganache to cool for 5 minutes before pouring over your completely cooled cheesecake. Spread the ganache evenly across the surface using an offset spatula for the most professional finish.
Fruit-Topped Cheesecake Recipes
Fresh fruit transforms our classic cheesecake into vibrant seasonal desserts. These fruit-topped variations offer beautiful presentation and natural sweetness that complements the rich cream cheese base.
Strawberry Cheesecake
Fresh strawberries create the perfect balance of sweet and tart flavors on our creamy cheesecake base. We prepare this topping by selecting ripe strawberries and slicing them evenly for uniform presentation.
Strawberry Topping Ingredients:
- Fresh strawberries (2 cups sliced)
- Sugar to taste (2-3 tablespoons)
- Water (2 tablespoons for light syrup)
Preparation Steps:
- Wash and hull fresh strawberries thoroughly
- Slice strawberries into uniform ¼-inch pieces
- Combine sliced strawberries with sugar in a medium bowl
- Add water to create a light syrup consistency
- Let mixture sit for 15 minutes to develop natural juices
- Arrange strawberry mixture on top of completely cooled cheesecake
- Drizzle any remaining syrup over the surface
Blueberry Swirl Cheesecake
Blueberry swirl adds beautiful marbled patterns throughout our cheesecake while infusing every bite with berry flavor. We incorporate the blueberry mixture directly into the batter before baking for maximum flavor distribution.
Blueberry Swirl Ingredients:
- Fresh or frozen blueberries (1½ cups)
- Sugar (⅓ cup)
- Water (2 tablespoons)
- Cornstarch (1 tablespoon)
Swirl Preparation:
- Combine blueberries with sugar and water in a saucepan
- Cook over medium heat for 5-7 minutes until berries burst
- Mix cornstarch with 1 tablespoon cold water to create slurry
- Add cornstarch mixture to blueberries and stir constantly
- Continue cooking for 2-3 minutes until sauce thickens
- Cool mixture completely before adding to cheesecake batter
- Drop spoonfuls of blueberry sauce over unbaked cheesecake filling
- Use a knife to create swirl patterns through the batter
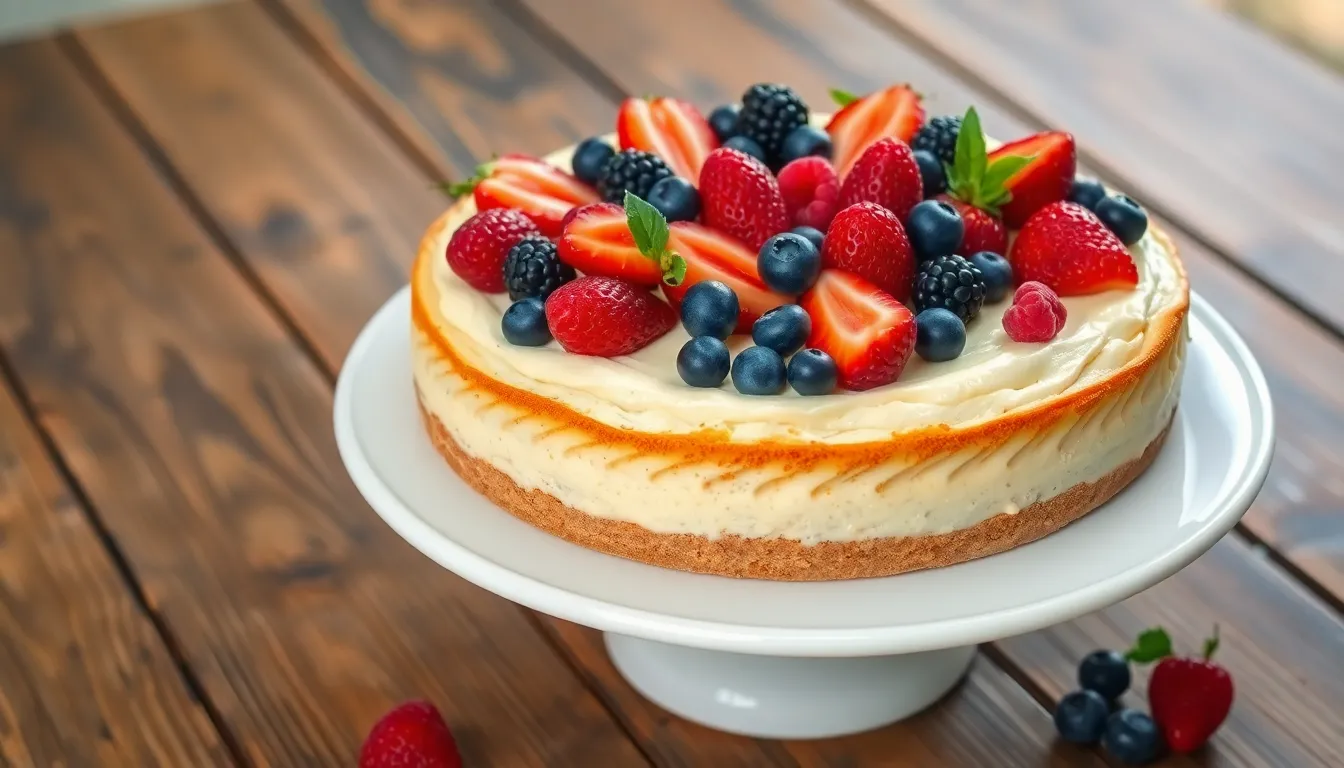
Mixed Berry Topping
Mixed berry combinations provide visual appeal and complex flavor profiles on our finished cheesecake. We select berries based on seasonal availability and color contrast for maximum impact.
Mixed Berry Ingredients:
- Fresh blueberries (½ cup)
- Fresh raspberries (½ cup)
- Fresh blackberries (½ cup)
- Fresh strawberries (½ cup sliced)
- Rinse all berries gently under cold water
- Pat berries dry with paper towels to prevent excess moisture
- Hull and slice strawberries into bite-sized pieces
- Arrange berries in concentric circles starting from the outer edge
- Alternate berry types for color variation and visual interest
- Fill center with remaining berries in a decorative pattern
- Serve immediately or refrigerate for up to 2 hours before serving
| Berry Type | Peak Season | Storage Time |
|---|---|---|
| Strawberries | April-June | 3-5 days |
| Blueberries | June-August | 5-7 days |
| Raspberries | June-October | 2-3 days |
| Blackberries | June-September | 3-4 days |
Mini Cheesecakes Recipe
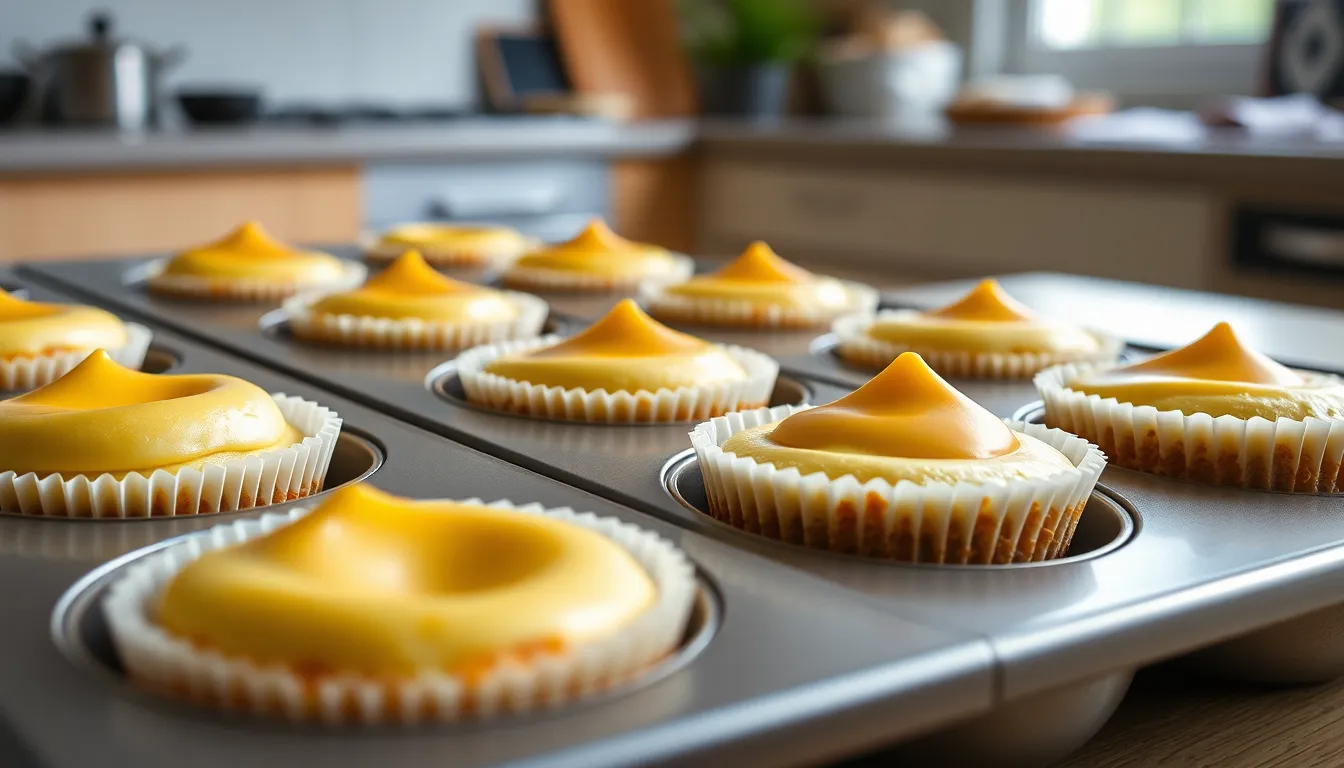
Mini cheesecakes offer the perfect solution for parties and gatherings with their bite-sized portions and elegant presentation. These individual desserts provide precise portion control while maintaining all the creamy richness of our full-sized cheesecakes.
Individual Portion Prep
We recommend using a standard 12-cup muffin tin lined with paper or foil cupcake liners for easy removal. Pre-made mini graham cracker tart crusts work exceptionally well and save preparation time while ensuring consistent results.
Graham Cracker Crust Ingredients:
- 1 cup graham cracker crumbs
- 3 tablespoons granulated sugar
- 4 tablespoons melted butter
Cheesecake Filling Ingredients:
- 16 oz cream cheese (room temperature)
- 1/2 cup sour cream
- 1/2 cup granulated sugar
- 1 teaspoon vanilla extract
- 2 large eggs
For the crust preparation we mix graham cracker crumbs with sugar then incorporate melted butter until the mixture holds together. We distribute approximately 1 tablespoon of crust mixture into each muffin liner and press firmly using the bottom of a small glass or measuring cup.
Our filling combines room temperature cream cheese with sour cream for optimal smoothness. We beat the cream cheese until fluffy then gradually add sugar and vanilla extract. Each egg gets incorporated one at a time to prevent overmixing which can cause cracks during baking.
Baking Instructions for Mini Versions
We preheat our oven to 350°F and bake the prepared crusts for 5 minutes to set the foundation. The crusts should appear lightly golden and feel firm when properly baked.
| Baking Stage | Temperature | Time | Key Indicators |
|---|---|---|---|
| Crust Pre-bake | 350°F | 5 minutes | Lightly golden and firm |
| Filled Cheesecakes | 350°F | 15-20 minutes | Edges set center slightly jiggly |
| Water Bath Method | 350°F | 25-30 minutes | Completely set throughout |
We fill each crust with cheesecake mixture leaving about 1/4 inch space at the top to prevent overflow. The filling should reach approximately 3/4 full in each liner for optimal results.
Our standard baking method requires 15-20 minutes at 350°F until the edges appear set while the centers remain slightly jiggly. For the water bath method place the muffin tin in a larger roasting pan and add hot water halfway up the sides of the muffin tin. This technique prevents cracking and ensures even cooking throughout each mini cheesecake.
We turn off the oven and crack the door slightly allowing the mini cheesecakes to cool gradually for 30 minutes. This prevents sudden temperature changes that cause surface cracks. Complete cooling occurs at room temperature for another 30 minutes before refrigerating for at least 1 hour before serving.
Make-Ahead Instructions
We love that homemade cheesecake can be prepared one day in advance for stress-free entertaining. After baking and cooling to room temperature, refrigerate the cheesecake overnight while still in the springform pan to allow proper setting and flavor development.
Storage Tips
Proper storage keeps our homemade cheesecake fresh and delicious for days. Cover the baked cheesecake tightly with plastic wrap or place it in an airtight container before refrigerating.
| Storage Method | Duration | Temperature |
|---|---|---|
| Refrigerated (covered) | 5-7 days | 35-40°F |
| Room temperature | 2 hours max | Below 70°F |
We recommend keeping the cheesecake well covered to prevent the surface from drying out. The springform pan can remain attached during short-term storage, but remove it for longer refrigeration periods to save space.
Freezing Guidelines
Freezing extends our cheesecake’s shelf life significantly when done correctly. We can freeze both whole cheesecakes and individual slices using different techniques.
Whole Cheesecake Storage:
- Wrap tightly with plastic wrap followed by aluminum foil
- Place in a freezer-safe container for extra protection
- Store for up to 2 months at 0°F or below
Individual Slice Storage:
- Wrap each slice individually in plastic wrap
- Add a layer of foil or place in airtight containers
- Freeze for up to 2 months for best quality
Thaw frozen cheesecake overnight in the refrigerator before serving. We never recommend thawing at room temperature as this can compromise texture and food safety. Individual slices thaw within 2-4 hours while whole cheesecakes require 8-12 hours for complete thawing.
Troubleshooting Common Cheesecake Problems
We understand that creating perfect homemade cheesecake can present challenges that might seem daunting. Our troubleshooting guide addresses the most common issues bakers encounter while helping you achieve professional results every time.
Preventing Cracks
Room temperature ingredients form the foundation of crack-free cheesecakes. We recommend bringing cream cheese, eggs, and sour cream to room temperature before mixing to minimize the need for aggressive beating that incorporates excess air into the batter.
Overmixing creates air bubbles that expand during baking and contract during cooling, leading to unsightly surface cracks. We mix ingredients just until smooth and combined, avoiding high speeds that introduce unwanted air.
The wobble test helps us determine proper doneness without overbaking. We gently shake the pan and look for a slight jiggle in the center about the size of a quarter while the edges remain set. Overbaked cheesecakes develop cracks as egg proteins overcook and tighten.
Water bath baking provides gentle, even heat that prevents rapid temperature changes. We wrap our springform pan tightly in heavy-duty aluminum foil and place it in a roasting pan filled with hot water halfway up the sides.
Gradual cooling prevents thermal shock that causes cracks. We turn off the oven and crack the door open, allowing the cheesecake to cool slowly for one hour before removing it completely.
Avoiding Soggy Crusts
Pre-baking creates a moisture barrier that keeps crusts crisp. We bake our graham cracker crusts at 375°F (190°C) for 8-10 minutes until they appear set and slightly golden around the edges.
Proper crust preparation ensures optimal texture and prevents leakage. We grind graham crackers into fine, uniform crumbs using a food processor and press the mixture firmly into the bottom and slightly up the sides of our springform pan.
| Crust Component | Amount | Purpose |
|---|---|---|
| Graham cracker crumbs | 1.5 cups finely ground | Base structure |
| Melted butter | 5-6 tablespoons | Binding agent |
| Granulated sugar | 2-3 tablespoons | Sweetness and binding |
Sealing the pan seam prevents water from the water bath from seeping into the crust. We ensure our crust mixture covers the seam where the bottom meets the sides of the springform pan, creating a complete seal.
Fixing Texture Issues
Cold ingredients create lumpy, dense textures that resist smooth blending. We place cold eggs in warm water for 5-10 minutes and use the microwave to soften butter in 10-second intervals until it reaches room temperature.
Overmixing after adding eggs creates soft, unstable textures that fail to set properly. We beat eggs into the cream cheese mixture one at a time on low speed, mixing just until each egg disappears into the batter.
Proper mixing techniques ensure silky smooth textures without overworking the batter. We use a stand mixer with a paddle attachment or hand mixer on medium-low speed, scraping down the bowl sides frequently to incorporate all ingredients evenly.
Quality ingredients produce superior textures that distinguish homemade cheesecakes from store-bought versions. We use full-fat cream cheese, never reduced-fat versions that contain stabilizers and produce grainy textures.
Avoiding food processors and blenders prevents overprocessing that breaks down the cream cheese structure. We stick to traditional mixing methods that preserve the creamy consistency essential for professional-quality results.
Serving and Presentation Tips
Timing plays a crucial role in cheesecake presentation success. We recommend decorating your cheesecake just before serving to prevent toppings from making the dessert soggy. This approach ensures each slice maintains its pristine appearance and optimal texture.
Selecting the Perfect Toppings
Popular topping choices transform ordinary cheesecake into extraordinary desserts. Strawberry purees create vibrant color contrast while blueberry purees add natural sweetness. Melted chocolate drizzles provide rich indulgence whereas caramel sauce offers buttery complexity. Chopped nuts like pecans contribute satisfying crunch and visual appeal.
Professional Cutting Techniques
Sharp knife usage ensures clean slice edges without drag marks through the filling. We suggest wiping the blade between cuts to maintain neat presentation. Dental floss also works effectively for cutting through dense cheesecake layers without disturbing the structure.
Elegant Serving Presentations
Decorative platters elevate homemade cheesecake to restaurant quality appearance. Cake stands create height and drama for special occasions. Individual dessert plates allow for personalized garnish arrangements around each slice.
Creative Garnish Options
Lemon zest adds bright citrus notes and colorful flecks across the surface. Fresh mint sprigs provide aromatic freshness and natural green accents. Chocolate shavings create sophisticated texture contrast while improving the dessert’s visual appeal.
Interactive Serving Ideas
Toppings bars let guests customize their cheesecake experience with various fruits chocolates and nuts. This approach works particularly well for parties and gatherings where preferences vary. Small bowls containing different toppings encourage creativity and engagement among your guests.
Conclusion
We’ve equipped you with everything you need to create stunning homemade cheesecakes that’ll impress your family and friends. From classic New York-style to decadent chocolate variations and refreshing no-bake options there’s a recipe here for every occasion and skill level.
Remember that patience is your best friend when making cheesecake. Room temperature ingredients proper mixing techniques and gradual cooling will help you avoid common pitfalls and achieve that perfect creamy texture every time.
Whether you’re preparing individual mini cheesecakes for a party or making a show-stopping full-sized dessert these recipes and techniques will save you money while delivering bakery-quality results. Start with our classic recipe and experiment with different flavors and toppings to make each cheesecake uniquely yours.
Frequently Asked Questions
What essential equipment do I need to make homemade cheesecake?
You’ll need a 9-inch springform pan, stand or hand mixer, food processor, large roasting pan for water baths, digital kitchen scale, rubber spatula set, heavy-duty aluminum foil, and a wire cooling rack. These tools ensure professional-quality results and make the process much easier.
Why is it important to use room temperature ingredients for cheesecake?
Room temperature ingredients blend more easily and create a smoother, lump-free filling. Cold cream cheese and eggs can cause lumps and require overmixing, which incorporates air bubbles that may lead to cracks during baking.
How do I prevent my cheesecake from cracking?
Use room temperature ingredients, avoid overmixing, bake in a water bath for even heat distribution, and use the wobble test to check doneness. Cool gradually by turning off the oven and leaving the door slightly open before refrigerating.
Can I make cheesecake ahead of time?
Yes, cheesecake actually improves when made a day in advance. Cover and refrigerate for up to 5 days, or freeze whole cheesecakes for up to 3 months. Individual slices can be frozen for up to 1 month. Thaw frozen cheesecake overnight in the refrigerator.
What’s the difference between baked and no-bake cheesecake?
Baked cheesecakes use eggs for structure and have a denser, creamier texture. No-bake versions rely on gelatin or whipped cream for setting and have a lighter, mousse-like consistency. No-bake cheesecakes are perfect for summer and require no oven time.
How do I know when my cheesecake is done baking?
Use the wobble test: gently shake the pan. The center should jiggle slightly like set Jell-O, while the edges remain firm. The internal temperature should reach 150°F. Avoid overbaking, as this causes cracks and a dry texture.
What’s the best way to cut cheesecake cleanly?
Use a sharp, thin-bladed knife dipped in warm water between each cut. Wipe the blade clean after each slice. For extra clean cuts, use unflavored dental floss. Cut slowly and steadily for professional-looking slices.
How should I store leftover cheesecake?
Cover tightly with plastic wrap or store in an airtight container in the refrigerator for up to 5 days. For longer storage, wrap individual slices in plastic wrap and freeze for up to 1 month. Always thaw in the refrigerator.
