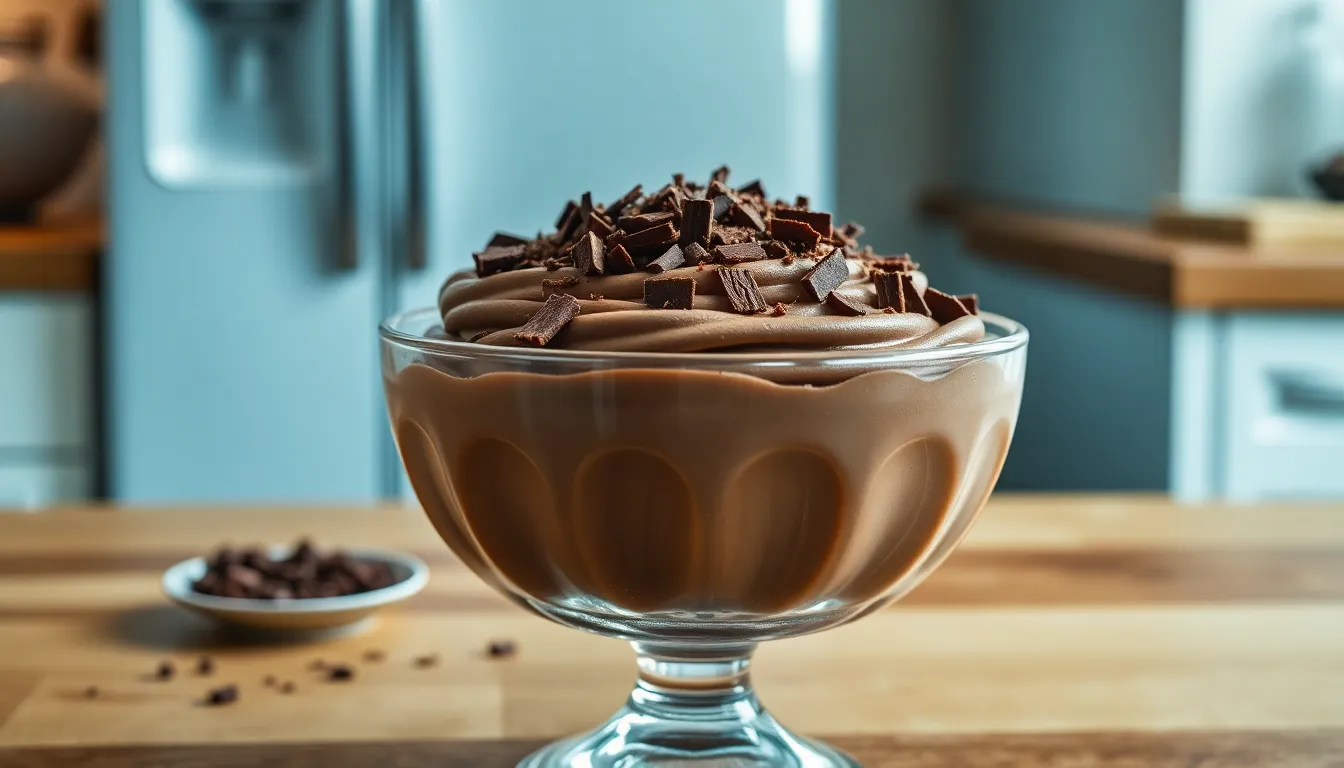
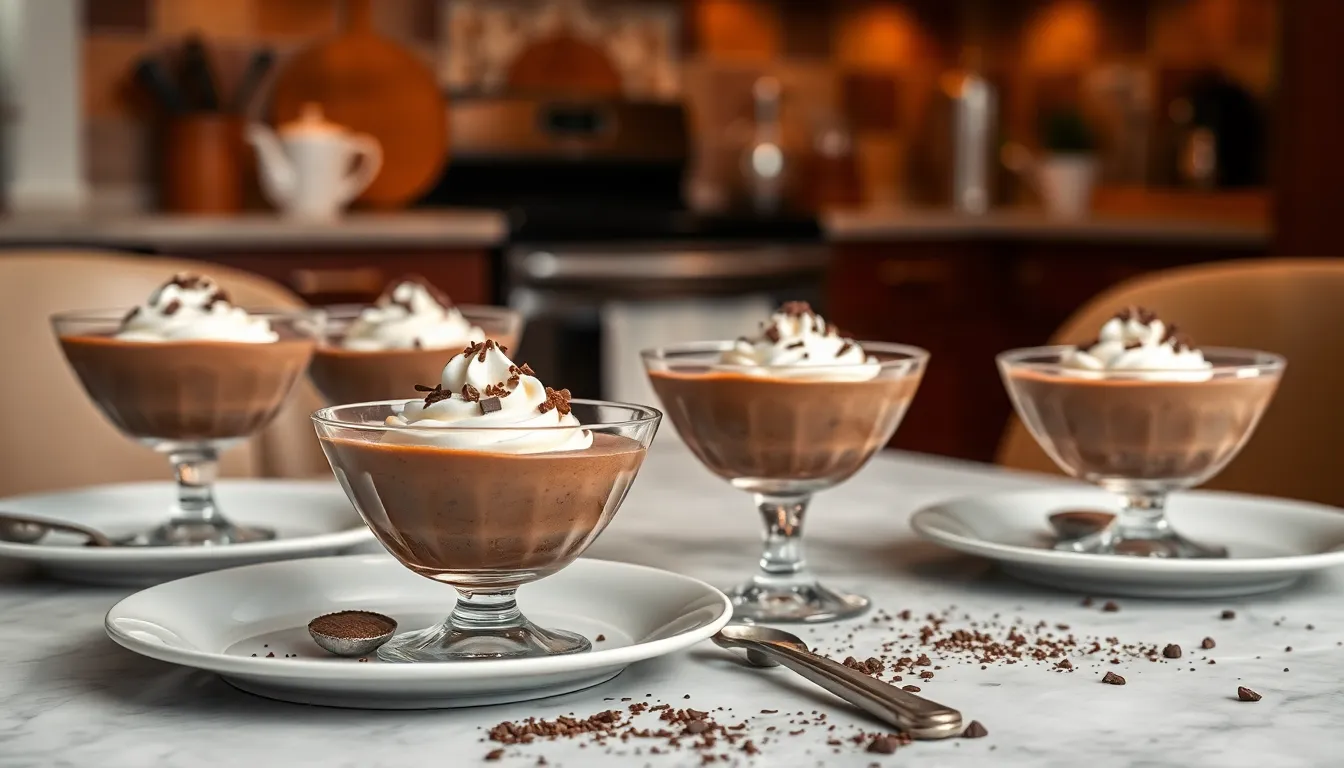
We’ve discovered the perfect dessert that combines two of life’s greatest pleasures: rich chocolate and bold coffee. This coffee chocolate mousse delivers an incredibly smooth and luxurious texture while packing a delightful caffeine kick that’ll awaken your taste buds.
What makes this dessert truly special is how the coffee enhances the chocolate’s depth without overpowering it. We’re talking about a sophisticated flavor profile that’s surprisingly easy to achieve at home. The best part? You don’t need any fancy equipment or complicated techniques to create this restaurant-quality treat.
Whether you’re hosting a dinner party or simply treating yourself after a long day, this mousse strikes the perfect balance between indulgent and energizing. It’s light enough to end a heavy meal yet rich enough to satisfy your deepest chocolate cravings. Plus, you can make it ahead of time, making it the ideal make-ahead dessert for any occasion.
Ingredients
We’ve carefully selected each ingredient to create the perfect balance of coffee and chocolate flavors in this luxurious mousse. Our recipe breaks down into three simple components that layer together beautifully.
For the Coffee Base
- 1/2 cup strong brewed espresso or coffee, cooled
- 2 tablespoons coffee liqueur (optional)
- 1 tablespoon granulated sugar
- 1 teaspoon vanilla extract
For the Chocolate Mousse
- 6 oz high-quality dark chocolate (70% cocoa), finely chopped
- 3 large egg yolks
- 1/4 cup granulated sugar
- 1 1/4 cups heavy cream, divided
- 2 tablespoons unsalted butter
- Pinch of salt
- 3 large egg whites
- 2 tablespoons powdered sugar
For the Whipped Cream Topping
- 1 cup heavy cream, chilled
- 3 tablespoons powdered sugar
- 1 teaspoon vanilla extract
- Cocoa powder for dusting
- Dark chocolate shavings for garnish (optional)
Equipment Needed
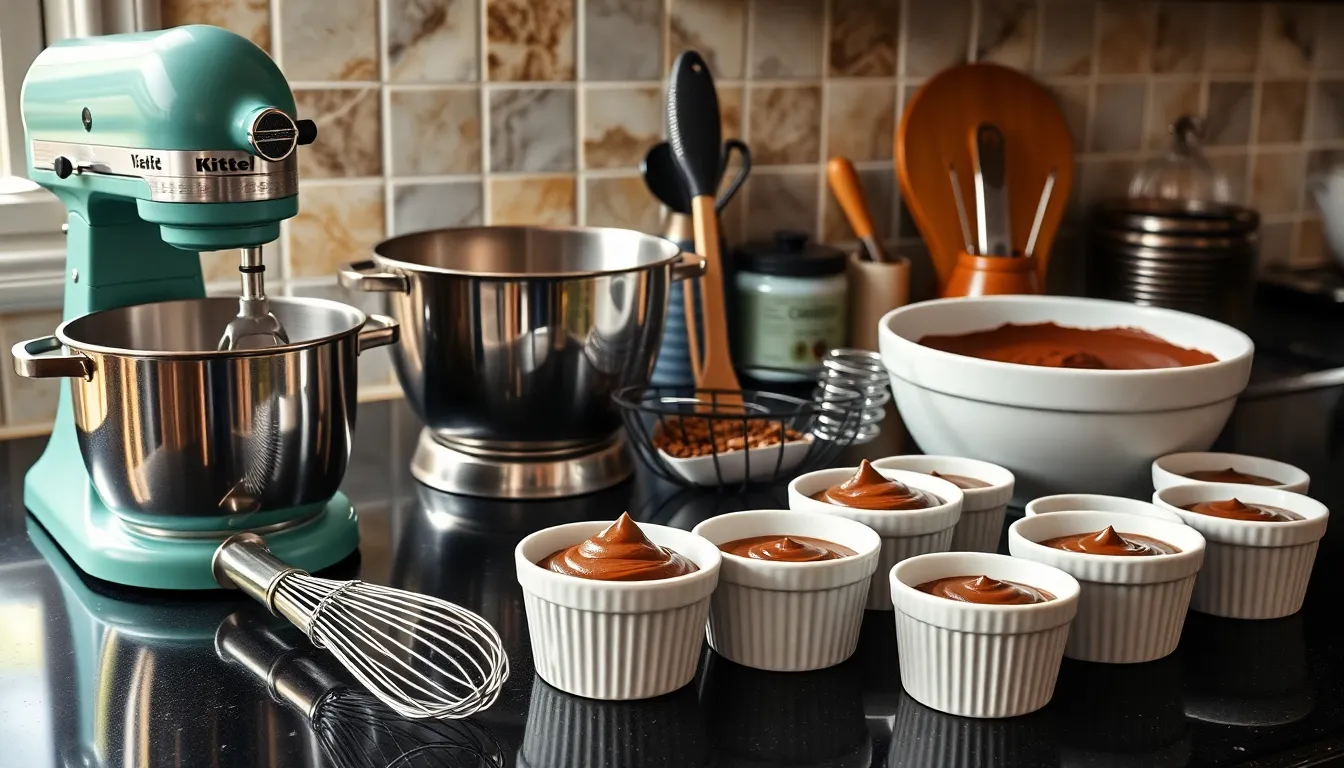
We believe having the right tools makes all the difference when creating this decadent coffee chocolate mousse. Our recipe requires basic kitchen equipment that most home cooks already have in their kitchens.
Double boiler or heavy-bottomed saucepan serves as our primary tool for melting chocolate smoothly without burning. We recommend using a double boiler for the most controlled heat but a heavy saucepan works perfectly when you monitor the temperature carefully.
Electric mixer or whisk becomes essential for whipping cream and beating egg whites to perfect peaks. Stand mixers offer the most convenience but hand mixers work wonderfully for smaller batches.
Large mixing bowls provide adequate space for folding ingredients together gently. We suggest using at least two medium to large bowls to keep our coffee mixture and whipped components separate during preparation.
Wire whisk or rubber spatula helps us fold ingredients without deflating the airy texture we’ve worked to create. Rubber spatulas give us better control when incorporating delicate whipped cream into our chocolate base.
Individual serving dishes or ramekins showcase our finished mousse beautifully. We prefer glass or ceramic dishes that hold approximately 4 to 6 ounces each for elegant presentation.
Measuring cups and spoons ensure accuracy in our recipe proportions. Precise measurements become crucial when working with chocolate and cream ratios for the perfect texture.
Fine mesh strainer removes any lumps from our coffee mixture if needed. This optional tool helps achieve the silkiest possible mousse texture when we want restaurant quality results.
Instructions
Now that we have our ingredients and equipment ready, let’s walk through each step to create this decadent coffee chocolate mousse. The process involves five key stages that build upon each other to achieve the perfect texture and flavor.
Prep the Coffee Base
We begin by preparing our coffee foundation using either strong brewed coffee or espresso powder. If using liquid coffee, allow it to cool completely before proceeding with the recipe. For espresso powder, we recommend mixing it with a small amount of hot water to create a concentrated coffee base. Combine 2 tablespoons of espresso powder with 2 tablespoons of hot water and stir until fully dissolved. Add our coffee liqueur, sugar, and vanilla extract to this mixture and whisk until the sugar completely dissolves. Set this aromatic base aside while we prepare the chocolate component.
Prepare the Chocolate Mixture
We start by melting our dark chocolate using either a double boiler or microwave method. For the double boiler approach, place chopped chocolate in the top bowl and heat gently until smooth and glossy. If using a microwave, heat the chocolate in 30-second intervals, stirring between each interval to prevent burning. Once our chocolate reaches a silky consistency, we gradually whisk in the heavy cream and sugar until the mixture becomes uniform. The gentle heating process ensures our chocolate melts evenly without seizing or becoming grainy.
Whip the Cream
We achieve the perfect texture by whipping our heavy cream until it forms stiff peaks. Using an electric mixer makes this process much easier and more consistent than hand whisking. Chill our mixing bowl and beaters in the refrigerator for 15 minutes beforehand to help the cream whip faster and maintain its structure. Start mixing on medium speed and gradually increase to high speed as the cream begins to thicken. Watch carefully as the cream transforms from liquid to soft peaks and finally to the stiff peaks we need for our mousse.
Fold and Combine
This crucial step requires gentle technique to preserve the airy texture we’ve created. We carefully fold the whipped cream into our chocolate-coffee mixture using a rubber spatula or large spoon. Start by adding one-third of the whipped cream to lighten the chocolate mixture, then gradually fold in the remaining cream using gentle over-and-under motions. Avoid stirring or mixing vigorously, as this will deflate the delicate air bubbles that give our mousse its signature lightness.
Chill and Set
We transfer our finished mousse into individual serving dishes or ramekins for elegant presentation. Cover each portion with plastic wrap, ensuring the wrap touches the surface to prevent a skin from forming. Refrigerate our mousse for at least 2 to 3 hours, though overnight chilling produces the best results. This extended chilling time allows the mousse to set properly and develop its firm yet creamy texture that makes each spoonful a perfect balance of coffee and chocolate flavors.
Serving Suggestions
Our coffee chocolate mousse transforms any occasion into something special with the right presentation and garnishes. We can elevate this decadent dessert through thoughtful serving choices that enhance both its visual appeal and flavor profile.
Garnish Options
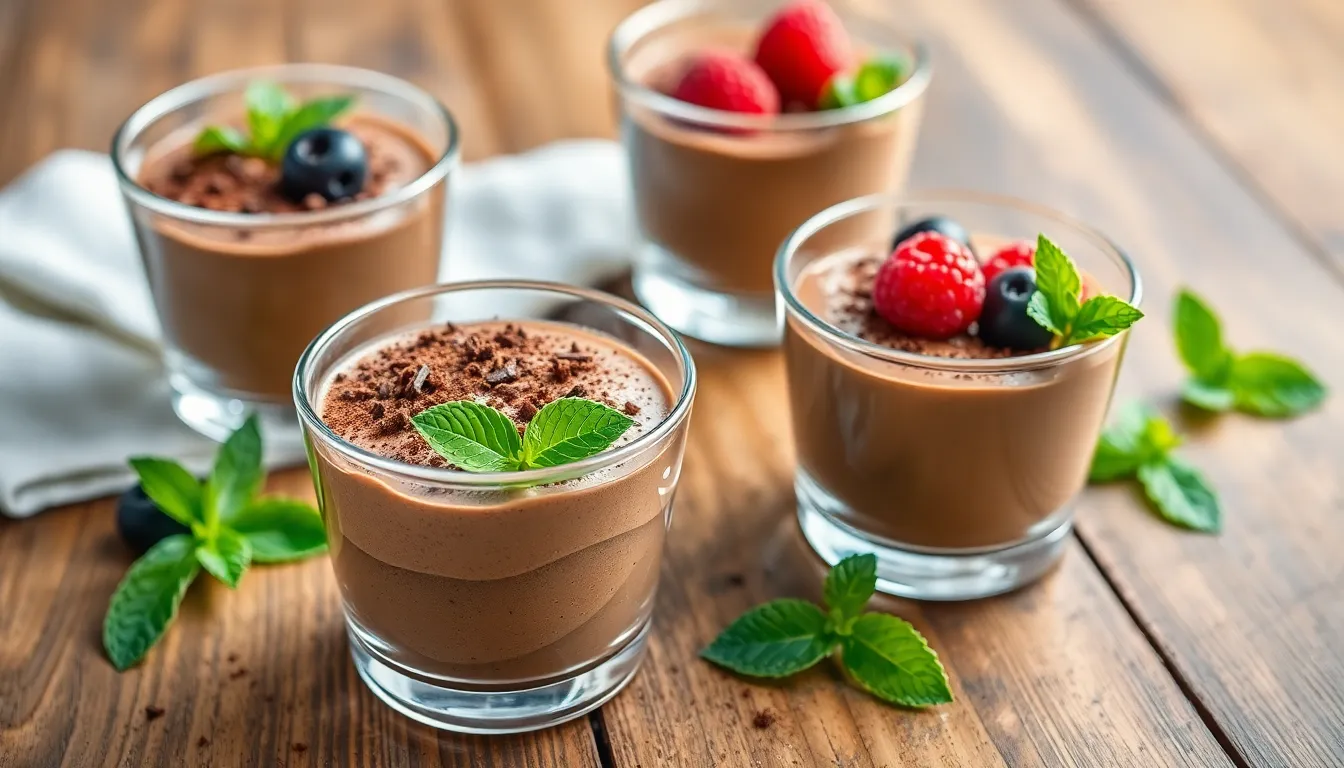
Dusting the mousse with cocoa powder creates an elegant finishing touch that intensifies the chocolate flavor. We recommend using high-quality unsweetened cocoa powder for the best taste and appearance.
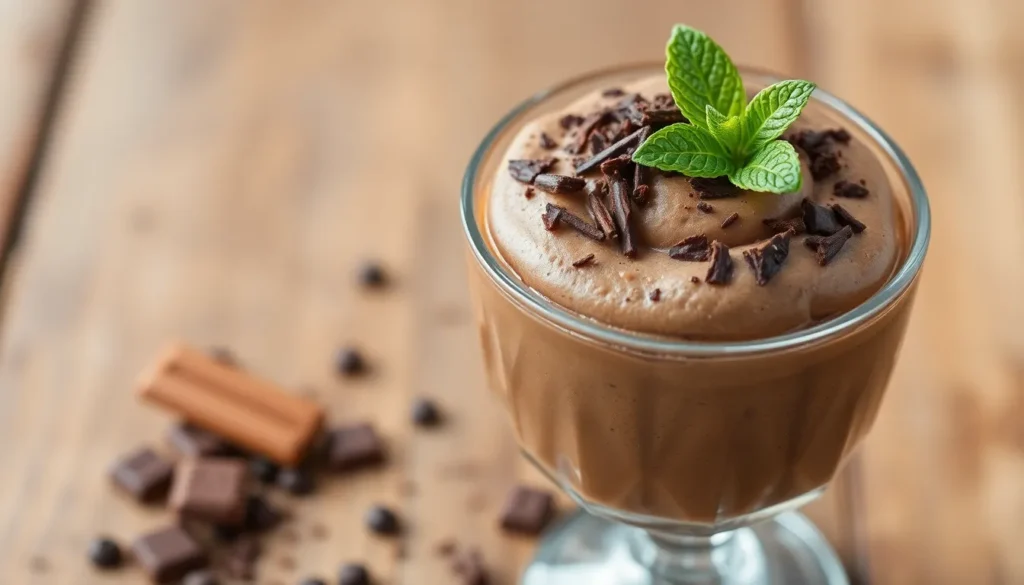
Shaved chocolate curls add luxury and texture to each serving. Dark chocolate shavings work particularly well since they complement the mousse’s rich base without overwhelming the coffee notes.
Fresh berries provide a delightful contrast to the mousse’s richness. Raspberries and strawberries offer bright acidity that cuts through the dessert’s decadent texture while adding vibrant color.
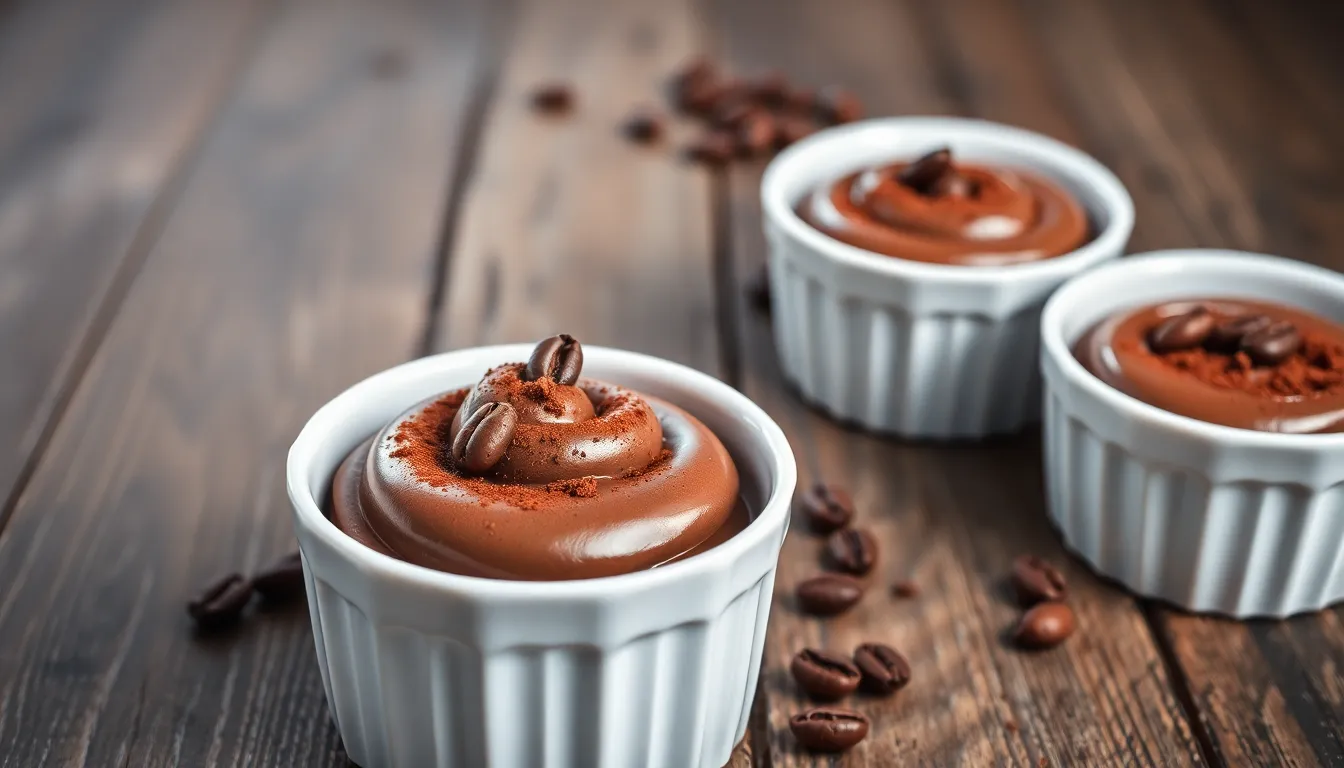
Chocolate covered coffee beans create the perfect flavor marriage between the two main ingredients. These crunchy garnishes reinforce the coffee chocolate theme while providing textural interest.
Whipped cream dollops enhance the mousse’s already luxurious mouthfeel. We suggest lightly sweetened cream to avoid competing with the dessert’s carefully balanced flavors.
Mint leaves bring freshness and aromatic appeal to the presentation. A single sprig per serving adds a pop of green color that contrasts beautifully with the dark mousse.
Presentation Tips
Clear glass cups showcase the mousse’s silky texture and rich color most effectively. Transparent serving vessels allow guests to appreciate the dessert’s visual appeal before the first taste.
Chilling the mousse properly maintains its shape and prevents melting during service. We recommend serving within 30 minutes of removing from the refrigerator for optimal consistency.
Layering different garnishes creates visual depth and interest. Combining cocoa powder with fresh fruit and chocolate shavings produces restaurant quality presentation at home.
Individual ramekins or small bowls portion the dessert perfectly for dinner parties. This serving method ensures each guest receives an equal amount while maintaining elegant presentation.
Serving spoons should be small to match the dessert’s rich intensity. Demitasse spoons or small dessert spoons allow guests to savor each bite without overwhelming their palate.
Storage Instructions
We recommend storing your coffee chocolate mousse in the refrigerator immediately after it has set. The mousse requires proper refrigeration to maintain its creamy texture and prevent spoilage of the dairy ingredients.
Refrigerator Storage
Cover each serving dish or the entire batch with plastic wrap to prevent the mousse from absorbing other flavors in your refrigerator. Our coffee chocolate mousse stays fresh for up to two weeks when stored properly in the fridge. The cool temperature helps maintain the whipped cream’s structure while preserving the rich chocolate and coffee flavors.
| Storage Method | Duration | Temperature | Quality Impact |
|---|---|---|---|
| Refrigerator | Up to 2 weeks | 35-40°F | Maintains optimal texture |
| Room Temperature | 2-3 hours max | 68-72°F | Begins to melt quickly |
| Freezer | 1-2 months | 0°F | Texture becomes less smooth |
Temperature Sensitivity Guidelines
Coffee chocolate mousse melts rapidly at room temperature due to its high whipped cream content. We advise keeping the dessert chilled until just before serving to preserve its elegant presentation. The mousse sets beautifully when refrigerated but loses its structure within 2-3 hours if left unrefrigerated.
Freezer Storage Options
Transfer the mousse to freezer-safe containers if you need longer storage beyond two weeks. While freezing extends the storage life to 1-2 months the texture becomes less smooth after thawing. We suggest consuming frozen mousse within this timeframe for the best quality.
Serving Temperature Management
Keep the mousse chilled during transport or serving at events. Individual serving cups work best for maintaining structure and preventing melting during longer serving periods. We recommend removing the mousse from refrigeration only when ready to serve to ensure optimal texture and presentation.
Make-Ahead Tips
Planning ahead transforms this coffee chocolate mousse into the perfect dessert for entertaining. We recommend preparing the mousse up to 5 days in advance to allow maximum flexibility for your schedule.
Refrigerator Storage Strategy
Cover each serving dish tightly with plastic wrap to prevent the mousse from absorbing refrigerator odors or developing a skin on top. The mousse maintains its creamy texture and rich flavor when properly stored in the refrigerator for up to 5 days. Place the covered dishes on a flat shelf away from strong-smelling foods to preserve the delicate coffee chocolate balance.
Freezing for Extended Storage
Freeze the mousse for longer storage periods when needed. Transfer individual portions to freezer-safe containers and freeze for up to 1-2 months. Thaw frozen mousse slowly in the refrigerator for 4-6 hours before serving to maintain optimal texture. The consistency may become slightly less smooth after freezing but the flavor remains excellent.
Quick Chilling Techniques
Speed up the setting process by placing the mousse in the freezer for 1 hour when time is limited. Stir the mousse every 10-15 minutes during this rapid chilling to prevent ice crystals from forming at the edges. Return the mousse to the refrigerator once it reaches the desired consistency.
Timing and Assembly Tips
Keep toppings like whipped cream and chocolate shavings separate until just before serving to maintain their texture and appearance. Remove the mousse from the refrigerator 15-20 minutes before serving to achieve the best flavor profile and creamy consistency. Check the texture after whipping and return to the refrigerator for 10 minutes if the mousse seems too soft.
Conclusion
We’ve discovered that coffee chocolate mousse isn’t just another dessert—it’s a perfect marriage of two beloved flavors that creates something truly extraordinary. The combination of rich chocolate and bold coffee delivers a sophisticated treat that’s surprisingly simple to master in your own kitchen.
This versatile dessert gives you the freedom to impress guests at dinner parties or enjoy a luxurious moment alone. With proper storage techniques you can prepare it days ahead and the make-ahead nature means less stress when entertaining.
Whether you’re a seasoned baker or just starting your culinary journey this coffee chocolate mousse recipe offers the perfect balance of elegance and accessibility. We’re confident you’ll find this dessert becomes a regular favorite in your recipe collection.
Frequently Asked Questions
What makes coffee chocolate mousse different from regular chocolate mousse?
Coffee chocolate mousse combines rich dark chocolate with bold espresso flavors, creating a sophisticated dessert with a subtle caffeine kick. The coffee enhances the chocolate’s depth without overpowering it, resulting in a more complex flavor profile than traditional chocolate mousse while maintaining the same smooth, airy texture.
How long does it take to make coffee chocolate mousse?
The active preparation time is about 30-45 minutes, involving making the coffee base, melting chocolate, whipping cream, and folding ingredients together. However, the mousse requires 2-3 hours of chilling time to properly set, so plan for at least 3-4 hours total from start to finish.
Can I make coffee chocolate mousse ahead of time?
Yes, coffee chocolate mousse is an excellent make-ahead dessert. It can be prepared up to 2 days in advance and stored covered in the refrigerator. The flavors actually improve as they meld together, making it perfect for dinner parties or special occasions.
Do I need special equipment to make this mousse?
No fancy equipment is required. You’ll need basic kitchen tools: a double boiler or heavy-bottomed saucepan, electric mixer or whisk, mixing bowls, measuring cups, and individual serving dishes. Most home cooks already have these items, making this recipe accessible to everyone.
How should I store leftover coffee chocolate mousse?
Store the mousse covered with plastic wrap in the refrigerator for up to 5 days. For longer storage, it can be frozen for 1-2 months, though the texture may become less smooth after thawing. Always keep it chilled and cover tightly to prevent odor absorption.
What are the best garnish options for coffee chocolate mousse?
Popular garnishes include dusting with cocoa powder, adding dark chocolate shavings, fresh berries for color contrast, chocolate-covered coffee beans, whipped cream dollops, and fresh mint leaves. These additions enhance both the visual appeal and complement the rich coffee-chocolate flavors.
Can I substitute ingredients in the coffee chocolate mousse recipe?
While the basic recipe works best as written, you can make small adjustments. Use decaf coffee for a caffeine-free version, substitute coffee liqueur with strong espresso, or use milk chocolate instead of dark chocolate for a milder flavor. However, maintain the ratios for proper texture.
How do I know when the mousse is properly set?
The mousse is ready when it holds its shape and has a firm but creamy consistency. After 2-3 hours of chilling, gently touch the surface – it should spring back slightly and not leave an indentation. The texture should be smooth and stable enough to hold garnishes.
