Nothing beats the rich, creamy sweetness of homemade butterscotch fudge when you’re craving something truly indulgent. This classic confection combines the deep, caramelized flavors of brown butter and brown sugar with silky smooth texture that melts perfectly on your tongue.
We’ve perfected this foolproof recipe that delivers bakery-quality results right from your own kitchen. Unlike store-bought versions loaded with artificial flavors, our butterscotch fudge uses simple, wholesome ingredients that create an authentic taste you’ll absolutely love.
Whether you’re planning holiday gifts, special occasion treats, or simply want to satisfy your sweet tooth, this easy butterscotch fudge recipe comes together in just minutes. The hardest part? Waiting for it to set before diving in! With our step-by-step instructions, you’ll create perfectly smooth, rich fudge that rivals any candy shop creation.
Ingredients
We use simple pantry staples to create this rich butterscotch fudge that rivals any confectionery shop creation. Our ingredient list focuses on quality components that work together to achieve the perfect balance of sweetness and depth.
For the Butterscotch Base:
- 2 cups packed light brown sugar
- 1 cup heavy cream
- 6 tablespoons unsalted butter
- 2 tablespoons light corn syrup
- 1 teaspoon vanilla extract
- 1/2 teaspoon sea salt
For Assembly:
- 3 cups powdered sugar, sifted
- 1/2 cup chopped toasted pecans (optional)
- Additional sea salt for sprinkling
Brown sugar serves as our primary sweetening agent and delivers the signature butterscotch flavor profile we crave. Heavy cream provides the luxurious texture that makes each bite melt smoothly on your tongue. Butter adds richness while helping achieve the proper fudge consistency during the cooking process.
Light corn syrup prevents crystallization and ensures our fudge maintains its smooth texture rather than becoming grainy. Vanilla extract enhances the caramelized notes without overpowering the butterscotch essence. Sea salt balances the sweetness and amplifies all the other flavors in our recipe.
Powdered sugar transforms the cooked butterscotch mixture into proper fudge consistency when beaten in gradually. Toasted pecans add a delightful crunch and nutty complement to the sweet butterscotch base. Extra sea salt on top creates a gourmet finish that elevates this homemade treat above store-bought alternatives.
Equipment Needed
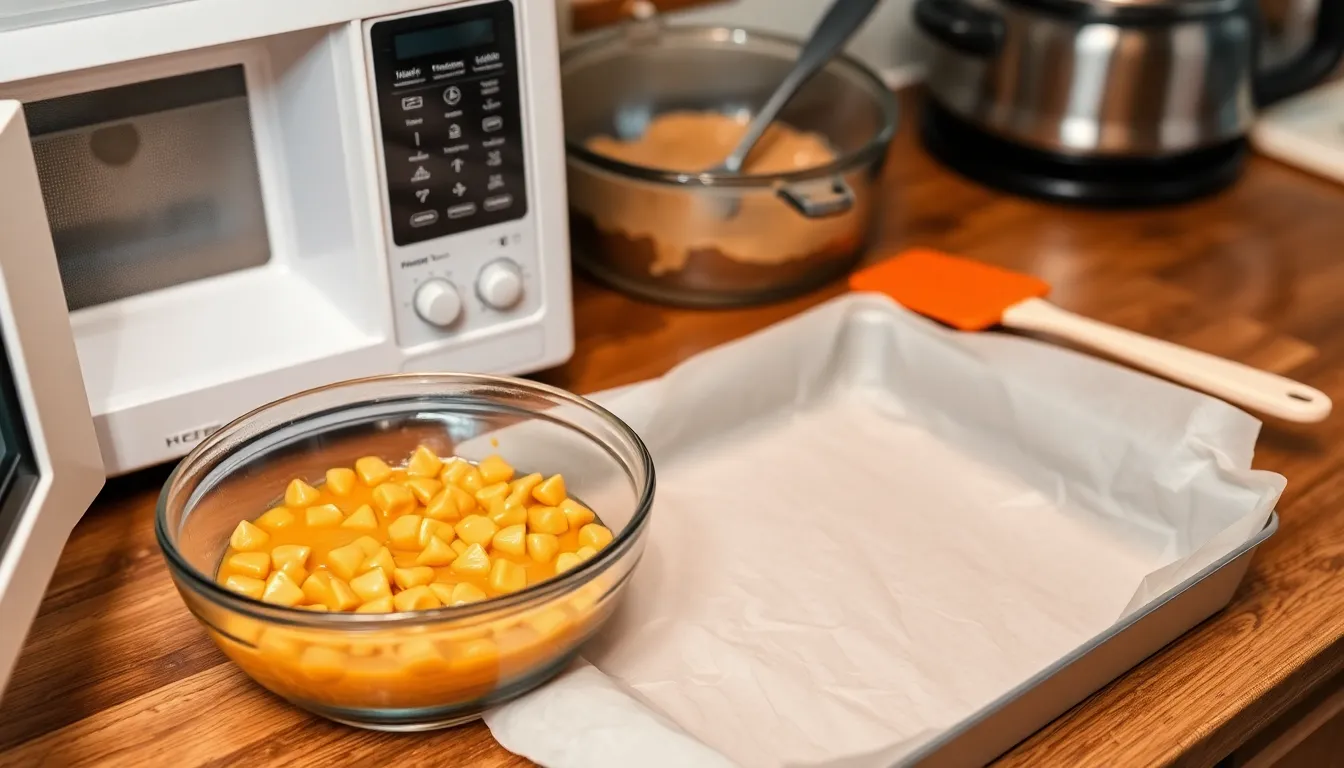
Creating our butterscotch fudge requires minimal kitchen equipment that most home bakers already have on hand. We recommend gathering these essential tools before starting to ensure a smooth cooking process.
Essential Equipment:
- Microwave-safe bowl: We use this for melting our butterscotch chips and condensed milk mixture safely and efficiently
- 7×11-inch or 8×8-inch pan: This size provides the perfect thickness for our fudge squares
- Parchment or wax paper: We line our pan with this to ensure easy removal once the fudge sets
- Spatula: A sturdy spatula helps us mix ingredients thoroughly and scrape every bit from our bowl
The beauty of this recipe lies in its simplicity. We don’t need specialized candy thermometers or complex equipment that many fudge recipes demand. Our microwave method eliminates the guesswork while still delivering professional results.
For those planning to make larger batches or considering commercial production, companies like Savage Bros offer advanced confectionery equipment including fudge cookers and mixers. Calico Cottage and Gold Medal Products Co. also provide specialized fudge making equipment for expanded operations.
| Equipment Type | Purpose | Size/Specification |
|---|---|---|
| Microwave-safe bowl | Melting ingredients | Large enough for 2.5 cups chips |
| Baking pan | Setting fudge | 7×11-inch or 8×8-inch |
| Parchment paper | Easy removal | Cut to fit pan bottom |
| Spatula | Mixing and scraping | Heat-resistant preferred |
We recommend having all equipment ready and lined before beginning since butterscotch fudge sets quickly once mixed. This preparation ensures we can work efficiently while our mixture remains at the optimal temperature.
Instructions
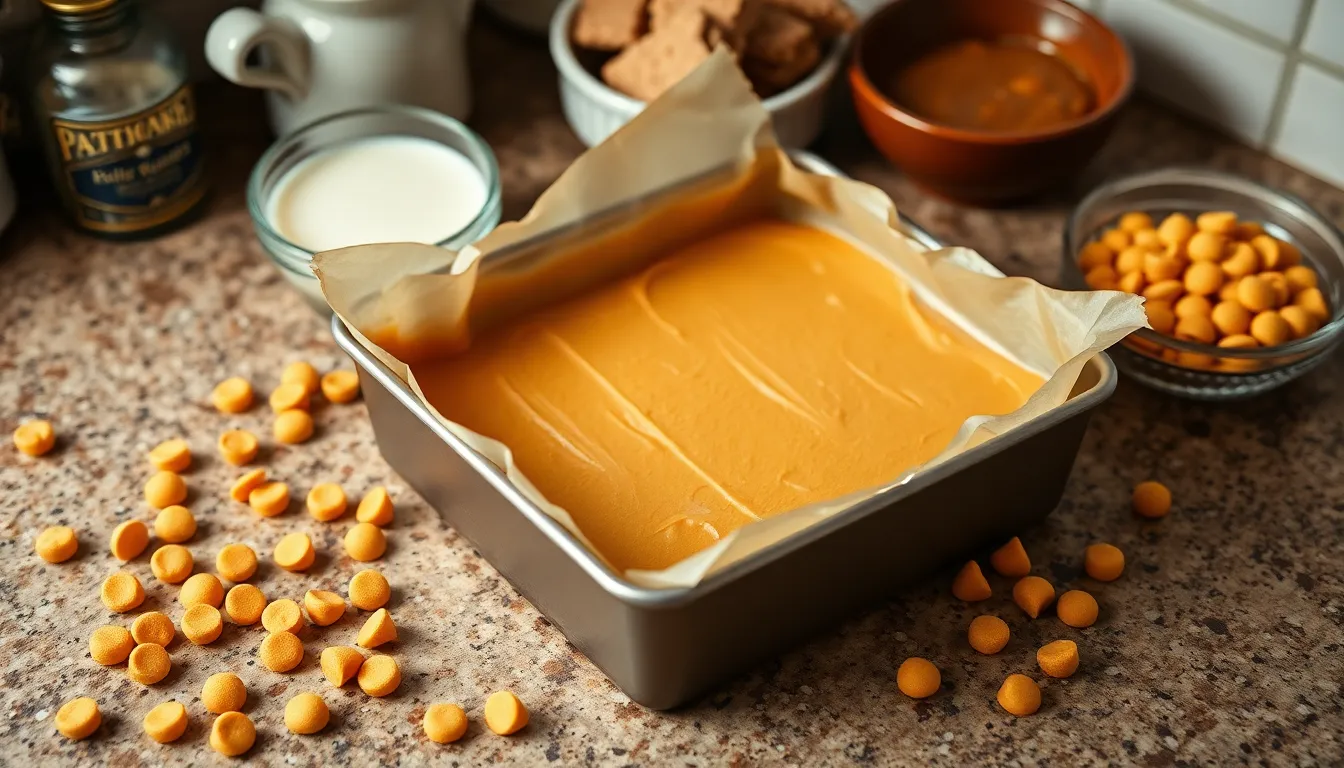
Follow these straightforward steps to create our rich and creamy butterscotch fudge. We’ve streamlined the process to ensure foolproof results every time.
Prep the Pan
Line your 8×8-inch or 7×11-inch baking pan with parchment paper or wax paper, leaving some overhang for easy removal. We recommend greasing the paper lightly with butter to prevent any sticking. This preparation step ensures clean removal and perfect squares when we cut the finished fudge.
Make the Fudge Base
Microwave Method: Combine butterscotch chips and sweetened condensed milk in our microwave-safe bowl. Heat the mixture on high power for 2 to 3 minutes, checking every 30 seconds to prevent overheating. Stir thoroughly until the mixture becomes completely smooth and glossy.
Stovetop Method: Place butterscotch chips and sweetened condensed milk in a heavy saucepan over low heat. Stir continuously while warming the mixture until all chips melt completely and blend into a smooth consistency. Keep the heat low to prevent burning or seizing.
Add Butterscotch Flavor
Stir in vanilla extract immediately after achieving our smooth base mixture. Add any optional ingredients like toasted pecans at this stage, folding them gently into the warm fudge. We can enhance the flavor profile by incorporating a pinch of sea salt for depth.
Test for Doneness
Check that our butterscotch mixture flows smoothly off the spatula without any visible chip pieces remaining. The fudge should appear glossy and uniform in color throughout. Unlike traditional candy making, we don’t need to test temperature since our method relies on properly melted ingredients.
Cool and Set
Pour the smooth fudge mixture into our prepared pan, spreading it evenly with the spatula. Allow the fudge to cool at room temperature for 30 minutes before transferring to the refrigerator. Refrigerate for 2 to 3 hours until completely firm and set before cutting into squares.
Directions for Cutting and Serving
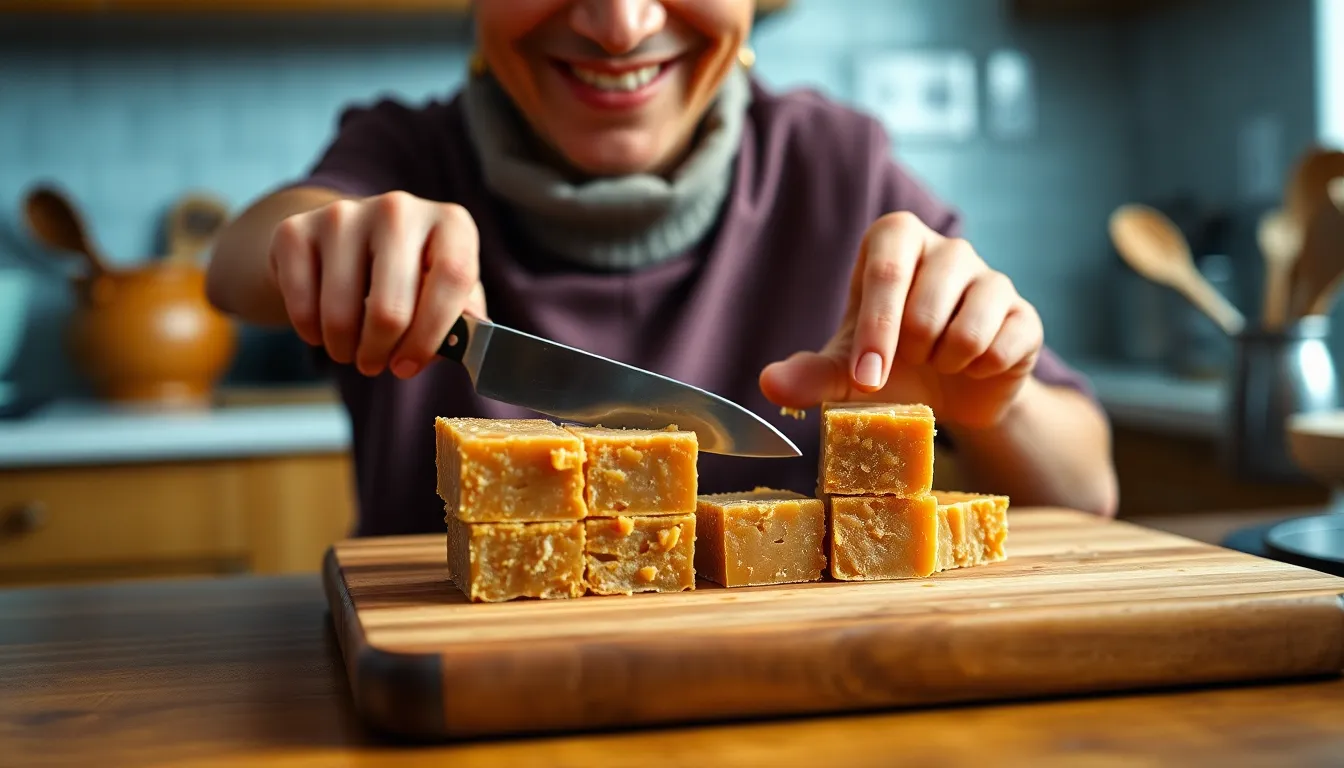
After our butterscotch fudge has cooled to room temperature and set in the refrigerator, we can begin the cutting process to create perfect squares. The fudge needs to cool and set in the fridge for at least a couple of hours until it feels firm to the touch. Sometimes this process requires additional time depending on humidity and temperature conditions.
Preparing to Cut the Fudge
We start by removing the fudge from the refrigerator and lifting it from the pan using the parchment paper overhang. A sharp knife works best for creating clean cuts through the dense texture. If the knife becomes sticky during cutting, we recommend spraying it with cooking oil or briefly heating it under hot water before wiping it completely dry.
For fudge that feels too soft for cutting, we place it in the freezer for 15 to 30 minutes to achieve the ideal firmness. This extra step prevents the squares from losing their shape or creating messy edges.
Cutting Technique
We slice the fudge into uniform squares using steady downward pressure with our sharp knife. Each cut should be deliberate and clean to maintain the professional appearance of our homemade treat. The typical serving size creates squares that are approximately 1 to 1.5 inches per side.
Storage and Serving Options
Once cut, our butterscotch fudge maintains its quality when stored at room temperature or in the refrigerator. We keep the pieces covered to preserve their freshness and prevent them from absorbing other flavors.
The fudge serves beautifully on its own or as a versatile dessert component. We can use it as a rich topping for vanilla ice cream or incorporate pieces into cake batters for added sweetness.
Presentation Tips
For enhanced visual appeal, we garnish our fudge squares with toasted pecans or chocolate shavings. A light sprinkle of extra sea salt on top elevates the butterscotch flavor and creates an attractive finish.
Troubleshooting Common Issues
When our fudge appears too greasy after cutting, we spread it out on a marble or granite slab and let it rest for one minute. We then scrape and flatten it repeatedly using a spatula until the excess oil incorporates back into the mixture, restoring the proper texture.
Storage Tips
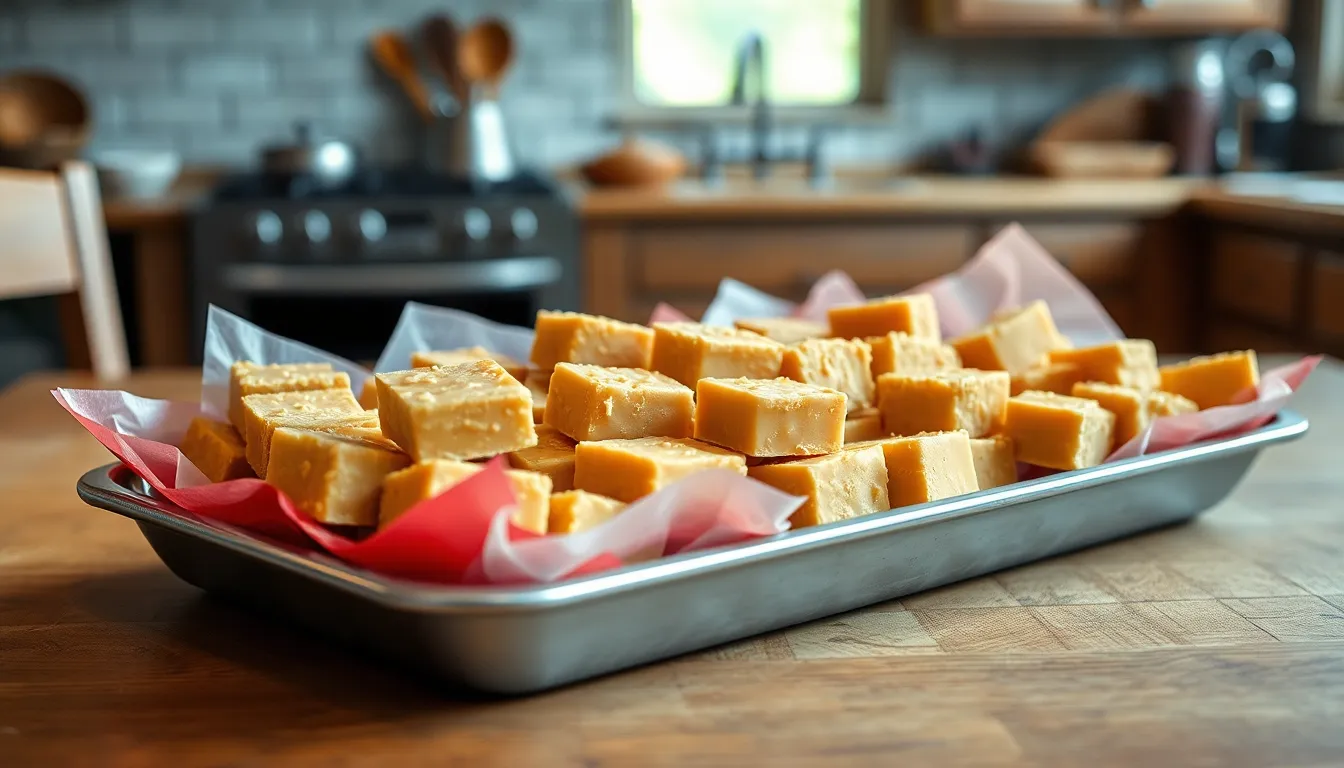
Proper storage keeps our homemade butterscotch fudge fresh and maintains its rich creamy texture for weeks. We recommend several proven methods depending on how long you plan to store your fudge.
Room Temperature Storage
We can keep butterscotch fudge at room temperature for optimal convenience and texture. Our fudge stays fresh for 1 to 2 weeks when stored properly in an airtight container away from direct sunlight and heat sources. We wrap each piece with wax paper or plastic wrap to prevent the fudge from drying out and losing moisture.
| Storage Method | Duration | Container Type | Preparation Required |
|---|---|---|---|
| Room Temperature | 1-2 weeks | Airtight container | Wrap each piece |
| Refrigeration | 2-3 weeks | Airtight container | Wrap each piece |
| Freezer | Up to 3 months | Freezer-safe bag/container | Tight wrapping + labeling |
Refrigeration Storage
Refrigeration extends our butterscotch fudge’s freshness for 2 to 3 weeks. We place the wrapped fudge pieces in an airtight container to maintain moisture and prevent odor absorption from other refrigerated foods. The cold temperature makes our fudge firmer than room temperature storage. We let refrigerated fudge sit out briefly before serving if we prefer a softer texture.
Freezer Storage
Long term storage becomes simple when we freeze our butterscotch fudge for up to 3 months. We wrap the fudge tightly and place it in a freezer-safe bag or container with a clear best-by date label. Freezing maintains the fudge’s texture remarkably well without important changes upon thawing.
Essential Storage Guidelines
We always use clean utensils when handling our stored fudge to prevent contamination. Regular inspection helps us identify any signs of spoilage including odd smells, mold growth, or texture changes. We ensure no excess moisture accumulates in storage containers since this can cause unwanted softening or promote mold development.
Troubleshooting Common Issues
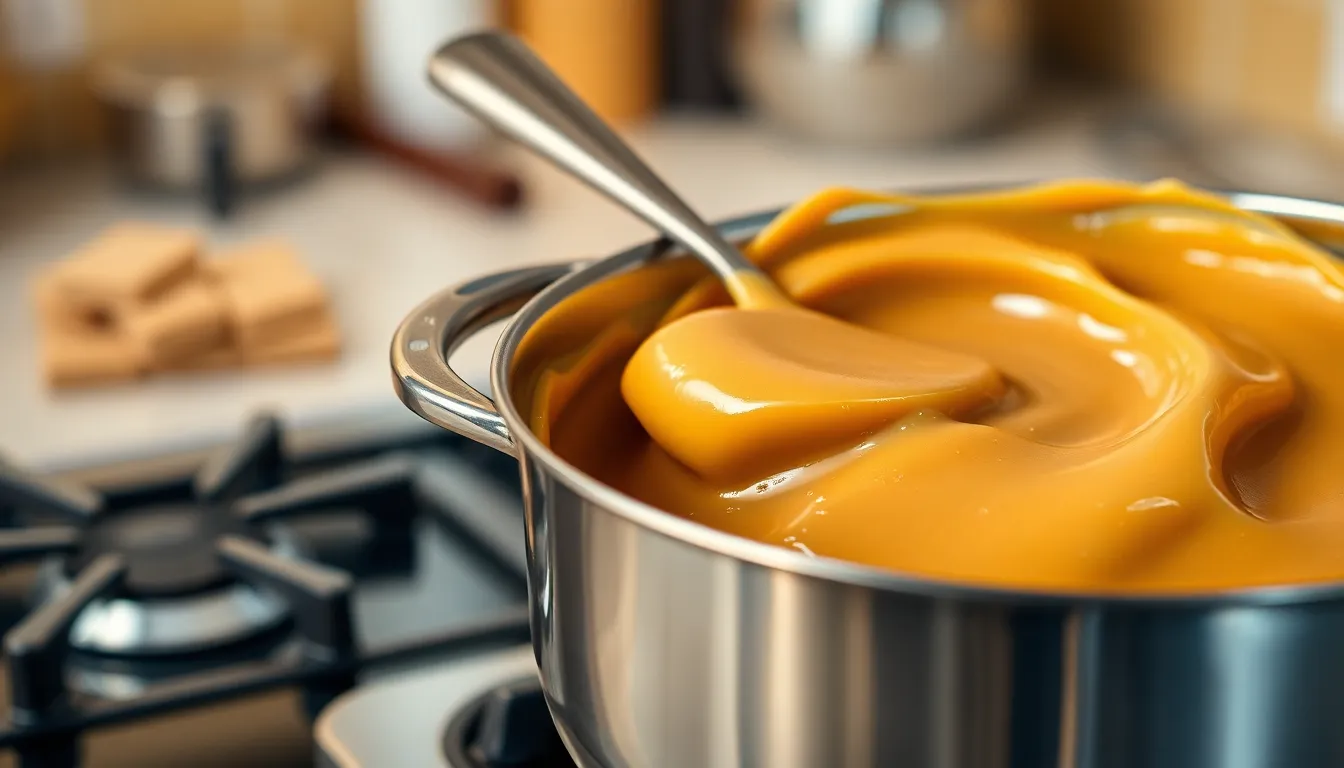
Even with our carefully crafted recipe, butterscotch fudge can sometimes present challenges that affect its texture and appearance. We’ve compiled answers to the most common problems you might encounter during the fudge-making process.
Fudge Too Soft
Soft fudge typically results from insufficient water evaporation during the cooking process. The mixture needs adequate heat and time to reach the proper concentration for a firm set.
We recommend extending the cooking time to allow more moisture to evaporate from the butterscotch base. Monitor the mixture closely as it cooks and ensure it reaches the proper consistency before removing from heat. If your fudge has already set but remains too soft, place it in the refrigerator for several hours to help it firm up properly.
Temperature plays a crucial role in achieving the right texture. Make sure the mixture reaches the appropriate heat level during cooking to activate the proper chemical reactions that create firm fudge.
Fudge Too Hard
Overcooking causes excessive moisture loss and results in overly firm fudge that may be difficult to cut or chew. This happens when the butterscotch mixture cooks beyond its optimal temperature range.
Reduce the cooking time in future batches to retain more moisture in the final product. Watch for visual cues that indicate the mixture is ready, such as a smooth and glossy appearance that coats the back of a spoon.
For fudge that has already become too hard, we suggest gently reheating it with a small amount of water. Add just enough liquid to restore the proper moisture content without making the mixture too thin.
Grainy Texture
Sugar crystallization during cooking or cooling creates an unpleasant grainy texture that detracts from the smooth butterscotch experience. Crystals can form when sugar adheres to the sides of the cooking vessel or when the mixture is disturbed at the wrong temperature.
Use a wet pastry brush to wipe down any sugar crystals that form on the sides of your pot during cooking. This prevents existing crystals from seeding further crystallization throughout the mixture.
| Temperature Range | Action Required |
|---|---|
| 110°F – 113°F | Begin beating the fudge |
| Above 113°F | Wait for further cooling |
| Below 110°F | Mixture may be too cool |
Wait until the fudge cools to between 110°F and 113°F before beating it. This temperature range allows proper incorporation without encouraging crystal formation. Beating at higher temperatures can cause graininess while beating at lower temperatures may not achieve the desired smoothness.
Additional texture issues can arise from using low-quality ingredients or improper mixing techniques. Always use high-quality butter and avoid overheating it, as this can cause separation and create an oily appearance. Line your pan with parchment paper and lightly grease it with cooking oil to prevent sticking during the setting process.
Variations and Add-Ins
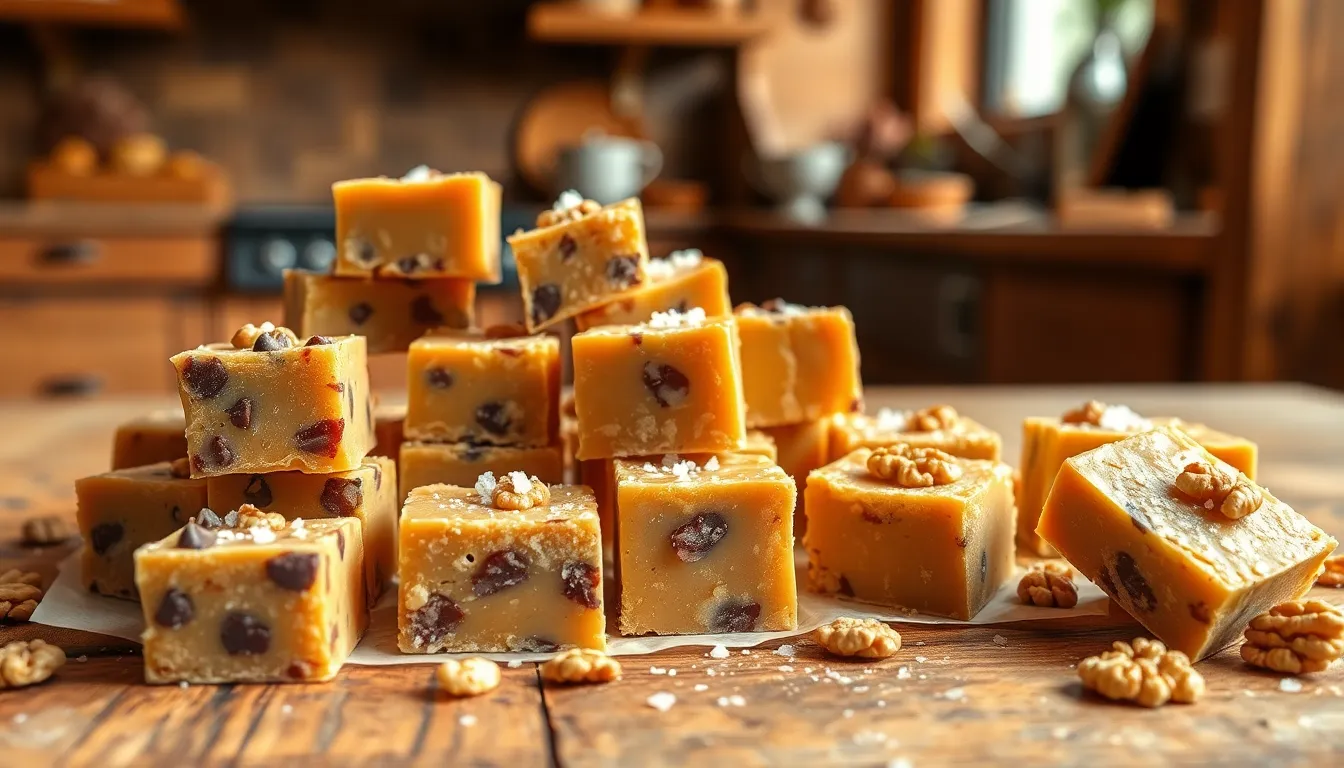
Our basic butterscotch fudge serves as the perfect foundation for countless delicious variations. We can easily transform this classic recipe by incorporating different flavors and textures to create unique treats that satisfy every palate.
Chocolate Chip Butterscotch Fudge
We create this irresistible variation by folding chocolate chips into our butterscotch fudge base just before it sets. The rich chocolate provides a delightful contrast to the sweet butterscotch flavor while adding satisfying bursts of cocoa throughout each bite. We recommend using semi-sweet or dark chocolate chips for the best flavor balance. Simply stir in 1/2 to 3/4 cup of chocolate chips during the final mixing stage after adding the vanilla extract. This combination delivers the perfect marriage of two beloved flavors that appeals to both chocolate and butterscotch enthusiasts.
Salted Butterscotch Fudge
We elevate our butterscotch fudge by incorporating sea salt to balance the sweetness with a sophisticated savory note. Adding a pinch of fine sea salt to the base mixture enhances the butterscotch flavor while preventing it from becoming overly sweet. We top the fudge with an additional sprinkle of flaky sea salt before it sets completely. This finishing touch provides both visual appeal and a pleasant textural contrast. The salt crystals create small bursts of flavor that complement the creamy butterscotch base. We use about 1/4 teaspoon of salt in the mixture and finish with coarse sea salt for the best results.
Butterscotch Walnut Fudge
We incorporate chopped walnuts into our butterscotch fudge to add a satisfying crunch and rich nutty flavor. The walnuts complement the butterscotch beautifully while providing textural interest in every bite. We toast the walnuts lightly before adding them to enhance their flavor and ensure they maintain their crispness in the finished fudge. About 3/4 cup of chopped walnuts works perfectly for our standard recipe. Other nuts like pecans, hazelnuts, or slivered almonds can be substituted based on personal preference. We fold the nuts into the mixture just before pouring it into the prepared pan to ensure even distribution throughout the fudge.
Make-Ahead Instructions
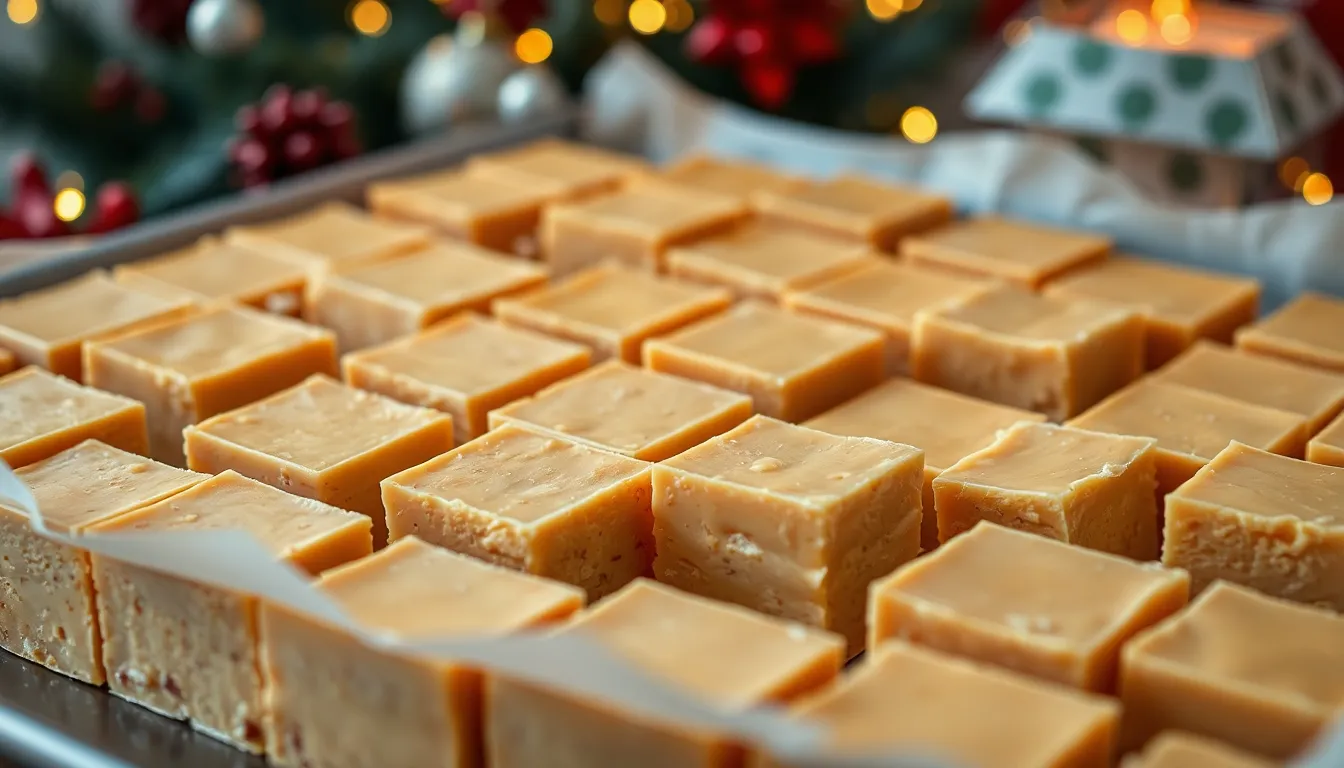
Butterscotch fudge stands out as an ideal dessert for advance preparation, making it perfect for holiday gatherings, parties, or gift giving. We recommend preparing this rich treat well before your event to allow ample time for proper setting and flavor development.
Advance Preparation Timeline
| Timeline | Recommended Action |
|---|---|
| 3-4 days ahead | Prepare and store at room temperature |
| 1-2 weeks ahead | Make and refrigerate in airtight container |
| 2-3 months ahead | Prepare and freeze for long-term storage |
Optimal Make-Ahead Process
Start by following our complete recipe instructions through the cooling phase. Allow the fudge to reach room temperature naturally before transferring it to the refrigerator for final setting. This gradual temperature change prevents condensation from affecting the texture.
Cut the fudge into serving squares once it has achieved the proper firmness. Store the pieces in an airtight container with parchment paper between layers to prevent sticking. Room temperature storage works beautifully for events within 2-3 weeks, while refrigerated storage extends freshness up to 4 weeks.
Freezer Storage for Extended Planning
Long-term preparation becomes simple with freezer storage lasting up to 3 months. Wrap individual pieces in plastic wrap or parchment paper before placing them in a freezer-safe container. This double protection prevents freezer burn and maintains the fudge’s creamy texture.
Remove frozen fudge pieces 30 minutes before serving to allow them to return to the ideal consistency. The flavor and texture remain remarkably consistent after proper freezing and thawing.
Quality Maintenance Tips
Use clean utensils when handling stored fudge to prevent contamination. Check stored pieces regularly for any signs of moisture or texture changes. Properly stored butterscotch fudge maintains its rich flavor and smooth consistency throughout the recommended storage periods, making advance preparation both practical and reliable for any occasion.
Conclusion
We’ve crafted the ultimate butterscotch fudge recipe that’ll transform your kitchen into a confectionery haven. This homemade treat delivers bakery-quality results with minimal effort and equipment making it perfect for both novice and experienced bakers.
The versatility of this recipe means you can customize it to match any preference or occasion. Whether you’re gifting squares during the holidays or satisfying a midnight craving our butterscotch fudge consistently delivers that rich creamy texture we all love.
With proper storage techniques and our troubleshooting tips you’ll never worry about failed batches again. The make-ahead instructions ensure you’re always prepared for unexpected guests or special celebrations.
Your homemade butterscotch fudge will quickly become a household favorite that rivals any store-bought alternative. The deep caramelized flavors and smooth finish make every bite an indulgent experience worth sharing.
Frequently Asked Questions
What ingredients do I need to make homemade butterscotch fudge?
You’ll need light brown sugar, heavy cream, unsalted butter, light corn syrup, vanilla extract, sea salt, and powdered sugar for the base. Optional ingredients include toasted pecans for crunch and extra sea salt for topping. These simple pantry staples create a rich, creamy fudge with deep caramelized flavors that’s far superior to store-bought versions with artificial ingredients.
What equipment is required to make butterscotch fudge?
You only need basic kitchen equipment: a microwave-safe bowl, a 7×11-inch or 8×8-inch pan, parchment or wax paper, and a sturdy spatula. This recipe’s simplicity makes it accessible for home bakers without requiring specialized confectionery tools. Prepare your equipment in advance since the fudge sets quickly once mixed.
Can I make butterscotch fudge using the microwave or stovetop?
Yes, the recipe offers both methods. For the microwave method, combine ingredients in a microwave-safe bowl and heat in intervals, stirring between each. For the stovetop method, cook ingredients in a saucepan over medium heat, stirring constantly. Both methods create a smooth, glossy mixture when done properly.
How long does homemade butterscotch fudge last?
Butterscotch fudge stays fresh at room temperature for 1-2 weeks, in the refrigerator for 2-3 weeks, or in the freezer for up to 3 months. Store in airtight containers with parchment paper between layers. Use clean utensils when serving and inspect regularly for spoilage to maintain optimal freshness and texture.
What should I do if my fudge turns out too soft or too hard?
If your fudge is too soft, it likely needs more cooking time. Place it back in the refrigerator or freezer to firm up. If it’s too hard, you may have overcooked it. For grainy texture caused by sugar crystallization, ensure proper temperature control and ingredient quality during cooking.
Can I customize the butterscotch fudge recipe with different flavors?
Absolutely! Popular variations include chocolate chip butterscotch fudge, salted butterscotch fudge with extra sea salt, and butterscotch walnut fudge with toasted walnuts. You can also experiment with other nuts, chocolate shavings, or different extracts to create your own unique flavor combinations while maintaining the basic recipe structure.
How far in advance can I make butterscotch fudge?
You can make butterscotch fudge 3-4 days ahead for room temperature storage, 1-2 weeks ahead for refrigeration, or 2-3 months ahead for freezing. Allow proper cooling and setting time, then store in airtight containers. Making it ahead actually helps flavors develop and ensures the perfect texture for serving.


