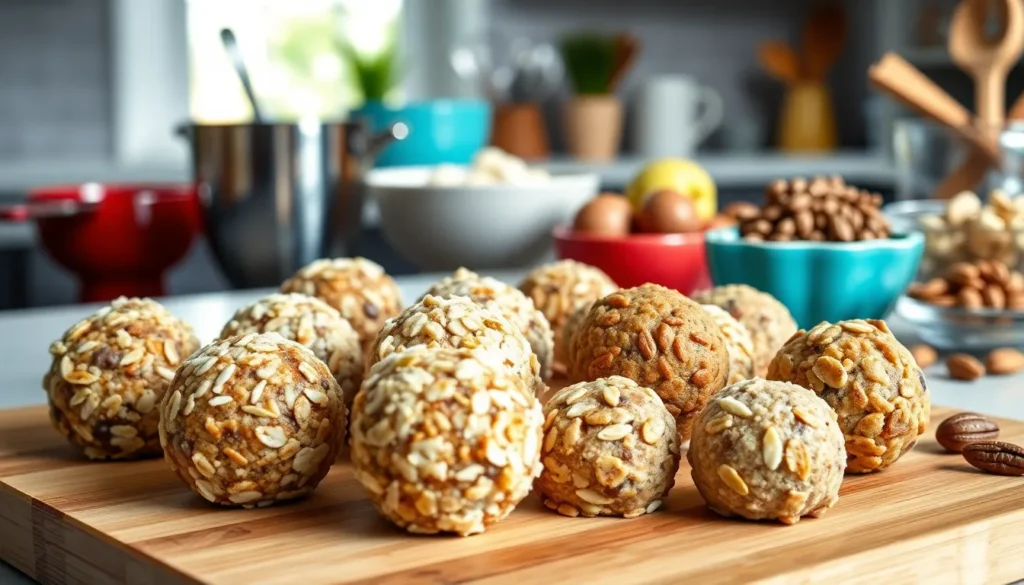
We’ve all been there – that mid-afternoon energy crash when you’re desperately searching for something nutritious yet satisfying. Protein balls are our go-to solution for these moments, delivering a perfect balance of energy, nutrients, and incredible flavor in one convenient bite-sized package.
These no-bake powerhouses have revolutionized healthy snacking, combining wholesome ingredients like nuts, seeds, protein powder, and natural sweeteners into irresistible little spheres. Whether you’re fueling up before a workout, satisfying post-exercise cravings, or simply need a guilt-free treat, protein balls deliver sustained energy without the sugar crash.
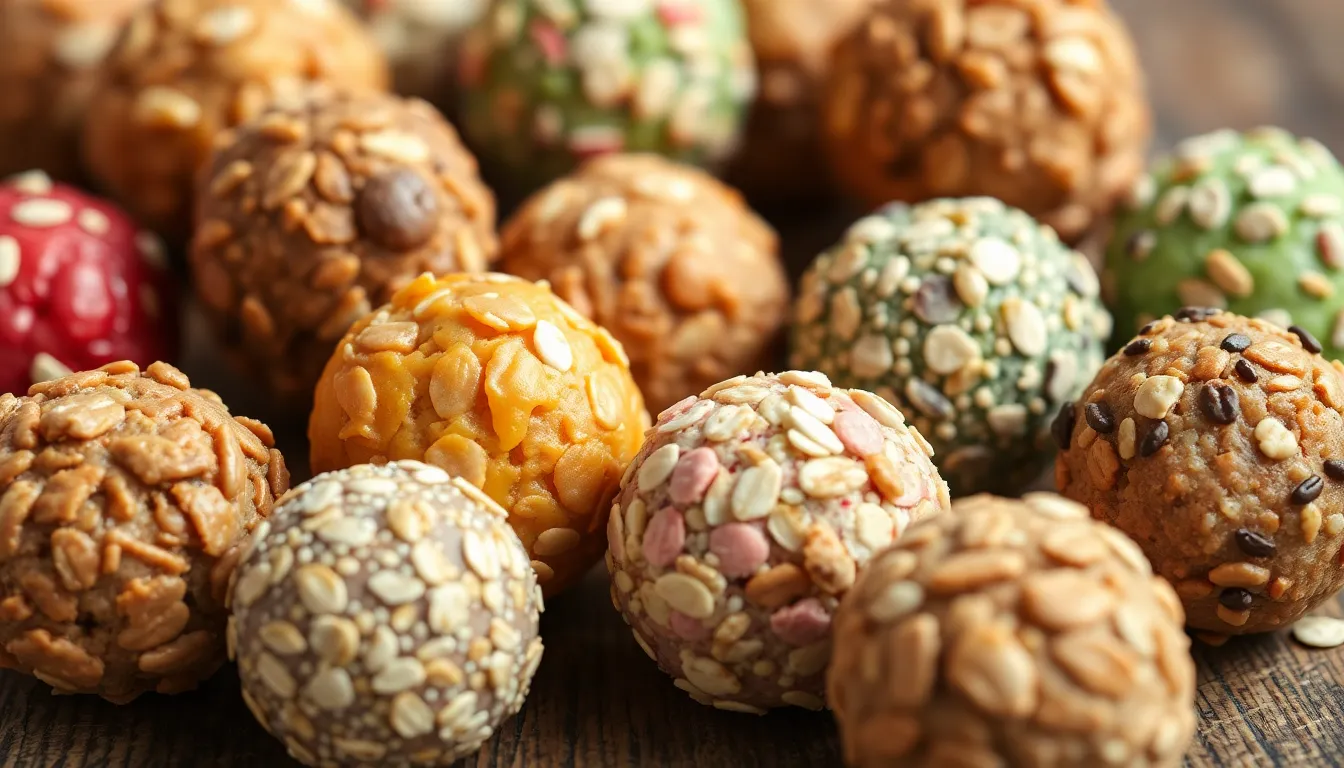
What makes protein balls truly special is their incredible versatility. From classic peanut butter chocolate to exotic coconut lime, we can customize flavors to match any preference while maintaining their nutritional punch. They’re perfect for meal prep, lunchbox additions, or emergency desk drawer stash – ready in minutes and lasting for days.
Ingredients
We’ve carefully selected each ingredient to create protein balls that deliver both exceptional taste and nutritional value. Our recipe combines simple pantry staples with powerhouse ingredients that work together to create the perfect texture and flavor balance.
Dry Ingredients
- 1 cup old-fashioned rolled oats
- 1/2 cup vanilla protein powder
- 1/4 cup ground flaxseed meal
- 1/4 cup chia seeds
- 2 tablespoons cocoa powder (unsweetened)
- 1/2 teaspoon vanilla extract powder
- 1/4 teaspoon sea salt
- 1/2 teaspoon ground cinnamon
Wet Ingredients
- 1/2 cup natural almond butter (or peanut butter)
- 1/4 cup pure maple syrup
- 2 tablespoons coconut oil (melted)
- 1 tablespoon vanilla extract
- 2-3 tablespoons water (as needed for binding)
Optional Add-ins
- 1/4 cup mini dark chocolate chips
- 2 tablespoons shredded coconut (unsweetened)
- 1/4 cup chopped almonds or walnuts
- 1 tablespoon hemp hearts
- 2 tablespoons dried cranberries or goji berries
- 1/2 teaspoon matcha powder (for green tea flavor)
- 1 tablespoon instant coffee granules (for mocha variation)
Equipment Needed
Creating perfect protein balls requires minimal kitchen equipment that most home cooks already have on hand. We’ve compiled this essential list to ensure your protein ball making experience runs smoothly from start to finish.
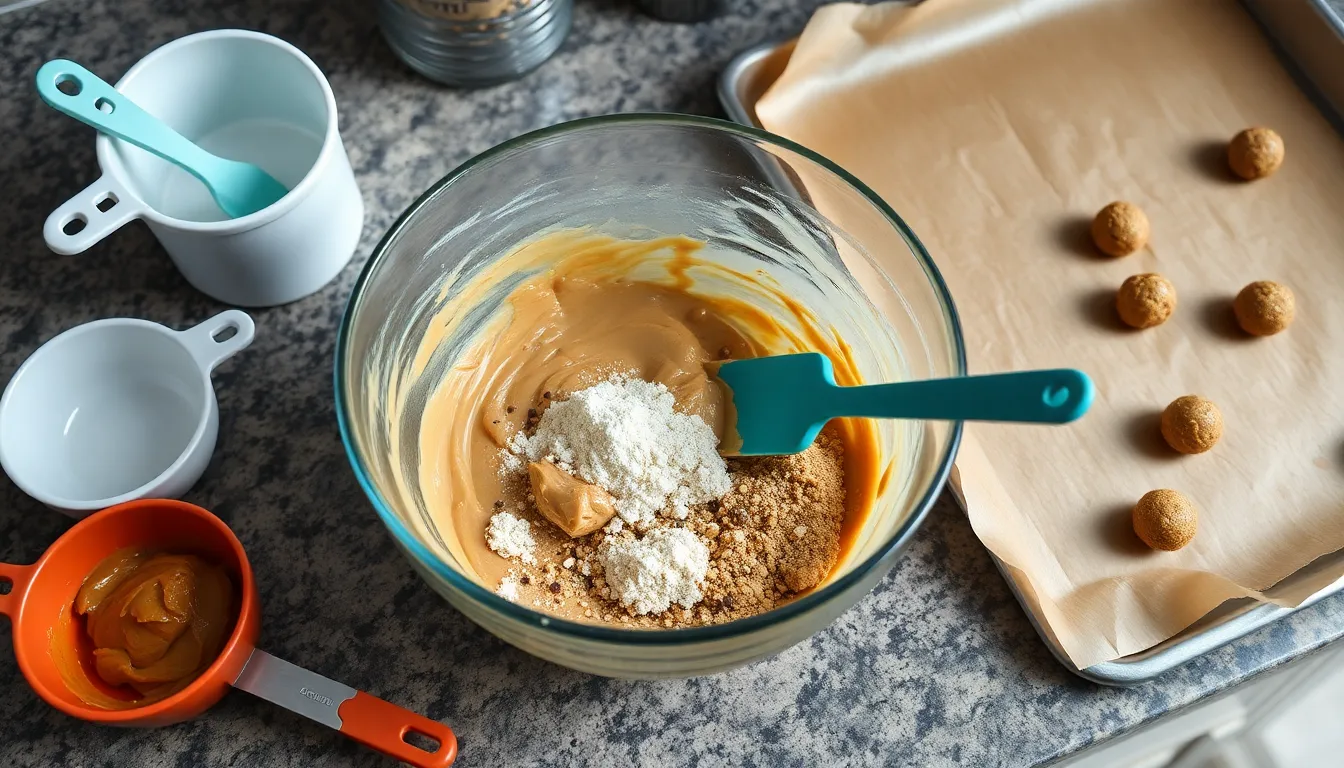
Large Mixing Bowl serves as your primary workspace for combining all ingredients. We recommend using a bowl with at least 3-quart capacity to provide ample room for thorough mixing without spillage.
Rubber Spatula or Wooden Spoon becomes crucial for blending ingredients effectively. These tools help incorporate sticky ingredients like nut butter and maple syrup without damaging delicate add-ins like chocolate chips.
Measuring Cups and Spoons ensure accuracy in your protein ball recipe. Precise measurements create consistent texture and flavor in every batch we make.
Cookie Scoop or Small Ice Cream Scoop helps portion uniform balls effortlessly. This optional tool creates evenly sized protein balls that look professional and ensure consistent nutritional content per serving.
Baking Sheet with Parchment Paper provides the ideal surface for chilling your formed protein balls. The parchment prevents sticking and makes transfer to storage containers seamless.
Airtight Storage Containers keep your finished protein balls fresh for extended periods. We prefer glass containers or freezer bags depending on whether you plan to refrigerate or freeze your batch.
Most kitchens already contain these basic tools, making protein balls an accessible recipe for beginners and experienced cooks alike. Having everything ready before you begin streamlines the process and prevents sticky situations when your hands are covered in protein ball mixture.
Instructions
Creating perfect protein balls requires just four simple steps that transform our wholesome ingredients into delicious energy-packed snacks. We’ll guide you through each stage to ensure consistent results every time.
Prep
We start by gathering all our ingredients and placing them within easy reach on the counter. Clear workspace preparation makes the mixing process smooth and prevents any missing ingredients. Our large mixing bowl should be ready alongside measuring cups and the cookie scoop for consistent portioning.
Mix
We combine the rolled oats and protein powder first to ensure even distribution throughout the mixture. Next we add the nut butter and sweetener to the dry ingredients. Using our rubber spatula or wooden spoon we blend everything together until the mixture holds its shape when pressed. The consistency should be moldable but not overly sticky.
Shape
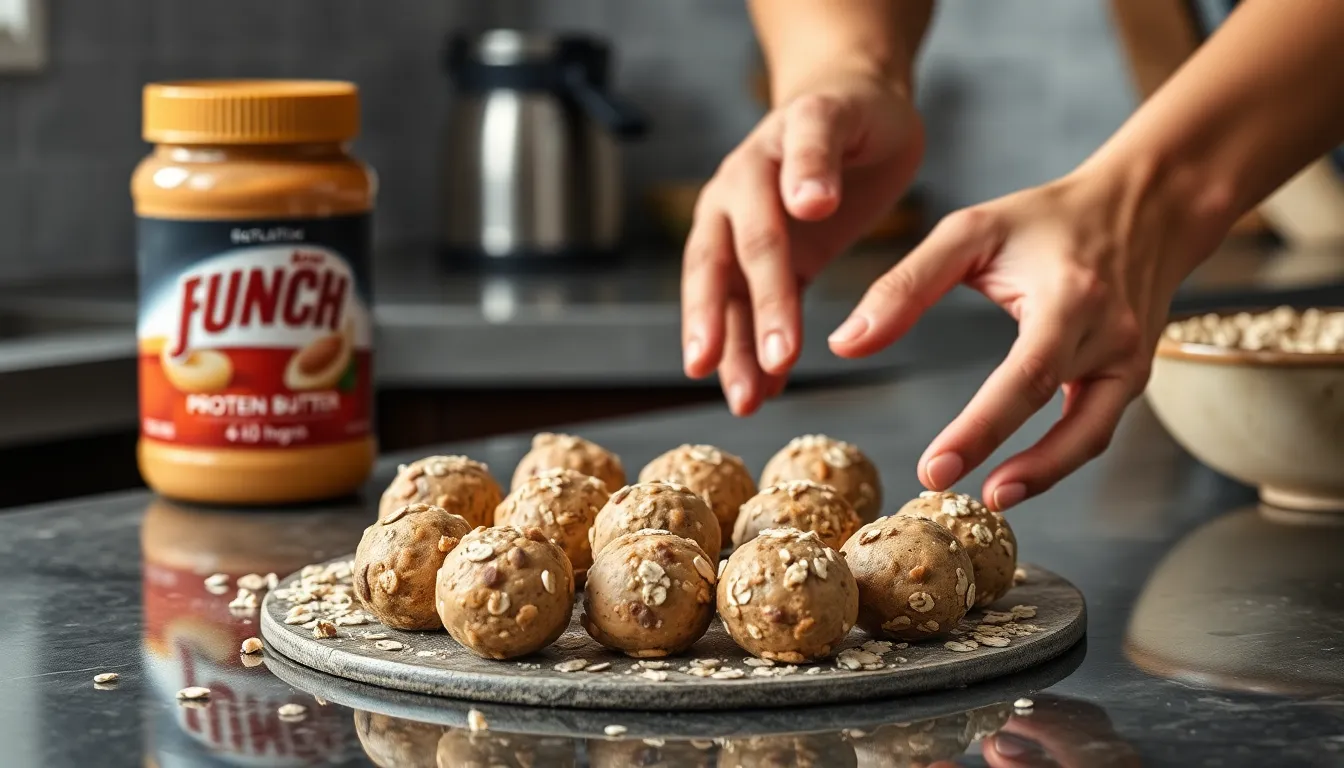
We lightly dampen our hands with water to prevent sticking during the rolling process. Taking small portions of the mixture we roll them between our palms to form uniform balls. Our cookie scoop helps create consistent sizes yielding approximately 20-24 protein balls per batch. Each ball should be roughly one inch in diameter for optimal portion control.
Chill
We arrange the shaped protein balls on our parchment-lined baking sheet ensuring they don’t touch each other. The refrigerator firms them up in about 30 minutes making them easier to handle and store. Once completely chilled we transfer them to our airtight containers where they maintain their texture and flavor for weeks.
Directions for Storage
After spending time crafting these nutritious protein balls, we want to ensure they maintain their perfect texture and freshness for as long as possible. Proper storage techniques will help preserve both flavor and nutritional value while extending their shelf life significantly.
Room Temperature Storage
For short-term storage needs, we can keep protein balls at room temperature using an airtight container. Place the balls in a cool, dry location away from direct sunlight to prevent unwanted softening. This method works best when we plan to consume them within a few days, as the shelf life remains limited due to potential texture changes.
Refrigerator Storage
The refrigerator offers our best option for medium-term storage of protein balls. We recommend using airtight containers such as glass storage containers or Stasher bags to maintain optimal freshness. This storage method extends the shelf life significantly, allowing us to enjoy our protein balls for up to 1-2 weeks while preserving their firm texture and rich flavors.
Freezer Storage for Long-Term Preservation
When we need extended storage capabilities, the freezer provides excellent results for protein balls. Begin by flash freezing the balls on a baking sheet for at least 2 hours to prevent them from sticking together. Once properly frozen, transfer the balls to freezer-safe bags or airtight containers for long-term storage.
| Storage Method | Container Type | Duration | Temperature |
|---|---|---|---|
| Room Temperature | Airtight container | Few days | Cool, dry place |
| Refrigerator | Glass containers or Stasher bags | 1-2 weeks | 35-40°F |
| Freezer | Freezer-safe bags or containers | 3-6 months | 0°F or below |
Frozen protein balls maintain their quality for up to 3-6 months when stored properly. We can thaw them at room temperature for a few minutes or place them in the refrigerator overnight before consuming for the best texture experience.
Troubleshooting Storage Issues
Sometimes our protein ball mixture may appear dry or crumbly during preparation, which can affect storage quality. Adding a small amount of water or milk helps bind the ingredients together, creating balls that hold their shape better during storage. This simple adjustment ensures our protein balls maintain their integrity throughout the storage period regardless of the method we choose.
Make-Ahead Instructions
We recommend preparing protein balls in advance since they store exceptionally well and actually improve in texture after resting. The beauty of these energy bites lies in their ability to be made days or even weeks ahead of time.
Weekly Meal Prep Strategy
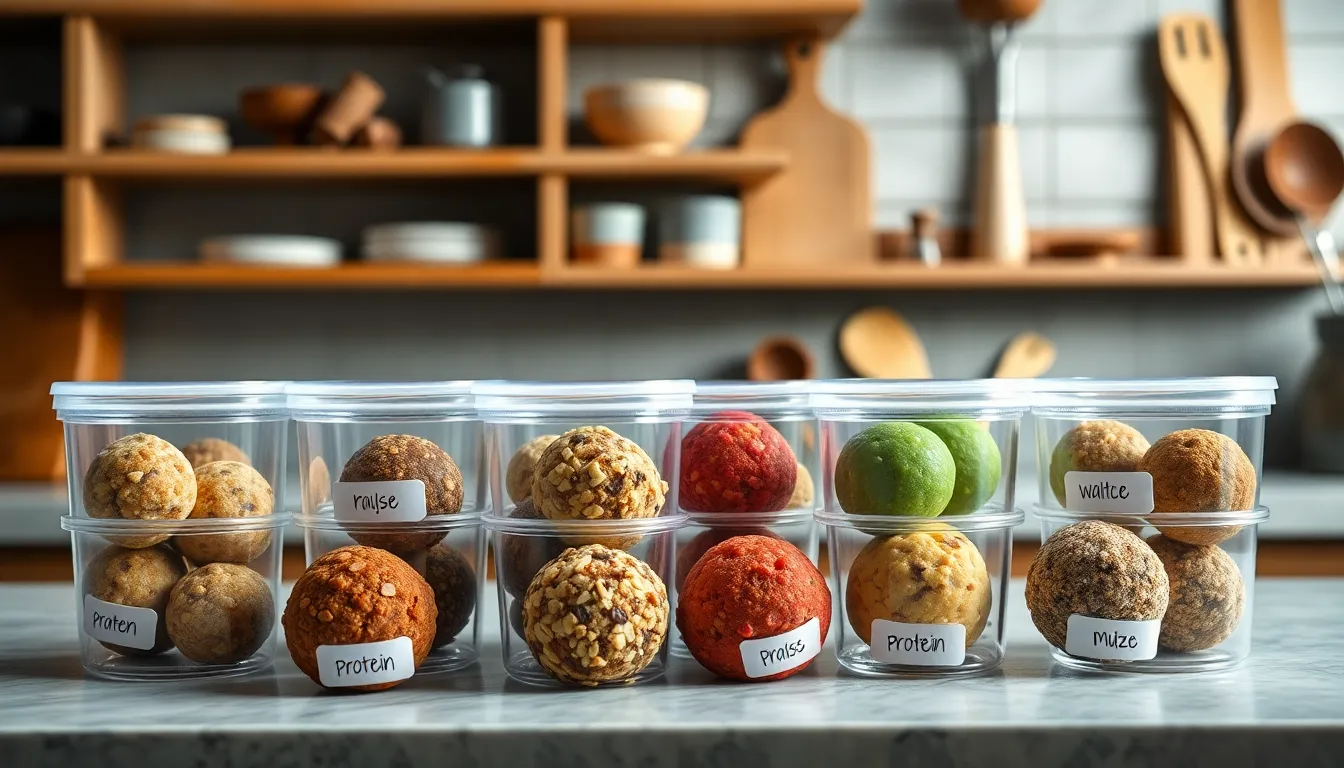
Start your meal prep on Sunday by doubling or tripling our base recipe. We can mix multiple batches using different flavor combinations to prevent snack boredom throughout the week. Store each variety in separate airtight containers and label them with preparation dates and flavor profiles.
Batch Preparation Method
Mix your dry ingredients first and store them in sealed containers for up to one month. When ready to make fresh protein balls we simply combine the pre-measured dry mixture with wet ingredients. This approach saves important time during busy weekdays while ensuring consistent results.
Advanced Storage Timeline
| Storage Method | Duration | Best Use |
|---|---|---|
| Room Temperature | 3-4 days | Daily snacking |
| Refrigerator | 1-2 weeks | Weekly meal prep |
| Freezer | 3-6 months | Long-term storage |
Freezer Preparation Tips
We place freshly formed protein balls on parchment-lined baking sheets and freeze them for two hours before transferring to freezer-safe containers. This prevents the balls from sticking together and allows us to grab individual servings as needed. Remove frozen protein balls 10-15 minutes before eating to allow them to soften to the perfect texture.
Make-Ahead Assembly Line
Set up an efficient assembly line by preparing three different flavor combinations simultaneously. Use separate mixing bowls for each variety and portion the finished balls into individual serving containers. We find that preparing 4-6 balls per container creates perfect grab-and-go portions for busy mornings or afternoon snacks.
Serving Suggestions
Our protein balls excel as versatile snacks that adapt to countless occasions throughout your day. We recommend enjoying them as mid-afternoon energy boosters when that 3 PM slump hits hard. These nutrient-dense spheres deliver sustained energy without the crash associated with sugary alternatives.
Pre and Post Workout Fuel
Athletes and fitness enthusiasts benefit tremendously from our protein ball recipes. We suggest consuming 2-3 balls approximately 30 minutes before your workout session to fuel your performance. After intense training sessions, these portable snacks help kickstart muscle recovery thanks to their balanced protein and carbohydrate content.
On-the-Go Snacking
Busy professionals appreciate the convenience our protein balls provide during hectic schedules. We pack them in small containers or snack bags for easy transport to meetings, commutes, or travel adventures. Their compact size makes them perfect companions for hiking trails, camping trips, and long car rides where healthy options remain scarce.
Lunchbox Additions
Parents discover protein balls make excellent lunchbox treats that children actually enjoy eating. We recommend pairing them with fresh fruit or yogurt to create balanced mini meals. These homemade snacks offer peace of mind compared to processed alternatives loaded with artificial ingredients and excessive sugar.
Healthy Dessert Alternative
Evening sweet cravings find satisfaction in our protein ball creations without deriving guilt. We serve them alongside herbal tea or as standalone treats when traditional desserts feel too heavy. Their natural sweetness from dates, honey, or maple syrup satisfies dessert desires while providing nutritional value.
Portion Control Strategy
Strategic serving helps maximize the benefits of our protein balls. We recommend limiting portions to 2-3 balls per serving to maintain balanced calorie intake throughout the day. This approach ensures steady energy levels without overwhelming your digestive system or disrupting meal schedules.
Recipe Variations
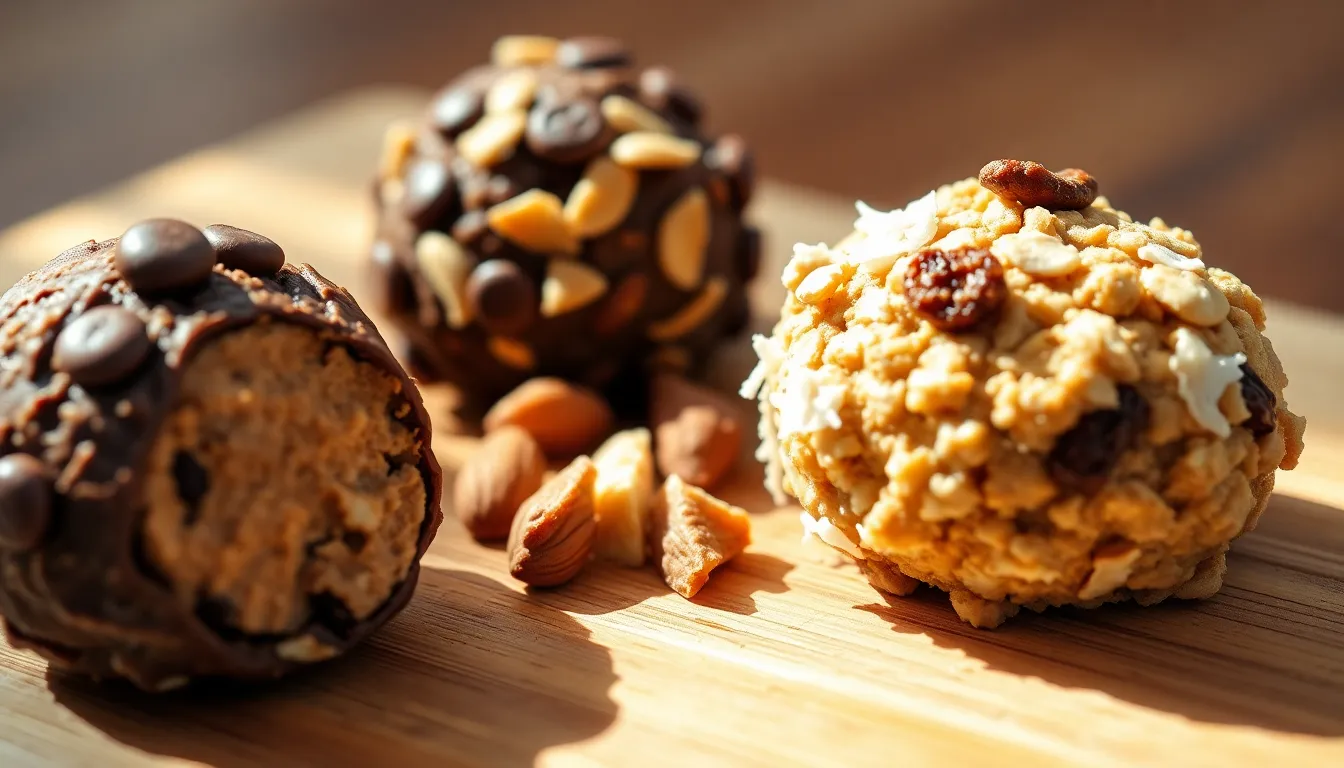
We’ve perfected three delicious variations that showcase how versatile protein balls can be while maintaining their nutritional benefits. Each recipe offers unique flavors and textures to satisfy different taste preferences.
Chocolate Peanut Butter Protein Balls
This crowd-pleasing combination delivers the classic taste of chocolate and peanut butter in every bite. We combine rolled oats with natural peanut butter and chocolate protein powder to create a rich base flavor profile.
Ingredients:
- 1 cup rolled oats
- 3 tablespoons natural peanut butter
- 2 scoops chocolate protein powder
- 2 tablespoons mini chocolate chips
- 2 tablespoons honey or maple syrup
Instructions:
Mix all ingredients in a large bowl until a cohesive dough forms. The mixture should hold together when pressed but not feel overly wet. Roll the dough into 1-inch balls using slightly damp hands. Refrigerate the formed balls for 30 minutes until they become firm and hold their shape perfectly.
Coconut Almond Protein Balls
These tropical-inspired protein balls offer a delightful nutty sweetness with coconut texture. We substitute almond butter for peanut butter and incorporate unsweetened shredded coconut for added flavor depth.
Ingredients:
- 1 cup rolled oats
- 3 tablespoons almond butter
- 2 scoops chocolate protein powder
- 3 tablespoons unsweetened shredded coconut
- 2 tablespoons honey or maple syrup
Instructions:
Combine the rolled oats and protein powder first to ensure even distribution. Add almond butter and sweetener while mixing thoroughly until the ingredients bind together. Fold in the shredded coconut last to maintain its texture. Form into uniform balls and chill until set.
Oatmeal Cookie Protein Balls
We recreate the nostalgic flavors of oatmeal cookies in this wholesome protein ball variation. Cashew butter provides creaminess while raisins and cinnamon deliver authentic oatmeal cookie taste.
Ingredients:
- 1 cup rolled oats
- 3 tablespoons cashew butter
- 2 scoops vanilla protein powder
- 2 tablespoons raisins
- 1 teaspoon ground cinnamon
- 2 tablespoons honey or maple syrup
Instructions:
Start by mixing the dry ingredients including oats, protein powder, and cinnamon in a bowl. Add cashew butter and sweetener while stirring until the mixture reaches the right consistency. Gently fold in raisins to distribute them evenly throughout the mixture. Shape into balls and refrigerate until they achieve the proper firmness for storage.
Tips for Perfect Protein Balls
Achieving the ideal texture requires attention to your nut butter consistency. We recommend using drippy nut butters like peanut butter or seed butters such as sunflower butter for optimal mixing results. When your nut butter flows easily from the jar it creates smoother blending and better cohesion throughout the mixture.
Monitor your mixture consistency closely during preparation. Adding more oats becomes necessary when the mixture feels too sticky to handle. Conversely incorporating additional nut butter or sweetener helps when the mixture appears too dry to hold together. This balance ensures your protein balls maintain their shape while remaining tender to bite.
Test the mixture by pinching a small amount between your fingers. The ideal consistency allows the mixture to hold together without crumbling yet doesn’t stick excessively to your hands. Properly mixed ingredients should compress easily into a compact ball shape.
Use damp hands when rolling to prevent sticking. Lightly moistening your palms creates a barrier between your skin and the mixture while allowing you to shape uniform balls. Clean your hands periodically during the rolling process to maintain this effectiveness.
Size consistency improves both appearance and storage. We suggest using a cookie scoop or small ice cream scoop to portion equal amounts before rolling. This method creates professional looking results and ensures even cooking times if you choose to bake variations.
Allow proper chilling time in the refrigerator for optimal texture development. Freshly made protein balls benefit from at least 30 minutes of cooling which firms the mixture and makes handling easier. Extended chilling up to 2 hours creates an even better texture that holds together during storage.
Store properly to maintain freshness and prevent spoilage. Sealed containers in the refrigerator keep protein balls fresh for up to 4 weeks while freezer storage extends their life to 6 months. Layer parchment paper between stacked protein balls to prevent sticking during long term storage.
Customize flavors gradually when experimenting with new combinations. Start with small batches to test flavor profiles before making larger quantities. Different protein powders and mix-ins can significantly alter the final texture so adjust liquid ingredients accordingly when incorporating new elements like chocolate chips or dried fruits.
Nutritional Benefits
Protein balls deliver exceptional nutritional value through their carefully selected wholesome ingredients. We’ve designed these no-bake treats to maximize health benefits while satisfying your taste buds and energy needs.
Powerhouse Protein Content
Our protein ball recipes prioritize high-quality protein sources that support muscle maintenance and growth. Protein powder serves as the primary protein booster while nut butters like almond butter and peanut butter contribute additional complete proteins. These combined sources help maintain and build muscle mass while supporting muscle repair and recovery after workouts.
The protein content in each ball makes this macronutrient the most satiating component. We find that protein keeps you fuller longer than carbohydrates or fats alone. This sustained satiety helps control cravings between meals and prevents energy crashes that often lead to unhealthy snacking.
Fiber Rich Foundation
Rolled oats form the fiber-rich base of our protein balls, providing essential digestive support. Fiber aids in maintaining healthy digestion and keeps bowels regular while supporting overall gut health. We incorporate additional fiber through flaxseed meal and chia seeds, creating a comprehensive fiber profile in each serving.
This fiber content works synergistically with protein to enhance the satiety factor. The combination helps regulate blood sugar levels and provides steady energy release throughout your day.
Essential Micronutrients
Our carefully chosen ingredients deliver a wide spectrum of vital micronutrients:
| Ingredient | Key Nutrients |
|---|---|
| Flaxseed meal | Omega-3 fatty acids, lignans |
| Nut butters | Vitamin E, magnesium, potassium |
| Nuts and seeds | Healthy fats, zinc, selenium |
| Cocoa powder | Antioxidants, iron |
| Coconut | Medium-chain triglycerides |
Flaxseed meal provides omega-3 fatty acids that support heart health and brain function. Nuts and seeds contribute healthy monounsaturated and polyunsaturated fats along with essential minerals like magnesium and zinc.
Customizable Nutrition Profile
We encourage you to adjust ingredients based on your exact nutritional goals. Adding more protein powder increases the protein content per serving. Including extra nuts and seeds boosts healthy fat content. Incorporating dried fruits provides natural sugars and additional vitamins.
This flexibility allows you to create protein balls that align with various dietary needs, whether you’re focusing on muscle building, weight management, or general wellness. The nutrient density of these ingredients means you get maximum nutritional benefit in a small, convenient package.
Conclusion
We’ve shown you how protein balls can transform your snacking game with their perfect blend of nutrition and convenience. These versatile treats offer endless customization options while delivering the protein and energy your body needs throughout the day.
The beauty of protein balls lies in their simplicity – no baking required and minimal equipment needed. Whether you’re meal prepping for the week or looking for a quick energy boost, these nutrient-packed spheres fit seamlessly into any lifestyle.
With proper storage techniques and our tested recipes, you’ll always have a healthy snack ready when hunger strikes. Start with our basic recipe and experiment with different flavors to discover your personal favorites. Your taste buds and your body will thank you for making this wholesome switch.
Frequently Asked Questions
What are protein balls and why are they a good snack option?
Protein balls are no-bake energy snacks made from wholesome ingredients like nuts, seeds, protein powder, and natural sweeteners. They’re perfect for combating mid-afternoon energy slumps, providing sustained energy, and satisfying hunger. Their convenient, portable nature makes them ideal for pre-workout fuel, post-exercise recovery, or guilt-free treats anytime.
How long do protein balls last and what’s the best way to store them?
Protein balls can be stored at room temperature for 3-4 days, refrigerated for 1-2 weeks, or frozen for 3-6 months. Use airtight containers for all storage methods. For freezing, place them on parchment-lined baking sheets first, then transfer to freezer-safe containers to prevent sticking together.
What kitchen equipment do I need to make protein balls?
You’ll need basic kitchen tools: a large mixing bowl, rubber spatula or wooden spoon, measuring cups and spoons, cookie scoop or small ice cream scoop, baking sheet with parchment paper, and airtight storage containers. These tools ensure accurate measurements, effective mixing, and proper storage for both beginners and experienced cooks.
Can I customize protein balls with different flavors and ingredients?
Absolutely! Protein balls are highly versatile. You can customize flavors from classic chocolate peanut butter to exotic combinations. Add-ins like dark chocolate chips, shredded coconut, dried fruits, different nut butters, spices, and various protein powders allow you to create unique combinations tailored to your taste preferences and dietary needs.
What’s the basic process for making protein balls?
The process involves four simple steps: prep (gather ingredients), mix (combine dry ingredients first, then add wet ingredients), shape (roll into uniform balls using damp hands), and chill (refrigerate for 30 minutes). This straightforward method ensures consistent results and perfect texture every time.
What are the main nutritional benefits of protein balls?
Protein balls provide high-quality protein for muscle maintenance and satiety, fiber from oats and seeds for digestion and blood sugar regulation, and essential nutrients like omega-3 fatty acids and antioxidants. They offer steady energy release and can be customized to meet specific nutritional goals for muscle building or weight management.
How can I meal prep protein balls efficiently?
Double or triple the base recipe and create multiple flavor combinations simultaneously. Mix dry ingredients in advance and store in sealed containers for up to a month. Set up an assembly line to prepare different variations at once, creating convenient grab-and-go portions for busy schedules.
What should I do if my protein ball mixture is too dry or crumbly?
If the mixture appears dry or crumbly and won’t hold together, add small amounts of liquid gradually—try water, milk, or additional nut butter. Mix well after each addition until the mixture binds properly and holds its shape when rolled into balls.


